Level ! Guide
Level !: Run For Your Life
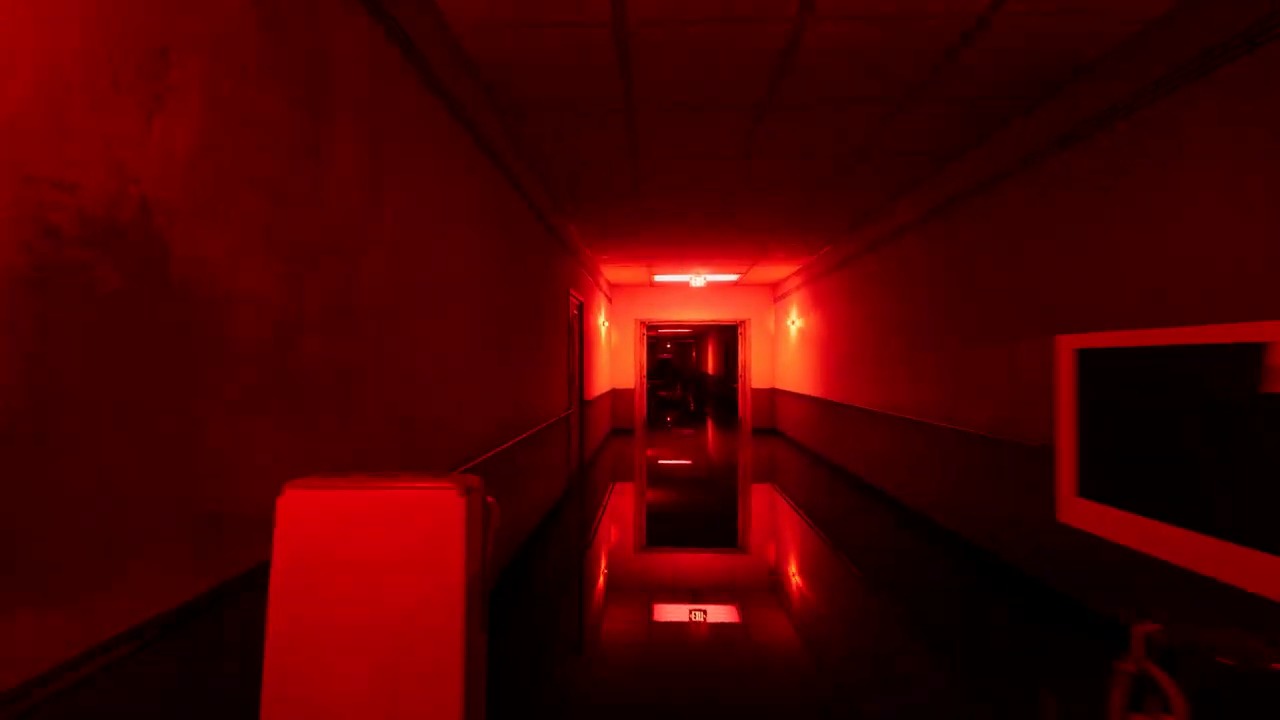
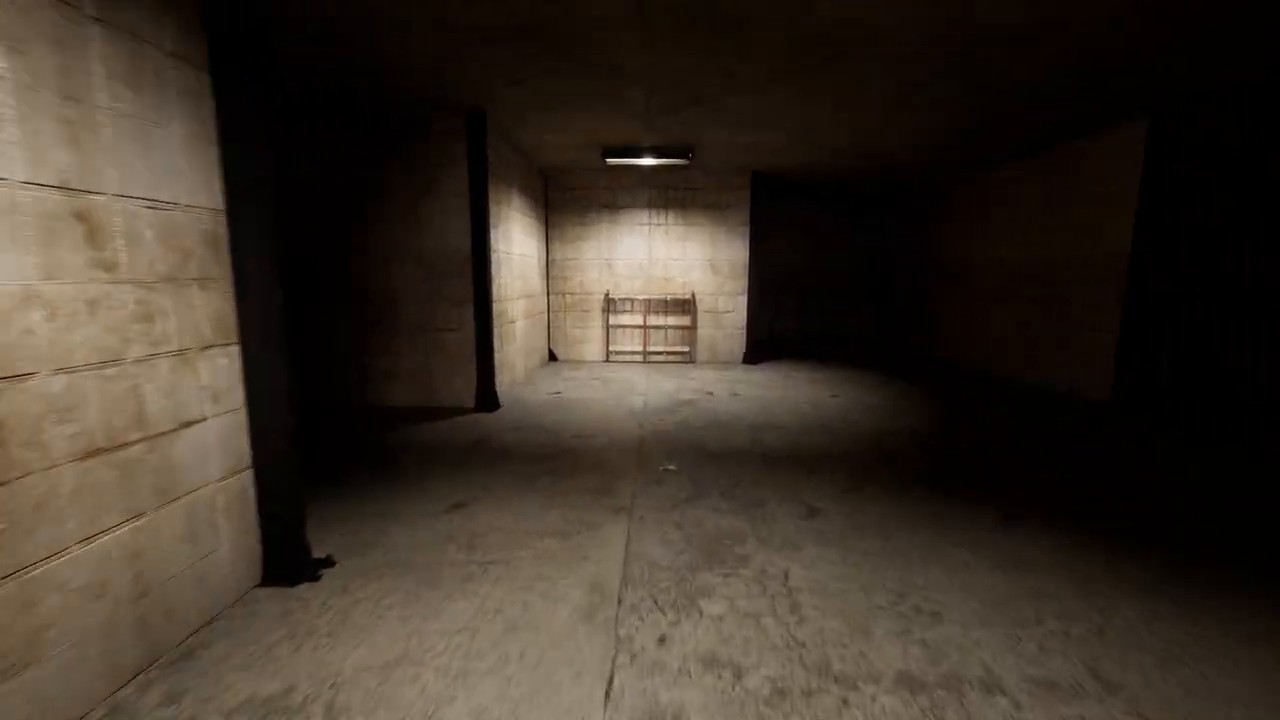
Backrooms: Escape Together Level !, also called Run For Your Life, is the hospital chase stage where Scratcher V.2 starts pressuring the run almost immediately. The shortest reliable clear in v0.13.4 is to trust the EXIT signs at every split, close each Morgue door before searching, grab one Blue Keycard in both safe rooms, then sprint through the final corridor to the arrow-marked red exit into Level Fun.
This page combines the supplied Level ! v0.13.4 reference copy with the project's local RUN walkthrough note, so the guide covers both the official level framing and the route-tested habits that stop the chase from turning into panic. If you just arrived here from Level 37 Sublimity , treat this page as a pace reset because the game changes from calm navigation to pure movement discipline in seconds.
Quick Facts
What to know before you enter Run For Your Life
Run For Your Life is an extreme chase level built around one narrow rule set. You are not solving a freeform maze. You are moving through a hospital corridor sequence with two short safe-room interruptions, one chase entity, and one navigation authority: the EXIT signs overhead.
- Difficulty
- Extreme / Class !
- Main entity
- Scratcher V.2
- Core mechanic
- Continuous chase with two Morgue safe-room searches
- Main progression gate
- Find one Blue Keycard in each Morgue, then reach the red exit door to Level Fun

The same cover image is used for the hub card and the video embed so the page keeps one stable visual identity for Level !.
Quick Answer
How to beat Backrooms: Escape Together Level !
Beat Run For Your Life by sprinting only along the EXIT sign route, entering both Morgues without hesitation, closing the door immediately inside each Morgue, sweeping one fixed search loop for the Blue Keycard, then using the final wall arrow and red exit door to escape into Level Fun.
Best route rule
Only trust the EXIT signs when the hospital route splits or bends.
Main danger
Pausing, turning around, or improvising a route outside the Morgue safe rooms.
Best safe-room rule
Close the Morgue door first, then search tables, shelves, and corners in one sweep.
Fast-clear result
Two Blue Keycards secured, red exit reached, Level Fun unlocked.
Overview
Why Level ! is more about route discipline than raw reflexes
Run For Your Life looks like a reaction test, but the actual win condition is simpler and harsher: do not let decision-making sprawl. The alarm starts, Scratcher V.2 takes over, and the level rewards players who reduce everything down to one movement language instead of repeatedly stopping to read the room.
The local walkthrough note distills the stage into one sentence that holds up well in practice: follow EXIT signs during the chase, close the Morgue door before searching, grab the card fast, then resume the same sprint logic until the red exit appears. If you do not break that pattern, the level becomes much more stable than its presentation suggests.
Best short description
A hospital chase corridor with two controlled safe-room interruptions.
Biggest trap
Treating the route like a normal exploration level instead of a fixed pressure sequence.
Best solo habit
Raise your view just enough to catch EXIT signs before every split.
Best co-op habit
Let the last player entering a Morgue call the close timing instead of everyone guessing.
Fact Table
Level ! difficulty, objective chain, and exit summary
This answer-first table gives the key Run For Your Life facts in one extractable block for quick readers, search systems, and AI summaries.
| Field | Level ! detail |
|---|---|
| Official name | Run For Your Life |
| Difficulty | Class ! / dreadful chase stage |
| Listed entity | Scratcher V.2 |
| Listed mechanic | Chase |
| Main progression task | Follow EXIT signs, clear two Morgue searches, and escape through the red door |
| Most important rule | Outside a Morgue, keep moving and do not improvise |
| Safe-room count | Two Morgues |
| Exit destination | Level Fun |
Route Logic
How the EXIT sign system works in Run For Your Life
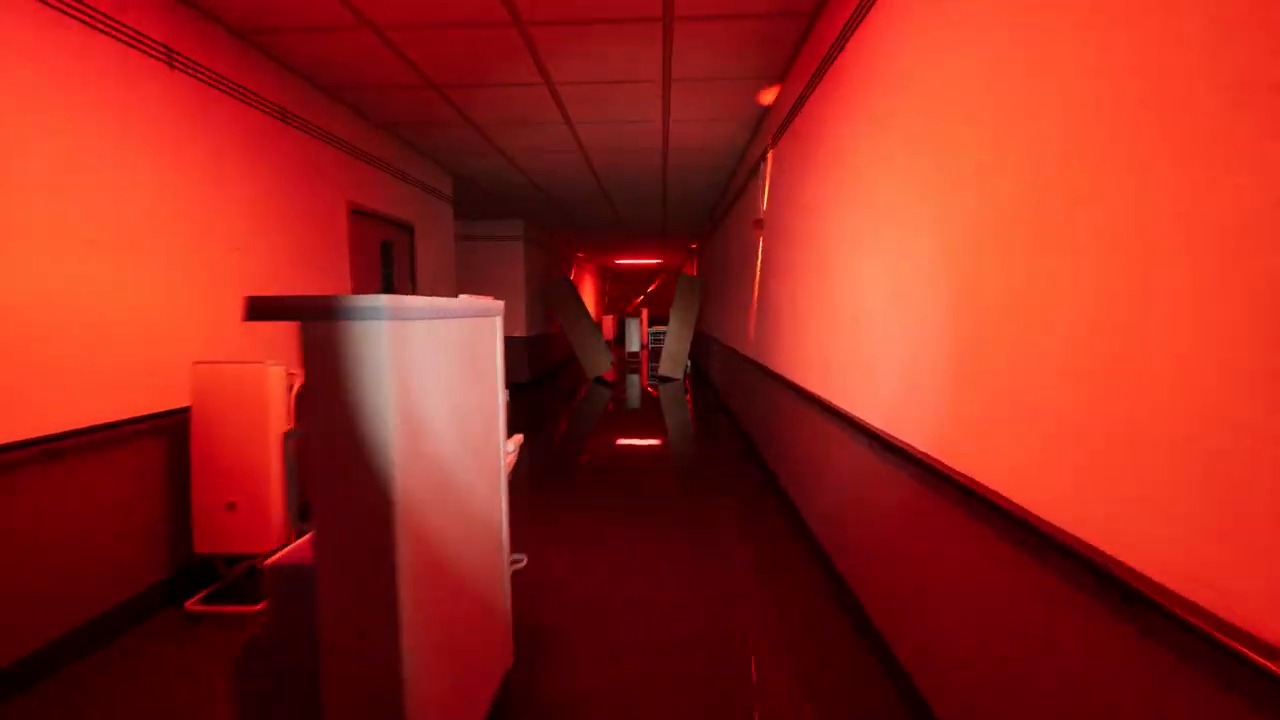
The hospital route includes debris, gurneys, cabinets, corners, and junctions that tempt players into making local guesses. The supplied reference copy and the local walkthrough note agree on the same solution: the EXIT signs are the route authority. If a branch or bend has a sign and another lane does not, the sign wins.
You do not need to stare at the ceiling all run, but you do need to spot the EXIT sign before a fork becomes a guess.
A more open corridor is not a better route if the sign points somewhere else.
The second chase segment uses the same logic as the first one, even if the pressure feels higher.
| Route cue | What it means in Level ! |
|---|---|
| EXIT sign | Primary navigation authority during every live chase segment |
| Morgue door | Short safety window where search order matters more than speed spam |
| Blue Keycard | Mandatory item that opens the next progression door in each safe-room section |
| Wall arrow at the end | Final confirmation that the red exit door is the real finish |
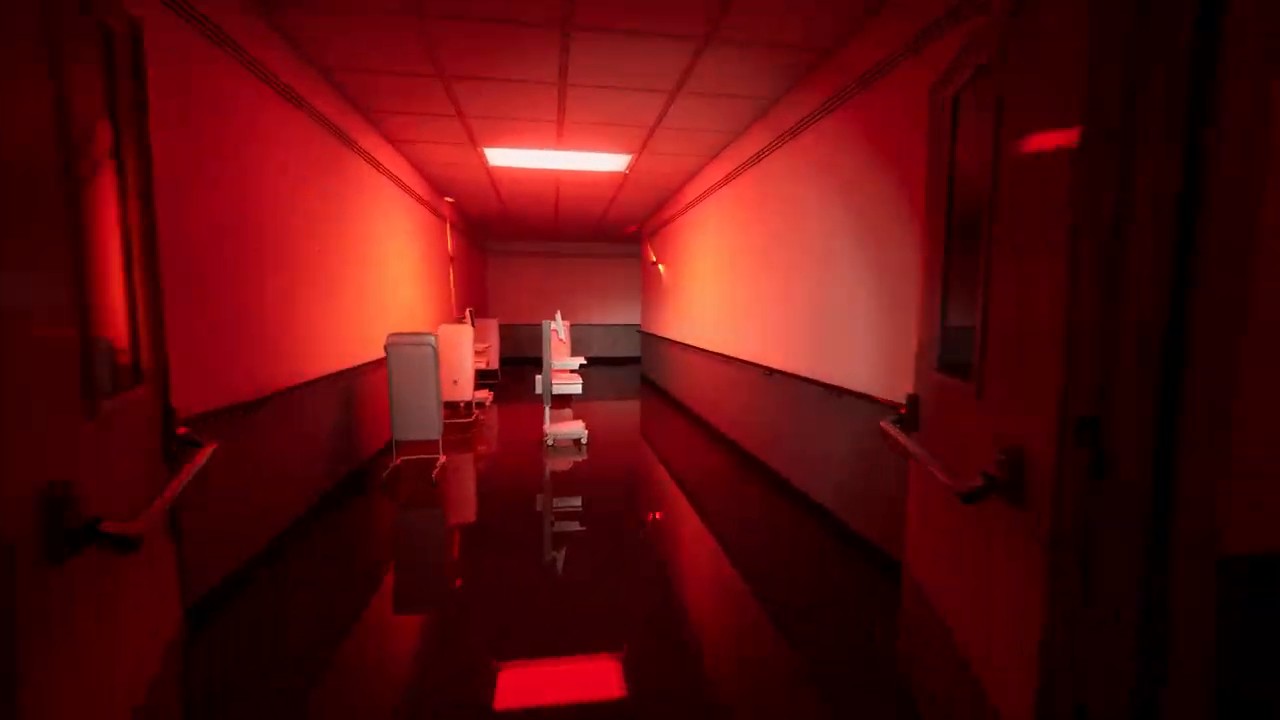
| Alarm and red lights | The chase state begins immediately and does not return to a calm exploration pace |
Use the EXIT sign as the deciding rule every time. The more you let local instinct decide, the more likely you are to lose the chase rhythm and give Scratcher V.2 the distance back.
No, not outside the Morgues. Run For Your Life punishes sightseeing. You only need enough information to stay on the marked route and avoid getting body-blocked by obstacles.
Entity
What Scratcher V.2 changes compared with earlier Scratcher encounters
Scratcher V.2 turns the sound-and-stealth identity from Level 2 Pipe Dreams into a direct chase. The dedicated Scratcher entity page already covers the broader behavior pattern, but the most useful Level ! translation is simple: here hesitation is more dangerous than noise management.

Scratcher V.2
The Level ! variant moves the encounter away from stealth and into sustained pursuit. It exists to keep every non-Morgue second under pressure and to punish route hesitation immediately.
- Chase begins with the opening alarm event and stays active for most of the level
- Short relief only exists when a Morgue door has been closed correctly
- Best survival habit is maintaining route rhythm instead of checking behind you
Hospital obstacles
Beds, gurneys, cabinets, and narrow bends are what usually convert pressure into a wipe. Players rarely die because they did not understand the objective. They die because they got clipped, turned too late, or over-corrected around clutter.
- Most dangerous when you try to make last-second angle changes beside an obstacle
- Safer to choose an edge line early than to weave tightly in the middle
- The route remains mostly linear even when local debris makes it feel chaotic
Objectives
Main tasks required to clear Level !
Once you strip away the noise, Run For Your Life is a clean five-stage objective chain.
Do not spend the first seconds trying to read the whole hospital. The level begins as a chase, not a puzzle room.
At forks and turns, use the sign route rather than instinct or cleaner-looking hallways.
Inside the first Morgue, safety comes from door timing and search order, not random frantic movement.
The second card section is the same mechanical problem with less emotional margin for error.
After the second card, there is nothing left to search. Just preserve route control until Level Fun opens.
Walkthrough
Step-by-step route through Level ! Run For Your Life
This walkthrough follows the project's local RUN note closely because the level is less about secret knowledge and more about keeping one stable chase script from start to finish.

As soon as the hospital chase starts, stop trying to scout the map
The red lights, alarm, and cluttered hallway are there to force hesitation. The right response is the opposite. Accept that this level begins in motion and commit to a sprint mindset immediately.
At every fork or turn, let the EXIT sign make the decision
Do not choose lanes by instinct. A hall that looks cleaner can still be the wrong route. The most reliable clears come from raising the camera just enough to catch the sign before every real branch.
Inside the first Morgue, close the door first and then run one search loop
This is the first place where slowing down is correct, but only in a controlled way. Hit the door control immediately, then sweep shelves, tables, and obvious flat surfaces until the Blue Keycard appears.
After leaving the first safe room, return to the exact same chase logic
Many failed runs happen here because players relax after securing the first card. The second live segment still demands the same EXIT-sign rule, the same no-looking-back rule, and the same early obstacle line choices.
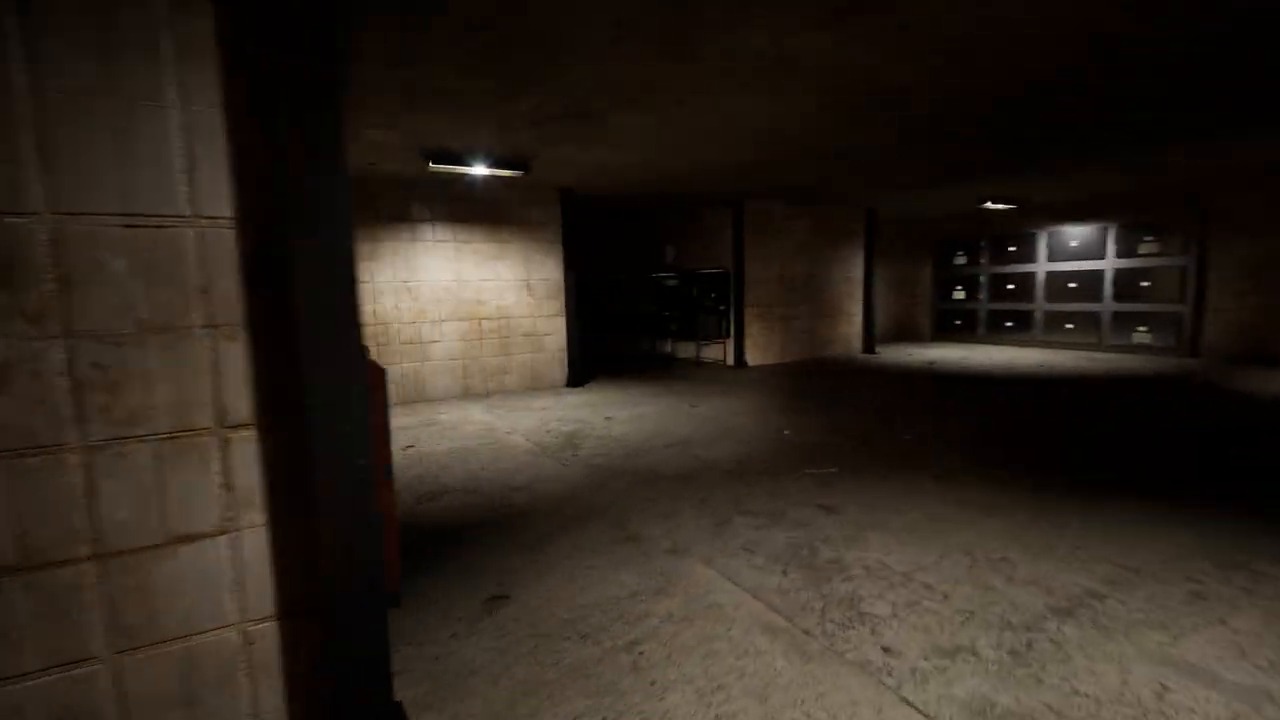
In the second Morgue, repeat the pattern but keep the search even tighter
The second safe-room window usually feels smaller because the chase pressure is fresher when you enter. Shut the door, search the nearest surfaces first, then expand only as far as needed to confirm the card.
Once the second door opens, the only task left is not getting route-drunk at the end
There is nothing left to loot or interpret. Preserve the same line discipline around obstacles, keep reading EXIT direction, and avoid over-correcting when the corridor looks busiest.
When you see the wall arrow pointing to the red door, finish immediately
The final confirmation is clear. The arrow-marked red door is the real exit. Do not keep probing side lanes after that visual appears. Open the door and move through.
In co-op, Morgue door timing matters more than route complexity
The route stays readable in teams. The fragile part is shutting the safe-room door neither too early nor too late. Let the last player in call it, and keep the voice line short enough to survive panic.
Search Pattern
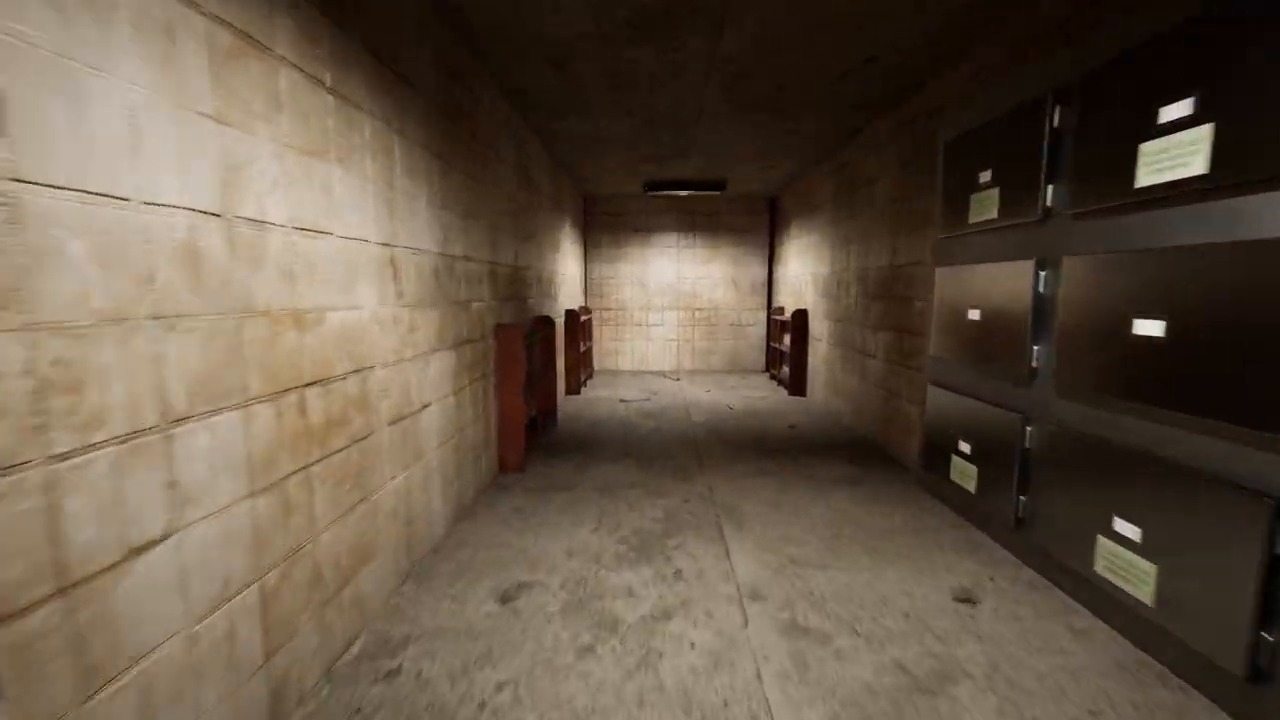
Where to look for Blue Keycards inside the Morgues
The Blue Keycard does not ask for a secret exploit. It asks for a repeatable search pattern under pressure. The local note emphasizes this difference because memorizing one spawn point is much less useful than memorizing one sweep order.
| Search element | Best practical rule |
|---|---|
| Autopsy table | Check it early because it is one of the most common obvious surfaces |
| Shelf or wall rack | Sweep shelves in one direction instead of bouncing between both sides |
| Room edge loop | Follow one wall around the room if you need a stable full clear pattern |
| Exit condition | Leave the moment one Blue Keycard is secured instead of over-clearing the room |
No. You only need the progression card, so the right mindset is not exhaustive looting. It is one clean search cycle that ends as soon as the card is found.
Because panic makes them restart the same search twice. A fixed order is stronger than raw speed here because it stops duplicate checks and dead seconds.
This embed now uses the same Level ! card cover image as the levels hub, then opens the full RUN walkthrough video when clicked.
Video Walkthrough
Watch the full Run For Your Life clear before the FAQ
Use the video when the written route makes sense but your own clear still collapses once the alarm, clutter, and Morgue timing happen in motion. It is especially useful for seeing how little decision-making the level really needs when the chase script stays intact.
Open the video if you know the rules in theory but still lose the line between EXIT-sign reads, safe-room door timing, and the final sprint to the red exit.
- how early the route commits to EXIT sign reading instead of map scouting
- how fast each Morgue search becomes once the door is closed first
- how the final arrow-marked red door is taken without extra hesitation
Co-op Tips
Best Level ! strategy for multiplayer teams
Run For Your Life in co-op is less about making the chase easier and more about preventing one door-timing mistake from ruining the whole room entry.
Let one player own the route read so the team is not making independent turn decisions in the same corridor.
This is the cleanest way to avoid shutting the Morgue too early on a teammate or too late on Scratcher V.2.
Inside the Morgue, different players can take a side or a surface cluster, but do not cross paths so much that the room becomes visual noise.
Simple calls like 'in', 'close', and 'card' outperform long reactive chatter in a chase level.
Outside the Morgue, hesitation to visually confirm every teammate usually costs more than it saves.
Stuck Points
Where most Level ! runs actually fail
If Run For Your Life keeps going wrong, it is usually one of these repeated behavior mistakes rather than a mystery route problem.
This is the classic way to lose distance and break the chase line.
The safe window starts with the door control, not with the first glance at a shelf.
A fixed loop beats frantic speed because it prevents duplicate searches.
The second live segment still uses the same route discipline and still punishes sloppy obstacle lines.
Many team wipes are not about pathfinding at all. They happen because the door closes on a teammate or stays open for the chase.
FAQ
Common Level ! questions
This FAQ targets the exact queries players usually search after getting stuck on the EXIT route, Morgue searches, or the final red door sequence.
Follow the EXIT signs through the hospital, close both Morgue doors before searching, secure one Blue Keycard in each room, then sprint to the arrow-marked red exit door leading to Level Fun.
Reduce the level to one fixed script: trust EXIT signs, keep moving outside the Morgues, shut the safe-room door first, search in one loop, and leave the instant the card is found.
Scratcher V.2 provides sustained chase pressure from the alarm onward and punishes hesitation much more directly than earlier stealth-based Scratcher encounters.
They spawn inside both Morgues, commonly on autopsy tables, shelves, or nearby flat surfaces. The important skill is the search order, not memorizing one exact spawn.
Co-op runs succeed when the team keeps one route lead and one clean Morgue door call. The most common failure point is mistimed safe-room closure, not pathfinding itself.
The red exit door at the end of Run For Your Life takes the route into Level Fun.
Source Notes
Where this page's information comes from
This page separates direct level facts from route-tested guide choices so players can see what comes from the supplied reference copy and what comes from the local walkthrough note and screenshot set.
The eight-step hospital route, the EXIT-sign decision model, the close-door-first Morgue discipline, the multiplayer door-call rule, and the final arrow-marked exit emphasis all come from the active project walkthrough note and image set for Level ! RUN.
Difficulty framing, Scratcher V.2 identification, chase mechanics, Morgue and Blue Keycard overview, item context, and the high-level objective chain were cross-checked against the supplied Level ! v0.13.4 reference document attached in this thread.
The answer-first intro, fact table, route definition language, FAQ coverage, HowTo plus FAQ schema, internal links to Level 37, Level 2, Scratcher, and Level Fun context, and the video cover alignment are all tuned for both search intent and AI citation readability.
Related Pages
Open the next page players usually need
Once the immediate RUN blocker is solved, these are the pages players usually open next for continuity, entity behavior, or the stage that feeds into this chase.
Quick Answer
The shortest Level ! solution
Follow EXIT signs, shut each Morgue door before searching, take one Blue Keycard from each safe room, then sprint to the wall-arrow red exit into Level Fun.