Level 0: The Lobby
Overview
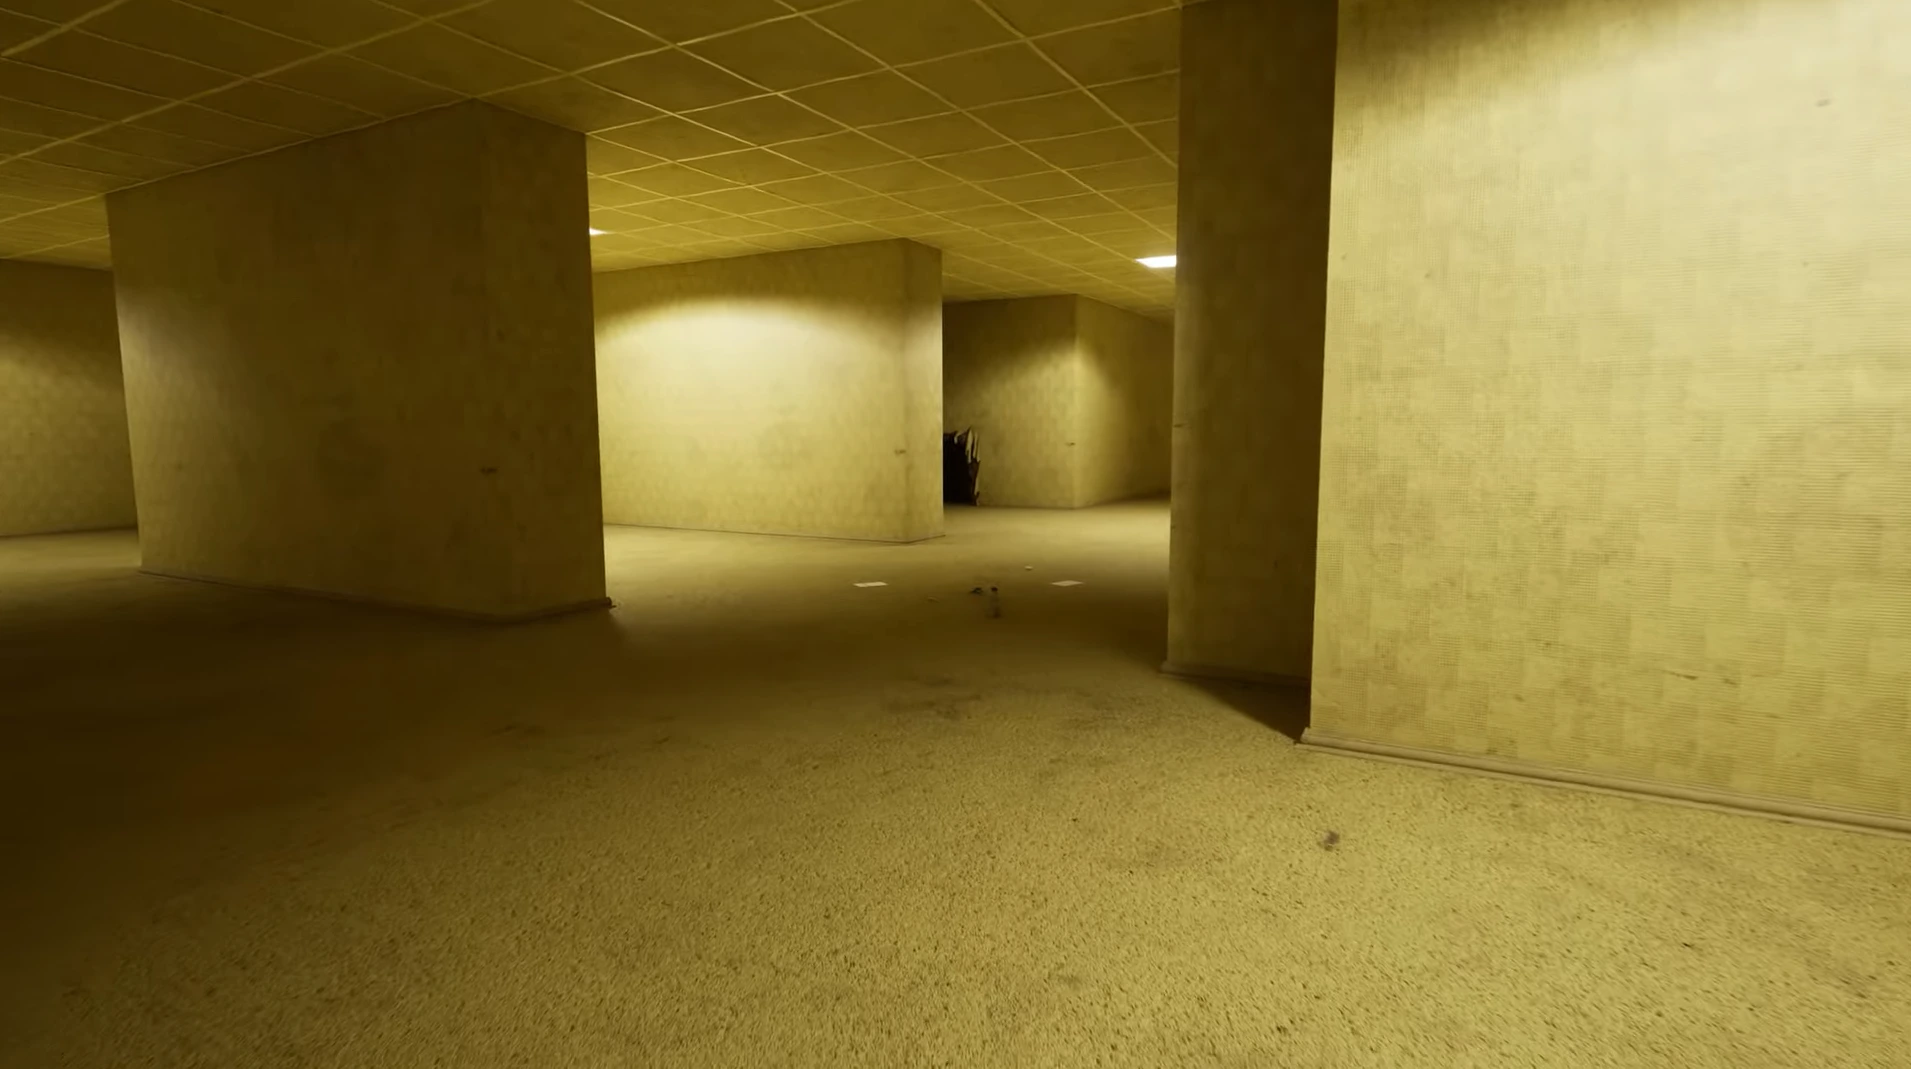
Level 0 is the game’s opening maze and a clean introduction to the rules of the run. The yellow rooms look repetitive on purpose, so the main challenge is staying oriented while you collect the early objectives and work your way back to the exit.
The level is mostly quiet, but the lower section can still turn dangerous fast. The safest way through is to keep moving, learn the layout as you go, and use the striped tape and wall openings as landmarks instead of trusting memory alone.
Use this clip as a quick visual primer before reading the route. It helps set the tone for the Lobby and the kind of movement the level expects.
Entities

Bacterium
The guide treats this as the level’s real chase threat. If it notices you, do not try to outthink it; break line of sight and move immediately.
- Most likely to matter in the first section
- Run as soon as you hear or see it
- Use wall holes or safe divider paths to survive the chase
Smiler
Smilers are part of the early recording objectives and can also show up in the darker sections. They are less about direct pressure and more about forcing you to stay alert.
- Useful for the recording objective
- Harder to read in dark areas
- Keep your camera ready when the lights change
Objectives
The first job is simple in theory and annoying in practice: sweep the walls, corners, and open sections until the tape count is done.
The guide points to blackout, alarm, and Smiler recordings. In later updates, more recording targets can appear, so keep the objective panel in mind.
When the objectives are done, head back through the lower area and look for the striped floor marker that leads to the next level.
Walkthrough
Learn the shape of the lobby
Move through the yellow rooms first and get a feel for the layout before you worry about the full objective list.
Collect tapes and watch the corners
Pick up VHS tapes as you sweep the map, especially near walls, benches, and narrow dead ends.
Handle the danger section
If the Bacterium shows up, run first and ask questions later. Hide in wall openings or use the safe divider paths when the route gives you that option.
Return to the exit marker
Once the objectives are complete, follow the familiar striped guidance back to the noclip patch and leave the Lobby cleanly.
Tips
- Keep the flashlight behavior under control in darker sections.
- Use the yellow-and-black floor tape as a route reminder.
- In multiplayer, stay near the team but split slightly when searching for tapes.
- Do not overstay in the lower area once the route is clear.