Level Fun Guide
Level Fun: FUN =)
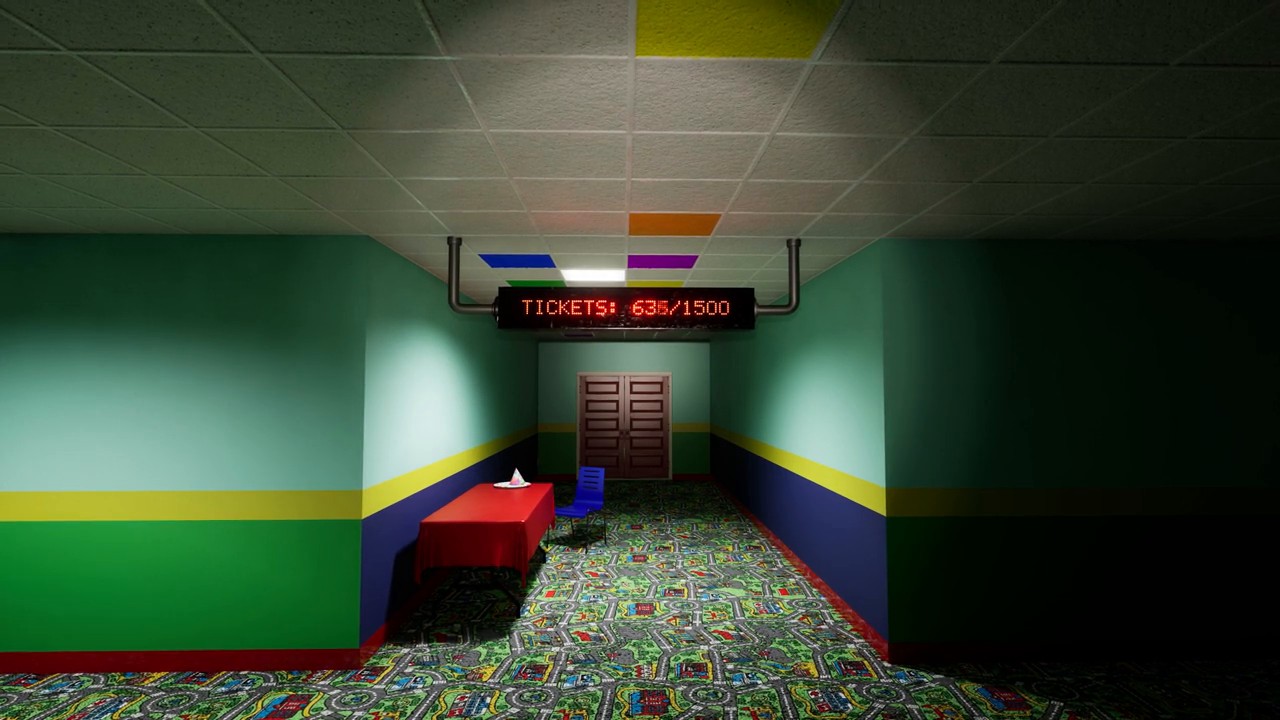
Level Fun is the party-themed ticket level where a bright indoor play center hides one of the route's nastiest pressure shifts. The route is simple in outline: use the opening Birthday Room as a quick supply stop, drop into the party zone, build your score to 1500 Tickets through minigames, locate the real exit, survive Partygoer pressure during blackout events, then clear Red Light Green Light and take the red slide into The Hub.
This page combines the supplied Level Fun v0.13.4 reference copy with the project's local walkthrough note, so the guide covers both the official level facts and the route-tested habits that stop this stage from turning into coin waste, Ticket loss, and panic loops. If you just came from Level ! Run For Your Life , treat this page as a change in pace, not a drop in danger.
Quick Facts
Before you enter
Level Fun is a ticket-farming survival level disguised as a cheerful play center. The supplied v0.13.4 reference copy defines the main gate clearly: you need 1500 Tickets, the real exit is hidden until that threshold is met, and Partygoer becomes much more dangerous when blackout events strip away visibility and rhythm.
- Difficulty
- Class 4 / Highly Unsafe
- Main entity
- Partygoer
- Core mechanic
- Minigames, Tickets, coins, and a hidden real exit
- Main progression gate
- Reach 1500 Tickets, then finish Red Light Green Light and take the red slide to The Hub
The page hero and the video embed both use the same Level Fun card image, so the stage keeps one consistent visual identity across the hub and the guide.
Quick Answer
How to clear Level Fun
Loot the opening room lightly, find the marked drop into the party zone, cross the bridge cleanly, farm high-value minigames until you reach 1500 Tickets, use coins for route control instead of random doors, protect your score during blackout pressure, then finish Red Light Green Light and jump into the red slide.
Best route rule
Search the party zone with control. Do not sprint every corridor like a chase map.
Main danger
Partygoer pressure during blackout events and score loss from rushed Red Light Green Light movement.
Best resource rule
Coins are more valuable for direction control and critical doors than for blind room gambling.
Fast-clear result
1500 Tickets reached, real exit found, final minigame cleared, The Hub unlocked.
Definitions
A few terms worth defining
This section keeps the stage's mechanics in short, standalone answer blocks.
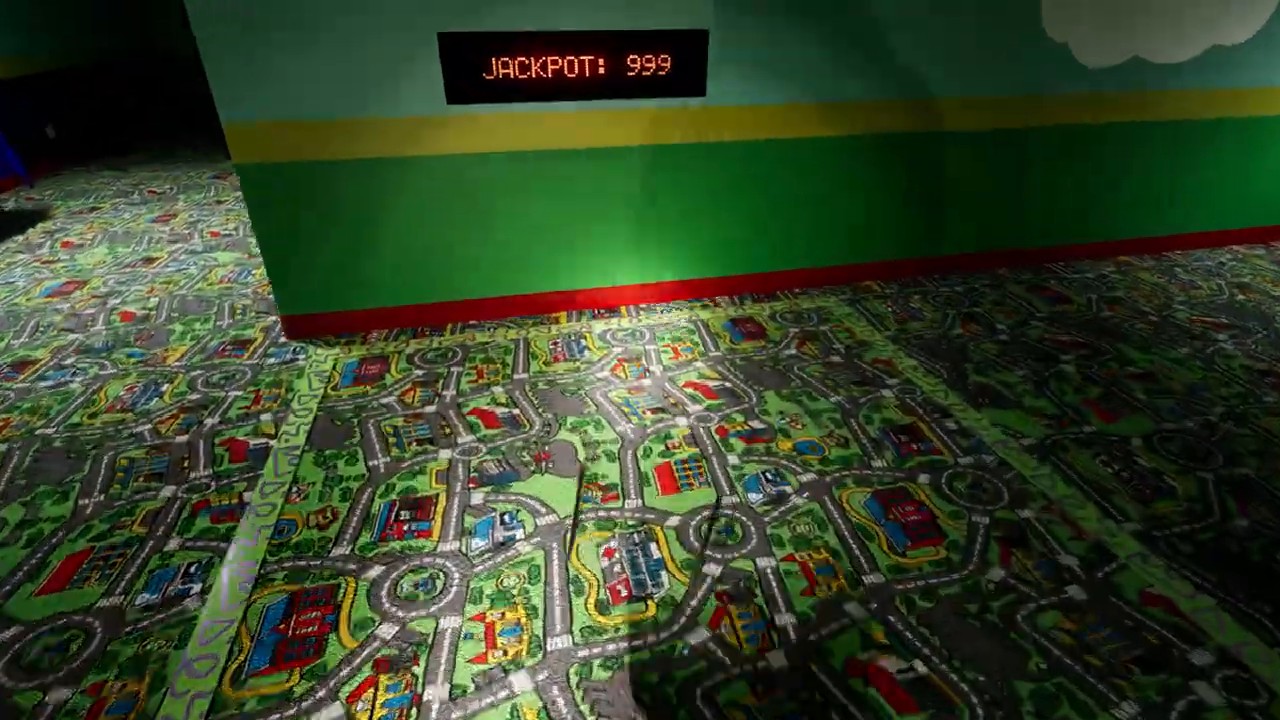
Level Fun is the Backrooms: Escape Together stage built around minigame Ticket farming, hidden-exit navigation, and Partygoer pressure inside a bright party maze.
The Exit Locator is a coin-activated guidance tool that points toward the real exit. The supplied v0.13.4 reference copy says using it costs 2 Coins, and not every Safe Room contains one.
A blackout event is the stage-wide power loss where music stops, visibility drops sharply, and Partygoer shifts from ambient pressure into a much more active hunting threat.
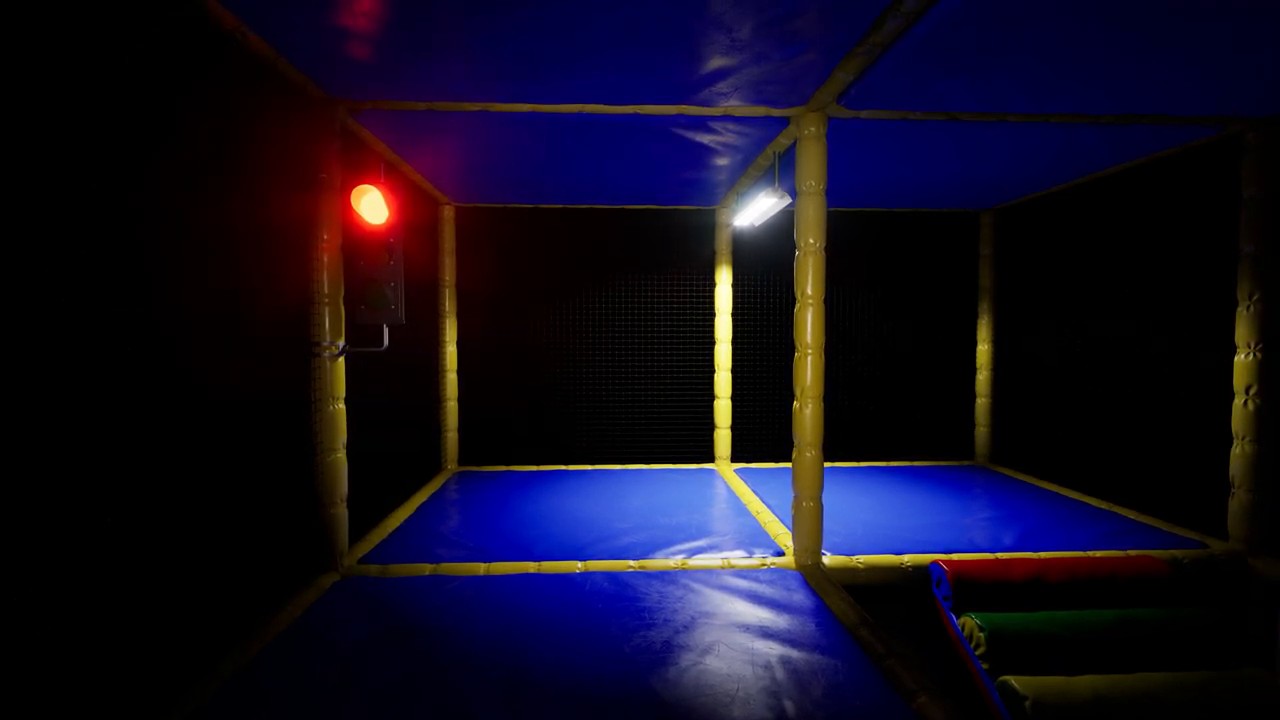
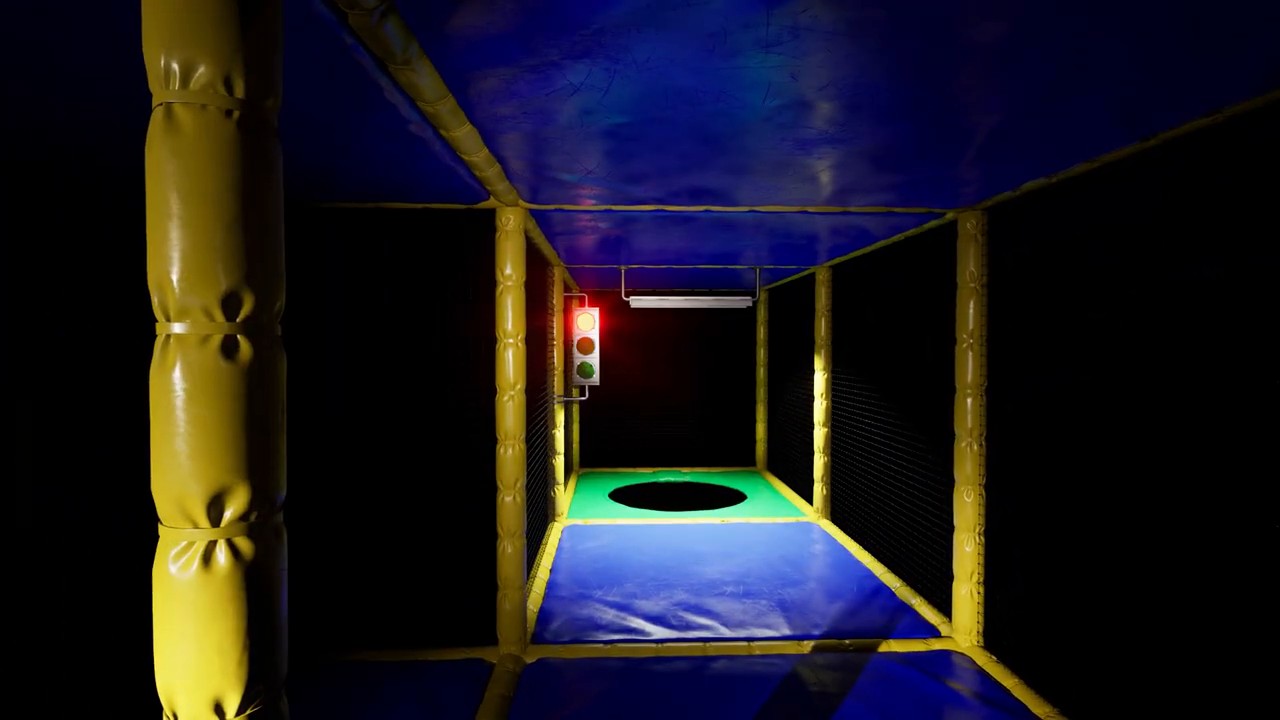
Red Light Green Light is the final Level Fun minigame where green allows movement, yellow warns you to stop, and red punishes movement by removing Tickets.
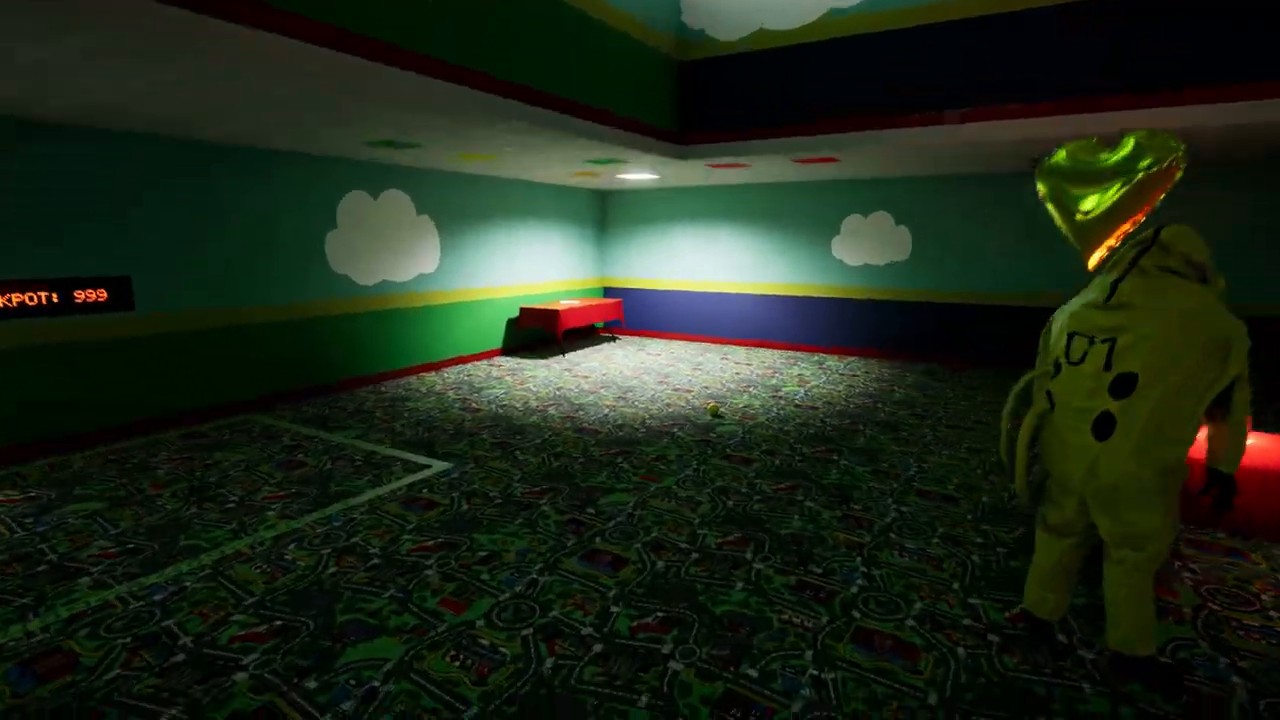
Partygoer is the listed Level Fun entity. Its real danger comes from punishing route panic, especially when blackout events break the player's orientation and rhythm.
The Ticket threshold is the hard progression gate of 1500 Tickets. Even if you know where the exit is, the level does not actually end until that score requirement is met.
Overview
Why Level Fun is really a score-control level, not a pure maze level
The easiest way to misread Level Fun is to think the whole problem is finding the exit. The local walkthrough note pushes against that mistake hard: this stage is more like a looped scoring route where survival, resource control, and clean movement matter more than one perfect memorized path. You need enough Tickets, enough composure, and enough route sense to protect the score you already built.
That is why the stable clear pattern is so repeatable. Loot lightly in the main room, enter the lower party area, move slowly enough to keep orientation, spend coins where they actually reduce uncertainty, and treat Red Light Green Light as score preservation rather than a reckless sprint.
Best short description
A deceptive party maze where score management decides whether the exit matters at all.
Biggest trap
Thinking every room and every coin door is worth full exploration.
Best solo habit
Slow down in the party zone so you preserve direction and stop feeding panic to Partygoer.
Best co-op habit
Use short voice calls for lights, route, and score state rather than overlapping chatter.
Fact Table
Level Fun difficulty, entity, mechanics, and exit summary
This answer-first table condenses the most searchable Level Fun facts into one extractable block for quick scanning, snippet visibility, and AI-summary use.
| Field | Level Fun detail |
|---|---|
| Level name | FUN =) |
| Difficulty | Class 4 / Highly Unsafe |
| Listed entity | Partygoer |
| Listed mechanic | Minigames |
| Main progression task | Reach 1500 Tickets, find the real exit, and complete Red Light Green Light |
| Exit Locator cost | 2 Coins |
| Locked door cost | 1 to 5 Coins depending on the door |
| Final destination | The Hub through the red slide |
Objectives
Main tasks required to clear Level Fun
Once you strip away the party visuals and random room pressure, the level becomes a clear five-part objective chain.
Grab quick food and coins, then use the opening space as a short setup phase instead of diving immediately without supplies.
Find the marked drop, clear the broken bridge safely, and arrive with enough control that the real search starts stable instead of tilted.
Use minigames, coins, and practical room checks to build Ticket progress without trying to clear every possible branch.
Treat the score board as the actual gate. Until the threshold is met, the real exit is not enough by itself.
Beat Red Light Green Light with disciplined stops, return to the Birthday Room, then take the red slide to The Hub.
Resources
Which Level Fun resources matter most
The supplied reference copy and the local note agree on the same core idea: Level Fun is easier when you stop treating every pickup equally.
| Resource | Why it matters in Level Fun |
|---|---|
| Tickets | The hard progression requirement. You need 1500 before the finish can actually resolve. |
| Coins | Coins unlock doors and the Exit Locator, so they are the level's best anti-confusion resource. |
| Food | Food stabilizes long searches and lets you recover from overextended loops in the party zone. |
| Safe Rooms | Safe Rooms can reset the rhythm, may contain an Exit Locator, and give you a better place to rethink direction. |
| Score board | The score board tells you whether you need one more high-value round or can move directly into the finish logic. |
No. Coins matter most when they unlock useful route information, high-value rooms, or a cleaner path back to exit progress. Blindly opening every paid door often creates more drift than value.
The Exit Locator is strongest when you have already built a solid score and route awareness is starting to collapse. Spending 2 Coins to restore direction is usually better than wandering several more rooms under pressure.
Minigames
Best Ticket sources in Level Fun
This table keeps the minigame logic simple and extractable. The exact random layout can change, but the role of each activity in the scoring loop stays consistent.
| Minigame | Ticket role in the run |
|---|---|
| Skee Ball | Reliable Ticket income when you want controlled score growth rather than route gambling. |
| Basketball | Good Ticket source when you can execute cleanly and avoid wasting time on repeated low returns. |
| Arcade Machines | Flexible Ticket income that often fits naturally into room-to-room search rhythm. |
| Air Hockey | Another score source that can be worth taking if it sits on a clean route rather than a long detour. |
| Playground activities | Usually lower-value Ticket gain, so they matter more as bonus progress than as the main scoring plan. |
Walkthrough
Step-by-step route through Level Fun
This walkthrough follows the local Level FUN note closely because the most useful version of the stage is not one perfect map seed. It is one repeatable behavior pattern that keeps the level stable even when room layout details shift.
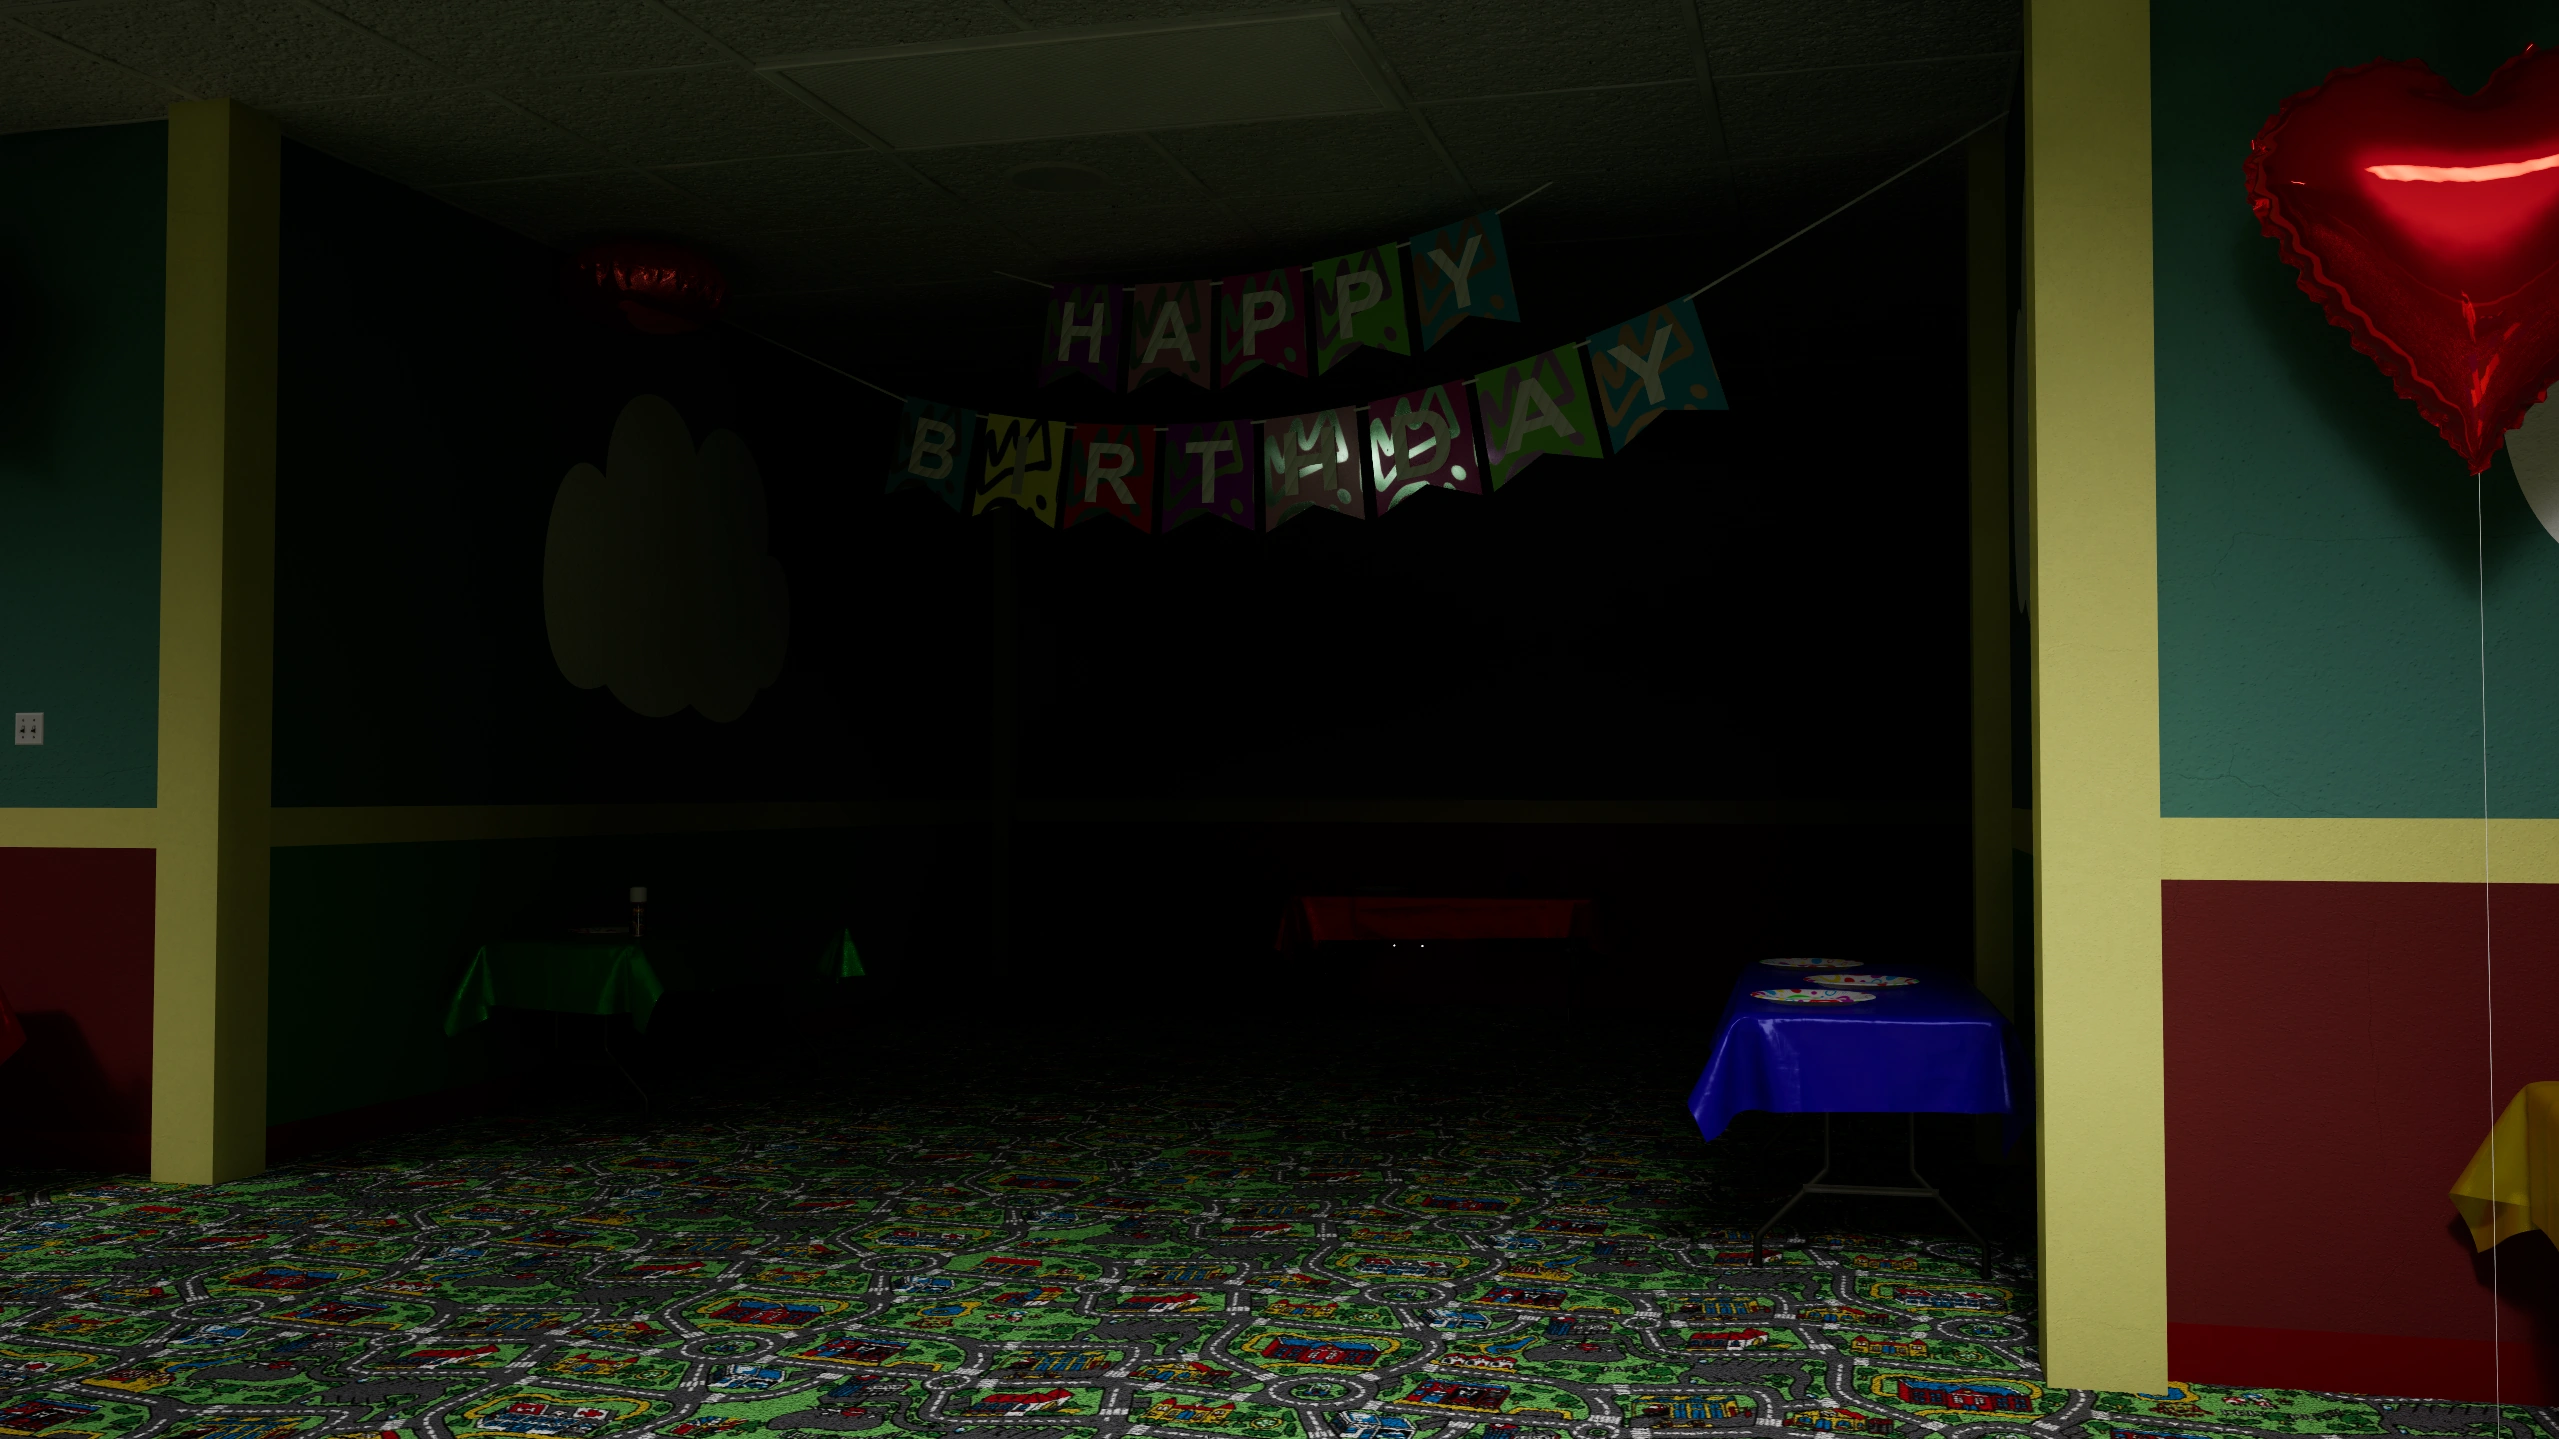
Treat the Birthday Room as a supply station, not as dead time
At the start, sweep the main room quickly for food and coins, then remember where the score board and room center are. The point is not to farm the room dry. The point is to enter the next section with enough resources and enough orientation to judge later loops correctly.
Find the drop point and clear the broken bridge without rushing
The route into the lower section is where some runs get thrown away for no good reason. The local note emphasizes the same fix every time: see the landing clearly, take the jumps cleanly, and do not convert one bridge mistake into a full rhythm reset.
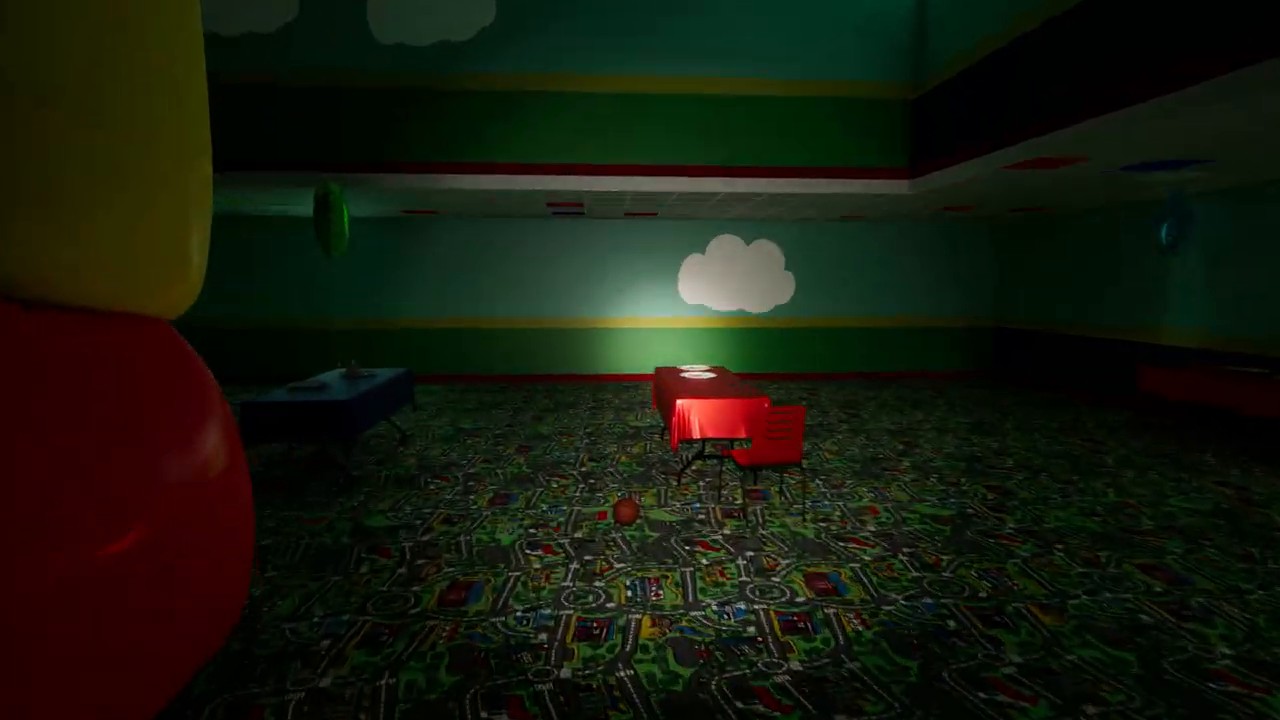
Inside the party zone, slow down enough to keep direction
This is the most important behavioral switch in the whole page. Level Fun looks playful, but the correct movement style is slow, deliberate, and selective. Grab useful resources, note meaningful doors, and avoid letting identical rooms turn the run into panicked over-searching.
Use the score board to decide whether you need one more scoring loop
The walk note keeps returning to this because it solves a common failure mode. After a minigame cycle, check your Ticket total before committing again. If you are still below 1500, run another controlled loop. If you are close, choose the safest high-value finish rather than the flashiest one.
In Red Light Green Light, score protection matters more than aggressive distance
Green means move. Yellow means prepare to stop immediately. Red means full freeze. The note's key practical point is that most lost Tickets come from greed during late-yellow movement, not from misunderstanding the rules.
Take high-value opportunities only when they fit your current route state
A good room or strong Ticket opportunity is only worth taking if it does not blow up your orientation and coin economy. The stable clear is not about grabbing every shiny detour. It is about keeping score growth aligned with exit progress.
In co-op, use the main room to reset roles and score state between loops
Teams usually do better when one player tracks score and route state while another watches pickup flow or light changes. Coming back to the main room is the best moment to reset those jobs before the next pass.
After the final minigame, finish cleanly and take the red slide without overthinking
Once the Ticket requirement is solved and the final sequence is done, there is no value in lingering. Re-enter the Birthday Room, use the red slide, and move directly into The Hub.
Threat Logic
What Partygoer and blackout events actually punish
The dedicated Partygoer guide covers the entity itself, but the most useful Level Fun translation is simple: Partygoer is strongest when the player loses composure, route memory, or light-based awareness. The blackout event is what turns that weakness into a wipe condition.

Partygoer
Partygoer is the listed Level Fun entity and the emotional center of the level's danger. It matters because the stage's bright presentation encourages exactly the kind of false safety reading that gets players punished.
- More dangerous when the player starts improvising under pressure
- Much nastier when blackout removes visual comfort and music rhythm
- Best counter is controlled movement, not speed panic
Blackout plus lookalike rooms
A blackout does not just make the room darker. It also breaks confidence. In a level full of similar doors and corridors, that loss of confidence is what causes costly loops, bad turns, and rushed exposure.
- Most dangerous when music stops and the player keeps pushing blind
- Safer when you fall back to a controlled room or reset point
- Best habit is to preserve direction before the blackout happens
This embed now uses the project Level Fun card image as the cover, then opens the full #FUN walkthrough video when clicked.
Video Walkthrough
Watch the full Level Fun clear before the FAQ
Use the video when the written route makes sense but your own runs still fall apart once the party-zone search, Ticket pacing, and Red Light Green Light timing have to happen in motion.
Open the video if you understand the 1500 Ticket requirement in theory but still waste coins, lose your direction, or bleed score in the final minigame.
- how lightly the opening room is looted before the real route begins
- how the party zone is searched without turning every room into a full clear
- how Red Light Green Light is played as score protection rather than desperation sprinting
Co-op Tips
Best Level Fun strategy for multiplayer teams
Level Fun in co-op is not just easier because more people can search. It is easier because teams can divide awareness, route memory, and final-light callouts.
Let one player keep track of score state so the team knows whether another full loop is needed.
A simple direction lead stops the party zone from turning into four different searches at once.
Calls like 'go', 'yellow', and 'stop' are enough. Longer speech usually arrives too late to help.
One player can watch resources while another remembers the route, but do not spread so far that a blackout destroys regrouping.
Once the finish is ready, complete the end cleanly instead of drifting back into side rooms for marginal extras.
Stuck Points
Where most Level Fun runs actually fail
If Level Fun keeps collapsing, it is usually one of these repeatable player habits rather than a mysterious random seed problem.
Skipping the first coins and food often makes later route control much worse than it needs to be.
A sloppy entry wastes time and focus before the real scoring loop even starts.
Level Fun rewards controlled value extraction, not total map cleansing.
A 2-Coin Exit Locator use is often cheaper than multiple lost loops under blackout pressure.
Late-yellow overreach is one of the easiest ways to turn a winning score line into avoidable Ticket loss.
Without checking the board, players often run one extra dangerous cycle they did not actually need.
FAQ
Common Level Fun questions
This FAQ targets the exact queries players usually search after getting stuck on Tickets, Partygoer pressure, blackout events, or the final Red Light Green Light sequence.
Loot the Birthday Room lightly, enter the party zone cleanly, farm minigames until you reach 1500 Tickets, use coins for route control, survive blackout pressure, then finish Red Light Green Light and take the red slide to The Hub.
You need 1500 Tickets. That score threshold is the main progression gate of the stage.
The Exit Locator points toward the real exit. The supplied v0.13.4 reference copy states that it costs 2 Coins to use and that not every Safe Room contains one.
Treat the level as hostile from the start, move slowly in the party zone, avoid turning blackout into panic movement, and use safe reset points before your direction completely collapses.
Move on green, prepare to stop on yellow, and freeze fully on red. The safest finish comes from protecting Tickets instead of gambling for one extra step.
After the final sequence, the red slide takes you to The Hub route section of the levels list and out of the active FUN stage.
Source Notes
Where this page's information comes from
This page separates direct level facts from route-tested guide choices so players can see what comes from the supplied Level Fun reference copy and what comes from the project's own walkthrough notes and screenshots.
The opening-room supply rule, the bridge discipline, the slow-search party-zone logic, the Ticket board decision model, the co-op voice-call advice, and the final score-protection framing all come from the active project Level FUN walkthrough note and image set.
The 1500 Ticket requirement, Class 4 difficulty framing, Partygoer identification, blackout explanation, Exit Locator cost, locked-door coin range, Red Light Green Light finish, and red-slide exit to The Hub were cross-checked against the supplied Level Fun v0.13.4 reference material attached in this thread.
The answer-first opening, quick fact table, direct definitions, standalone FAQ answers, HowTo plus FAQ plus Video schema, internal links to Run For Your Life, Partygoer, and the levels hub, and the level-card video cover alignment were all tuned for both on-page SEO and GEO readability.
Related Pages
Open the next page players usually need
Once the immediate Level Fun blocker is solved, these are the pages players usually open next for continuity, entity behavior, or the stage that feeds into this one.
Quick Answer
The shortest Level Fun solution
Build a stable Ticket loop to 1500, spend coins on direction when needed, survive blackout pressure without panicking, then beat Red Light Green Light and take the red slide to The Hub.