
Levels Hub
Backrooms: Escape Together Levels
Backrooms: Escape Together is built around a set of 12 procedurally generated levels. Use this page as the main stage list and quick reference for how the game's structure unfolds.
The cards below give a short plain-language summary of each known level so players can scan the full route at a glance before opening a deeper guide.
Current stage count
12 procedurally generated levels
Page role
Level list and progression overview
Best use
Scan the route, then open the stage that matches your blocker
Link policy
Use live guide pages whenever you want the fastest route from the level list into a real answer.
Full Level List
All known Backrooms: Escape Together levels
These cards summarize the current level set. They are intentionally short so the hub stays readable and easy to scan on mobile.
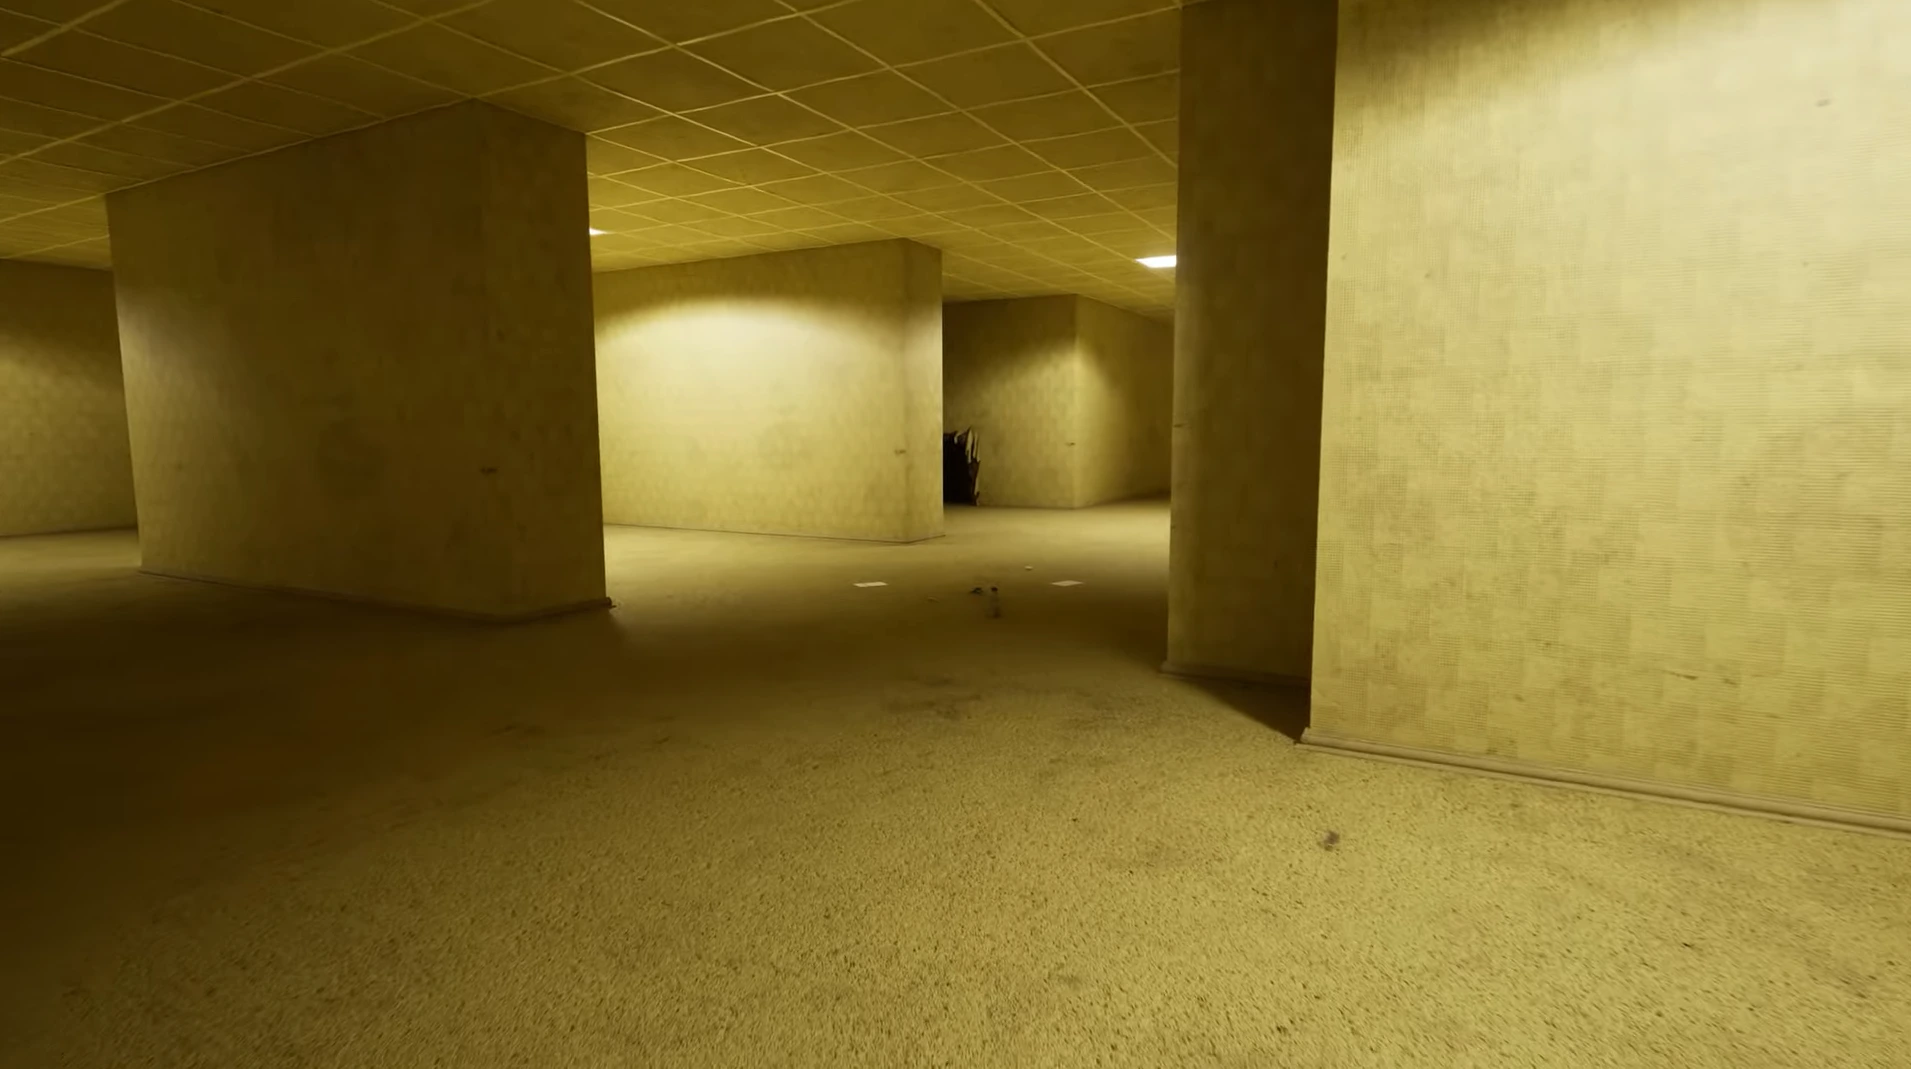
Endless yellow corridors, damp carpet, and the fluorescent hum overhead make The Lobby the place where most runs truly begin. Isolation, monotony, and early threats like Bacteria and Smilers turn this first step into a pressure test of awareness.
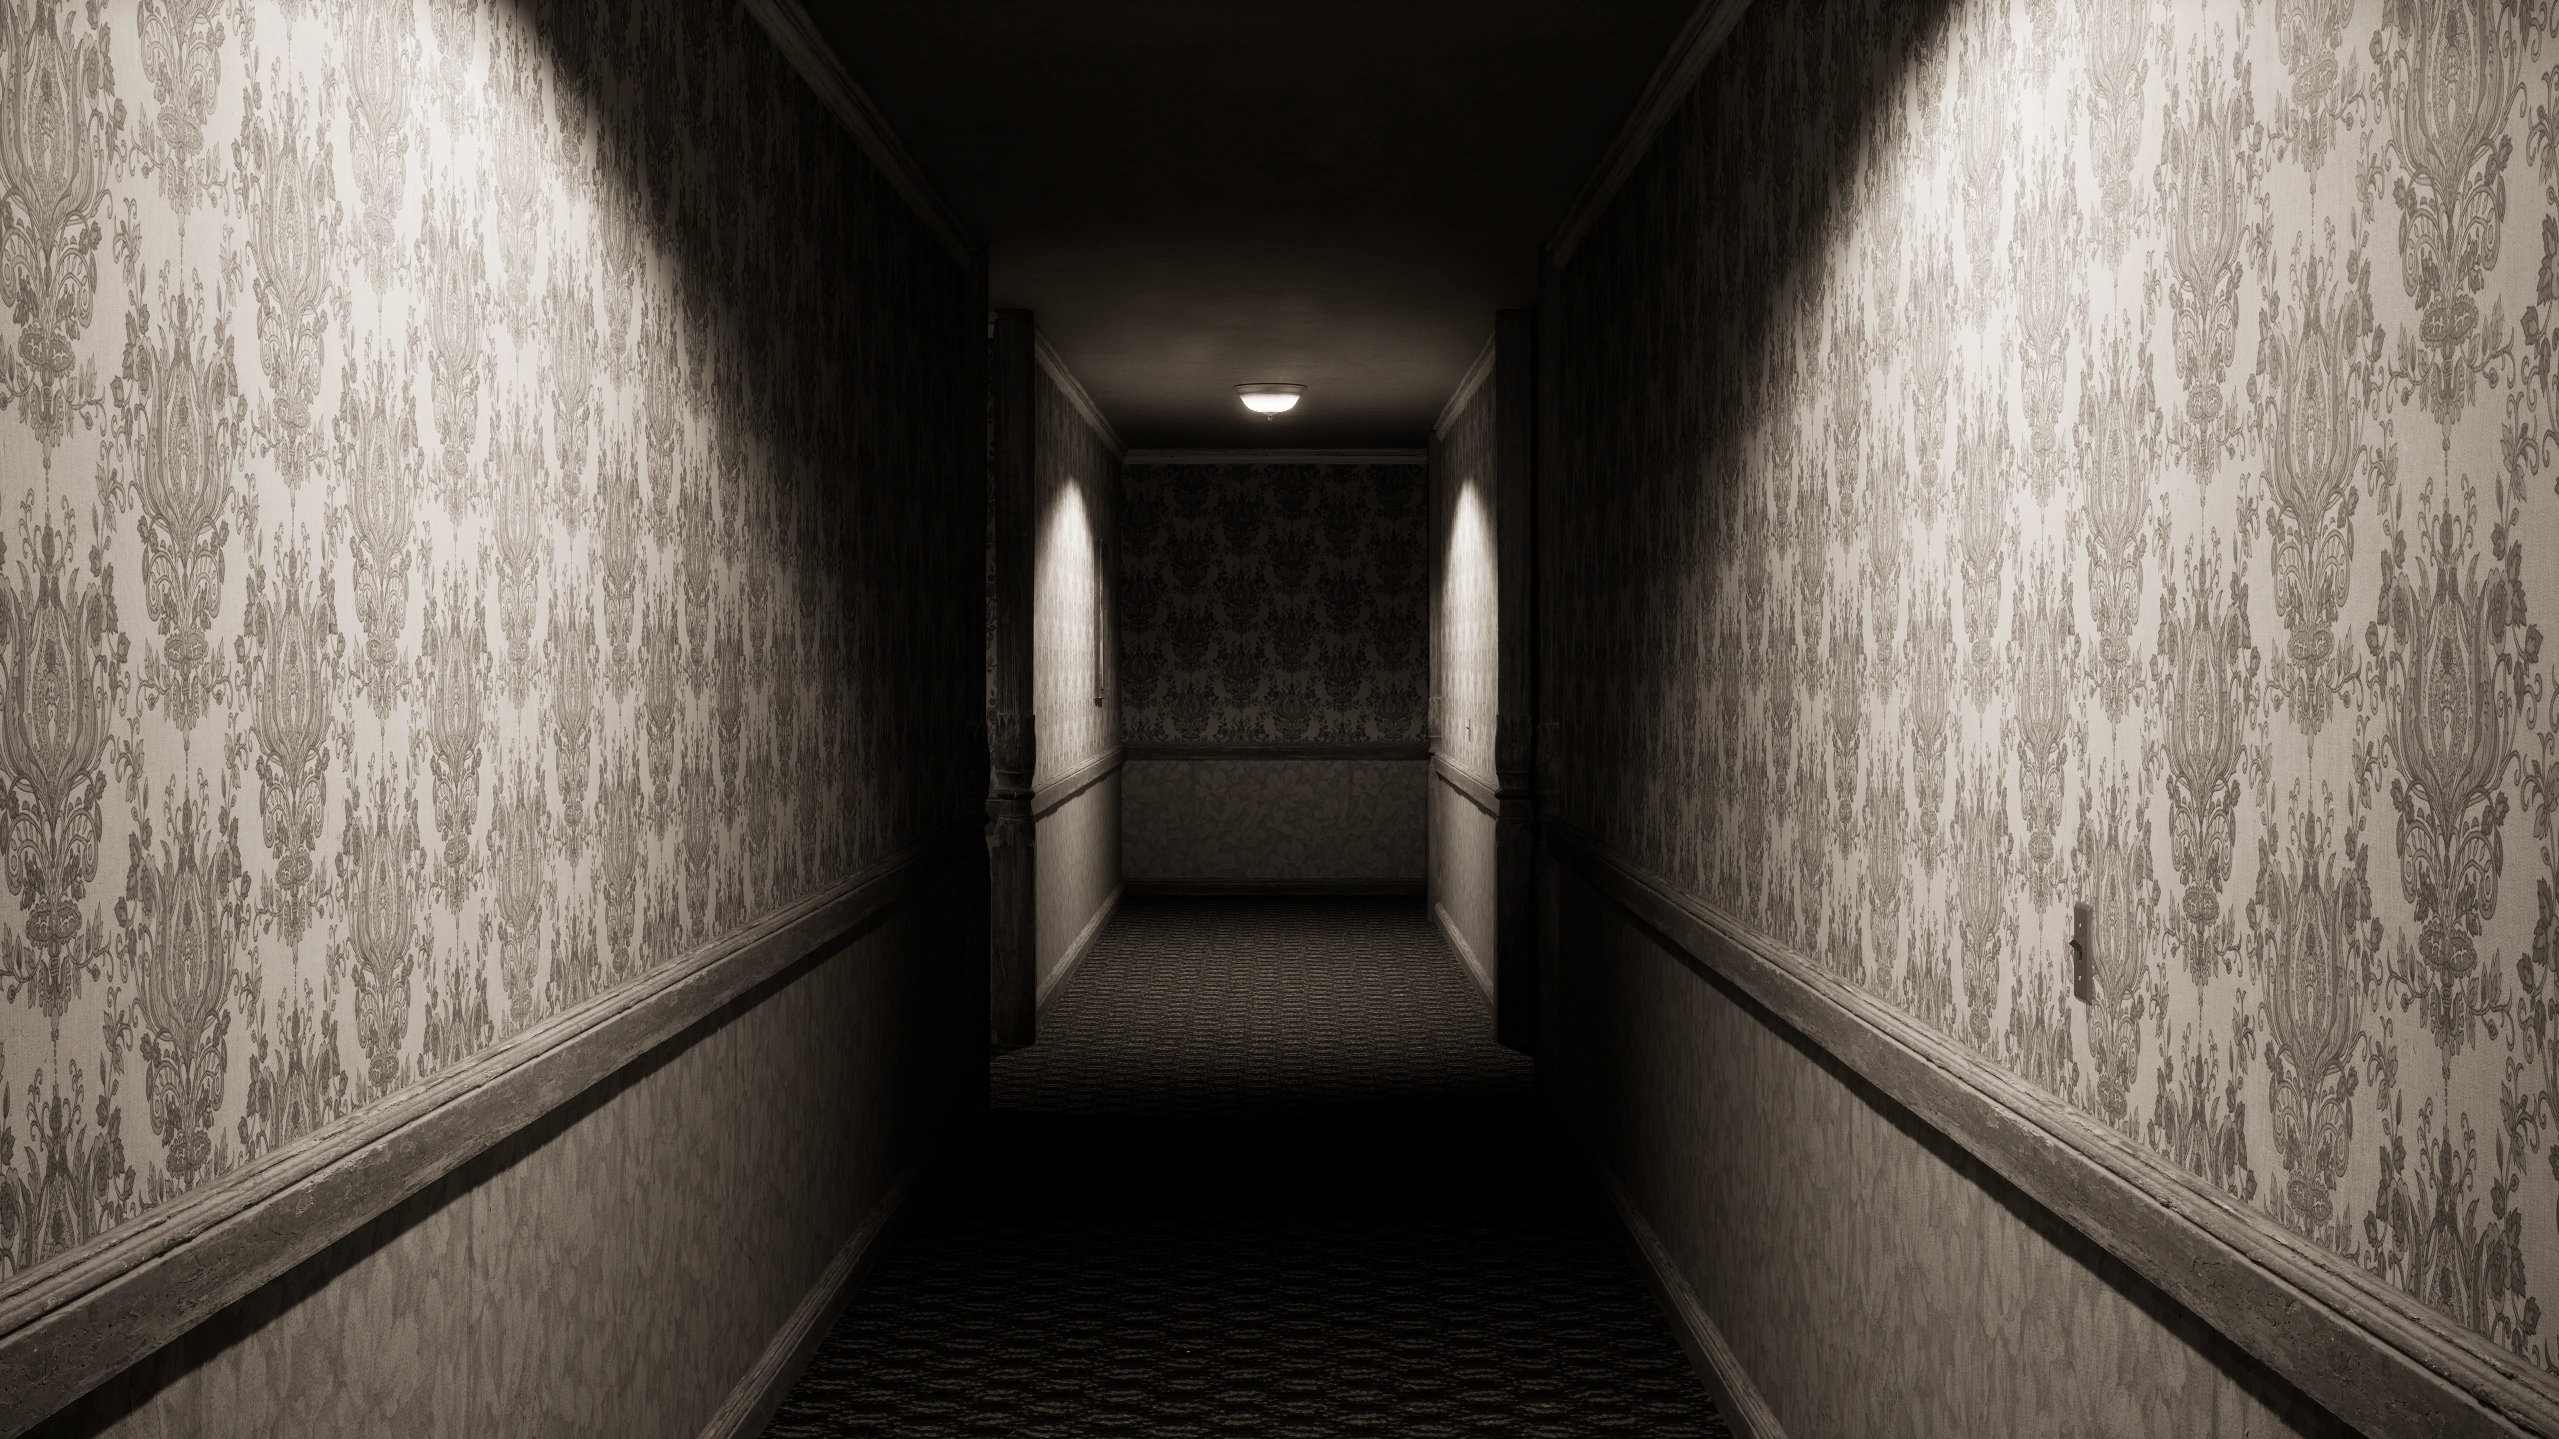
A faded hotel of decaying wallpaper and rotting doors, Grayscale Halls bends perception and makes orientation unreliable. Few expeditions return from it, and the room-lighting ritual gives the level a more ritualistic pace than a normal escape route.
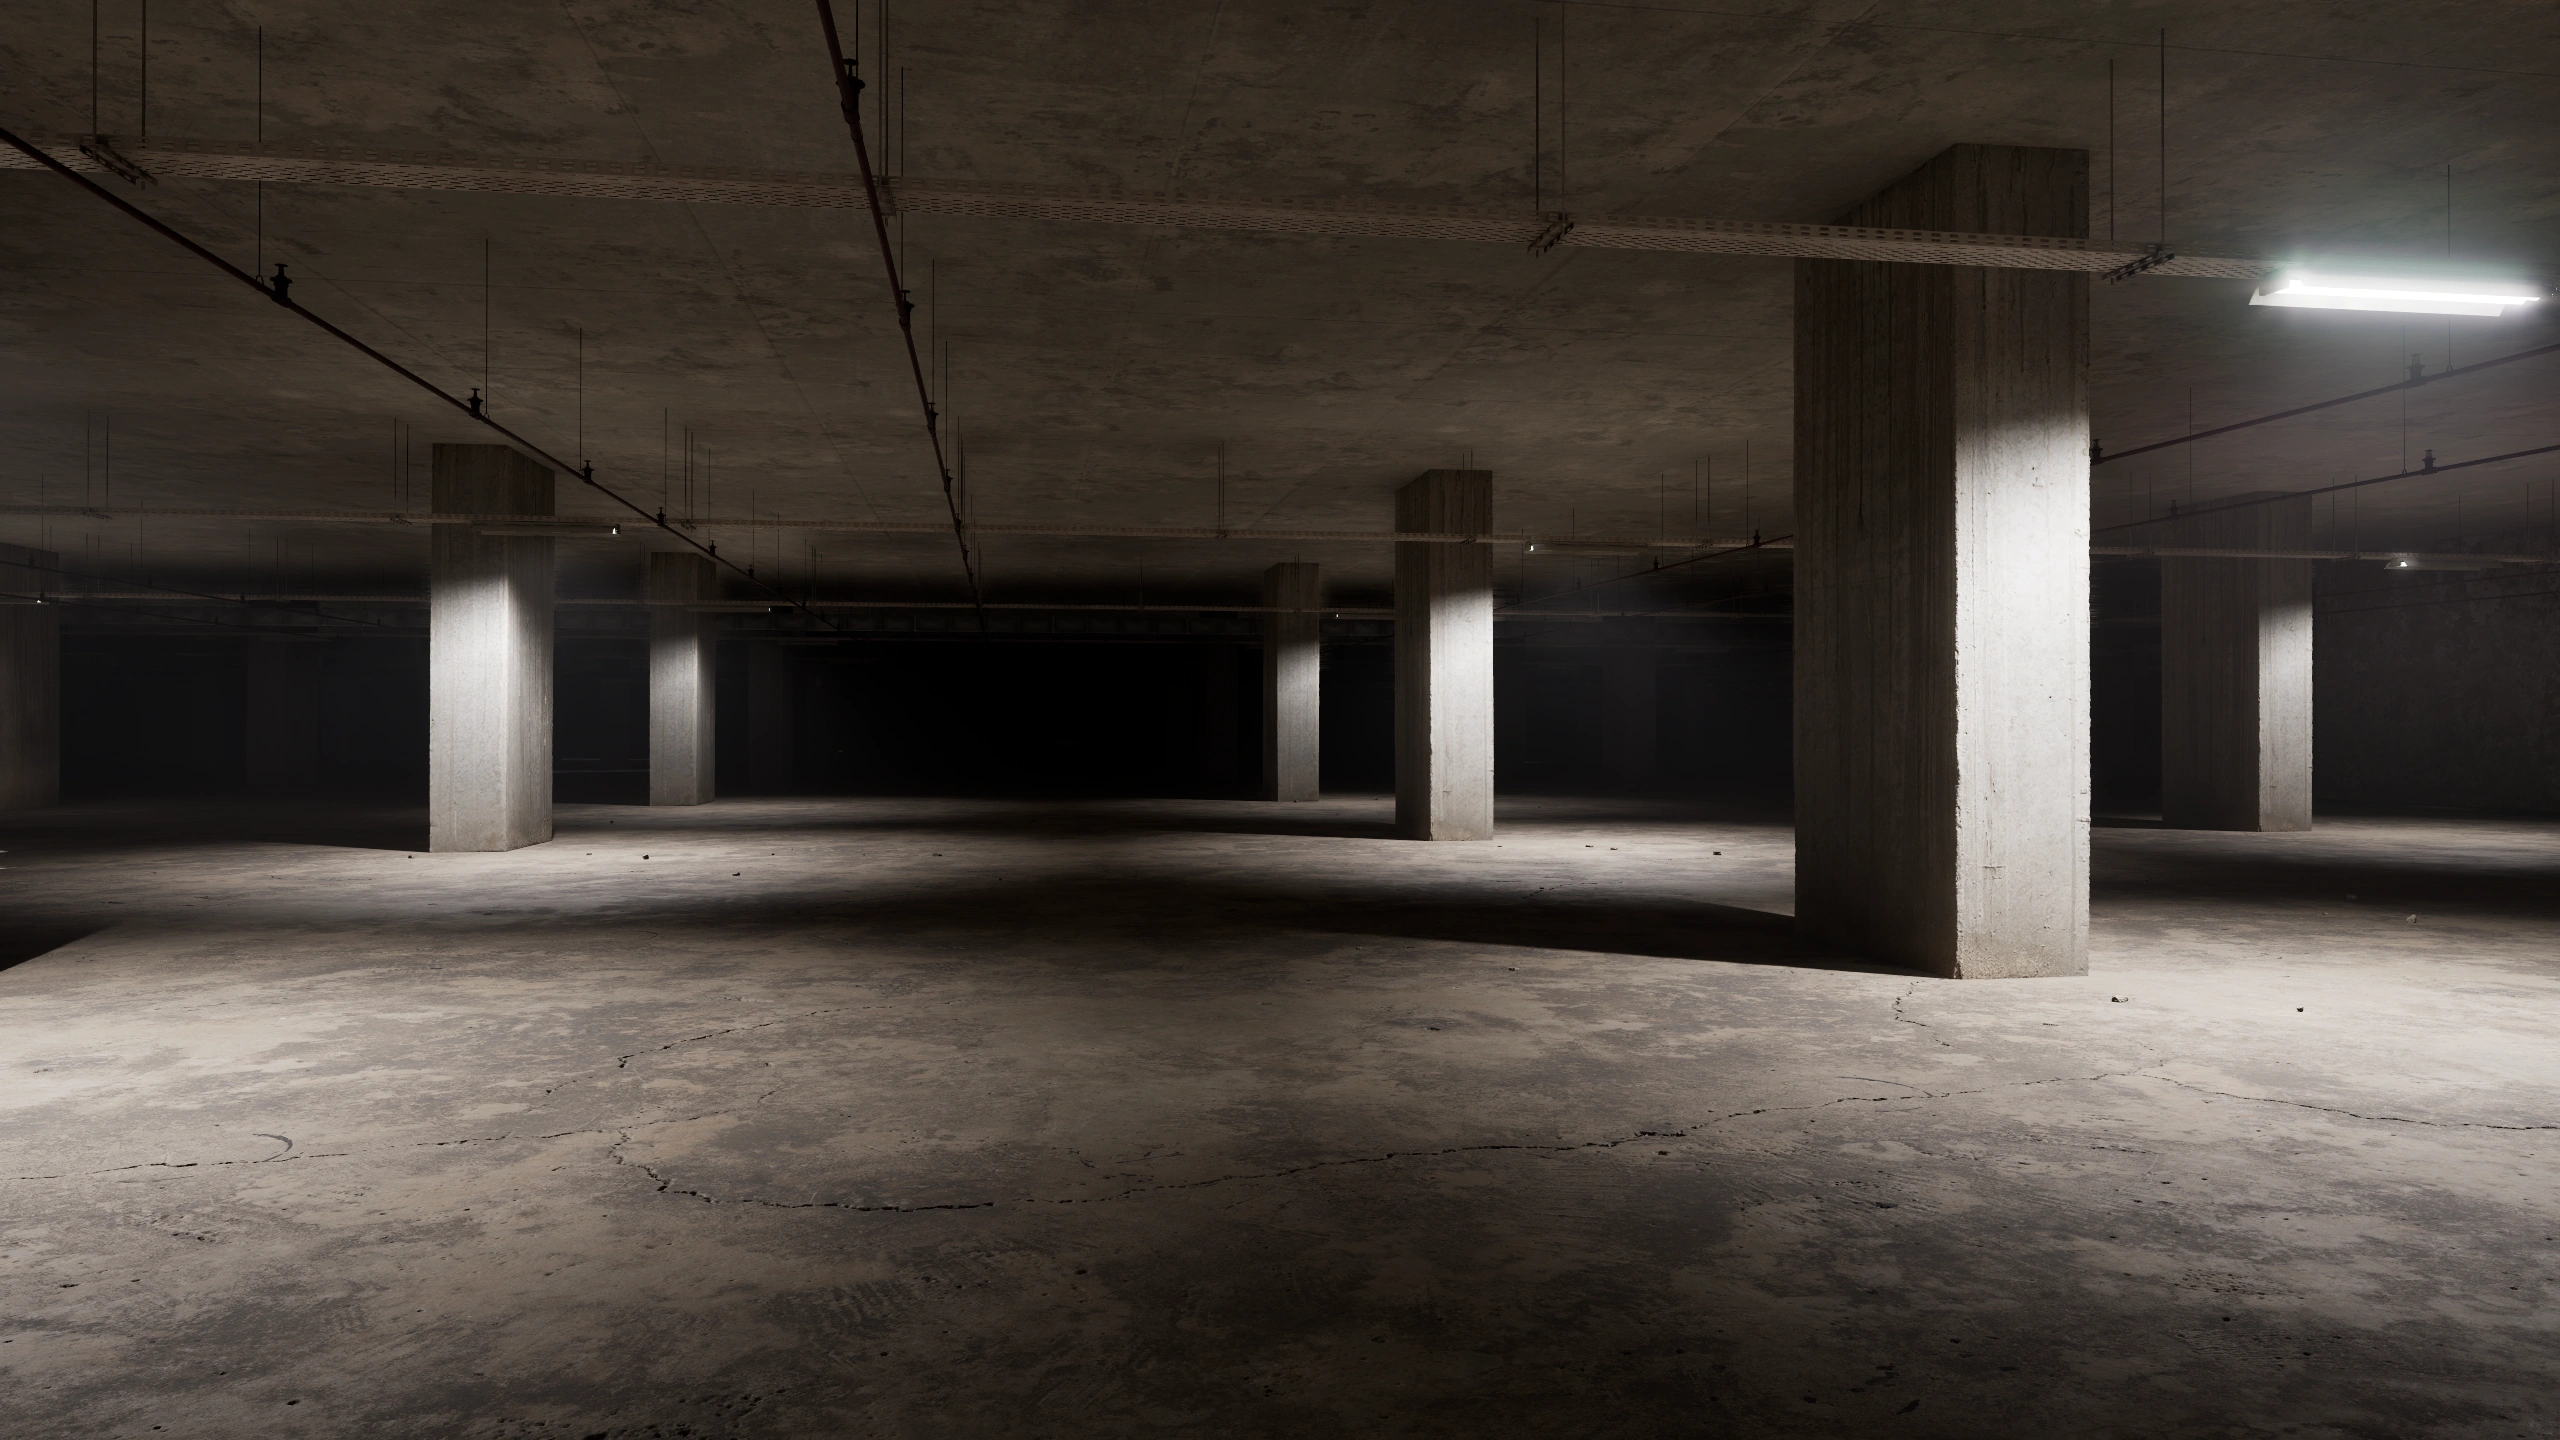
Habitable Zone feels more stable than many Backrooms spaces, but its long dark stretches and scattered supply rooms still carry real risk. Blackouts bring Skin-Stealers into play, and restoring generator power is the key to unlocking the way forward.
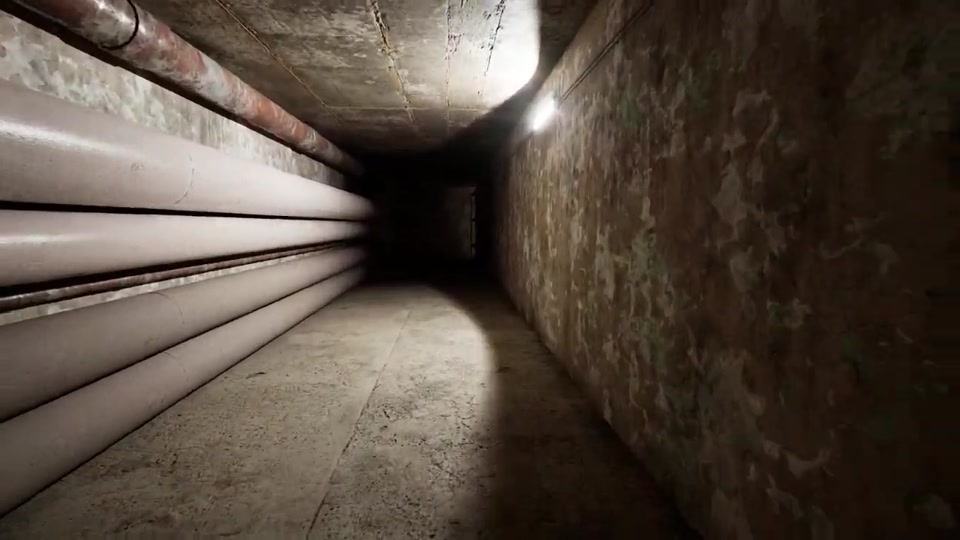
Pipe Dreams is a narrow industrial maze of service tunnels, extreme heat, and constant mechanical noise. The Scratcher hunts by sound rather than sight, so stealth matters more than speed while players work through the hidden valve-routing system.
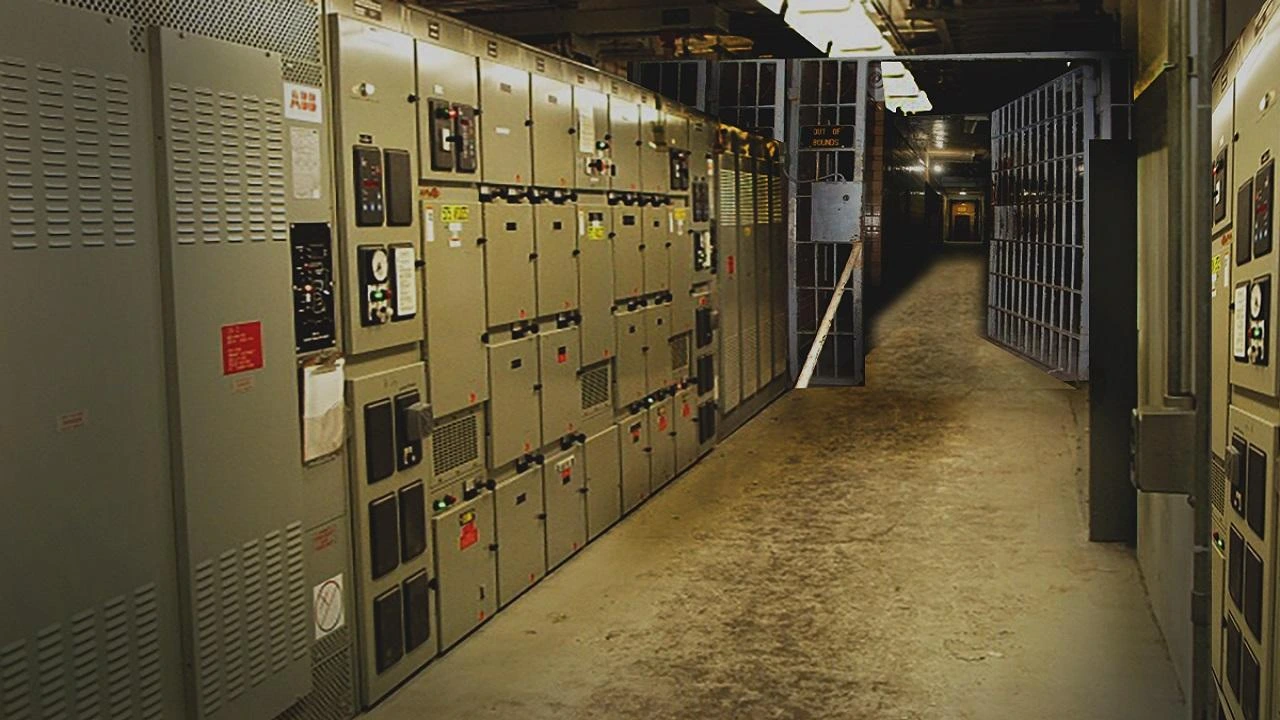
Electrical Station spreads across repeating maintenance corridors, generator spaces, and locked access points that punish weak navigation. Progress comes from restoring power sector by sector while the Clump hunts with much more aggression than the earlier levels.
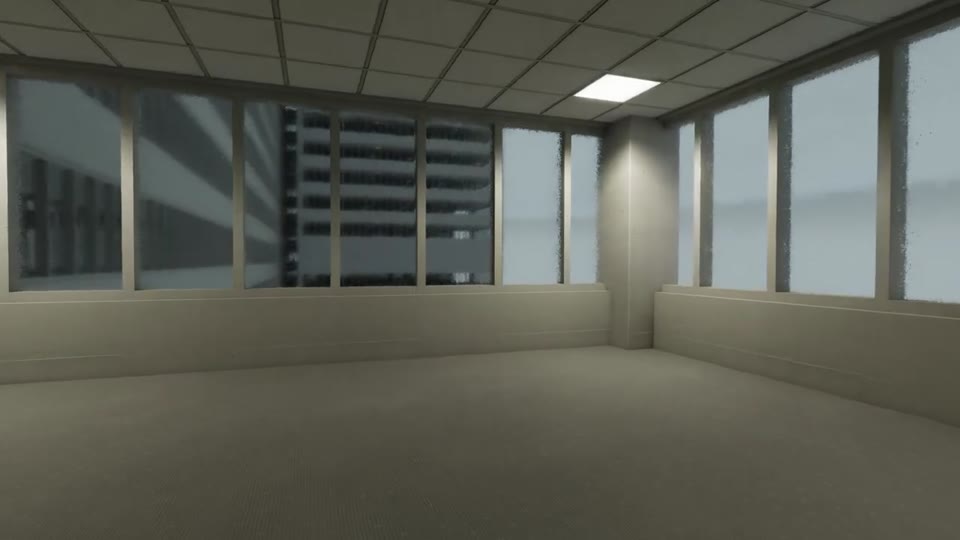
Abandoned Office is one of the rare moments of relative stability, with working lights, furniture, and occasional supplies. That calm is deceptive, because the route forward depends on collecting four monitor clues, solving the Electrical Closet code, and not getting lost in repeating cubicle blocks.
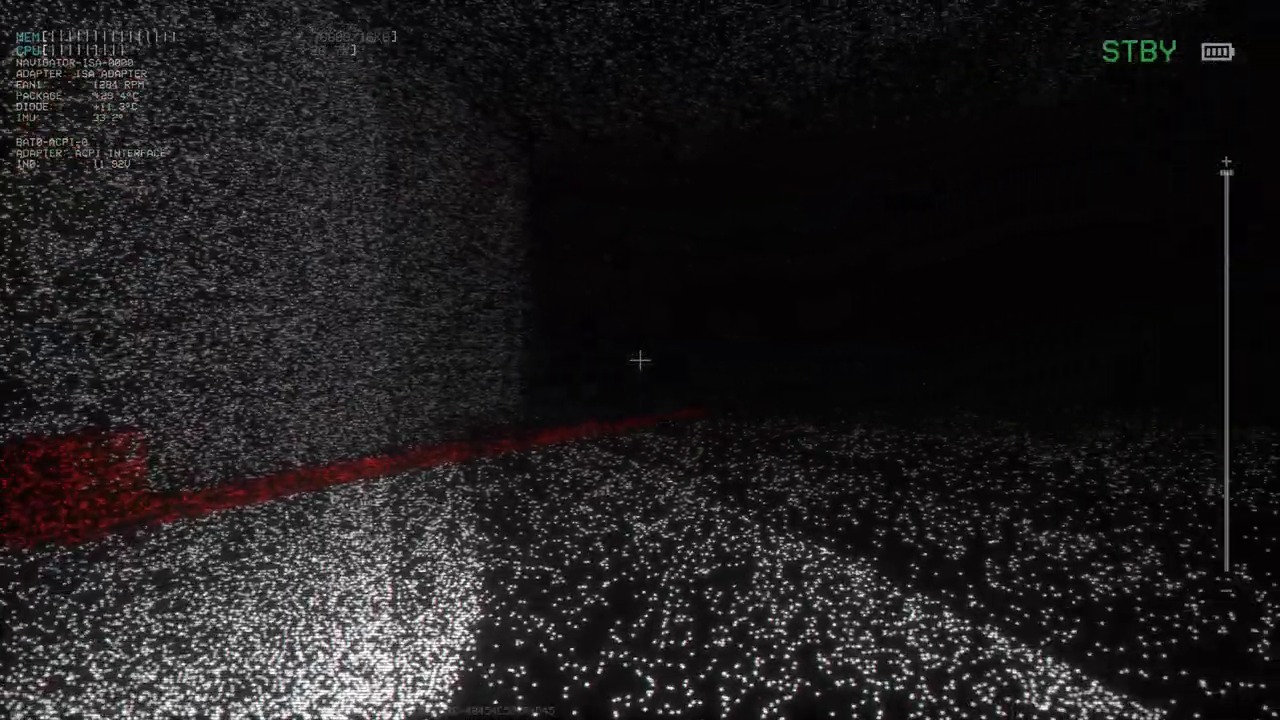
Lights Out strips navigation down to near-blackness and forces players to rely on LIDAR for movement. Every scan reveals your position, floor holes are often lethal, and only one exit door actually leads to the next stage.
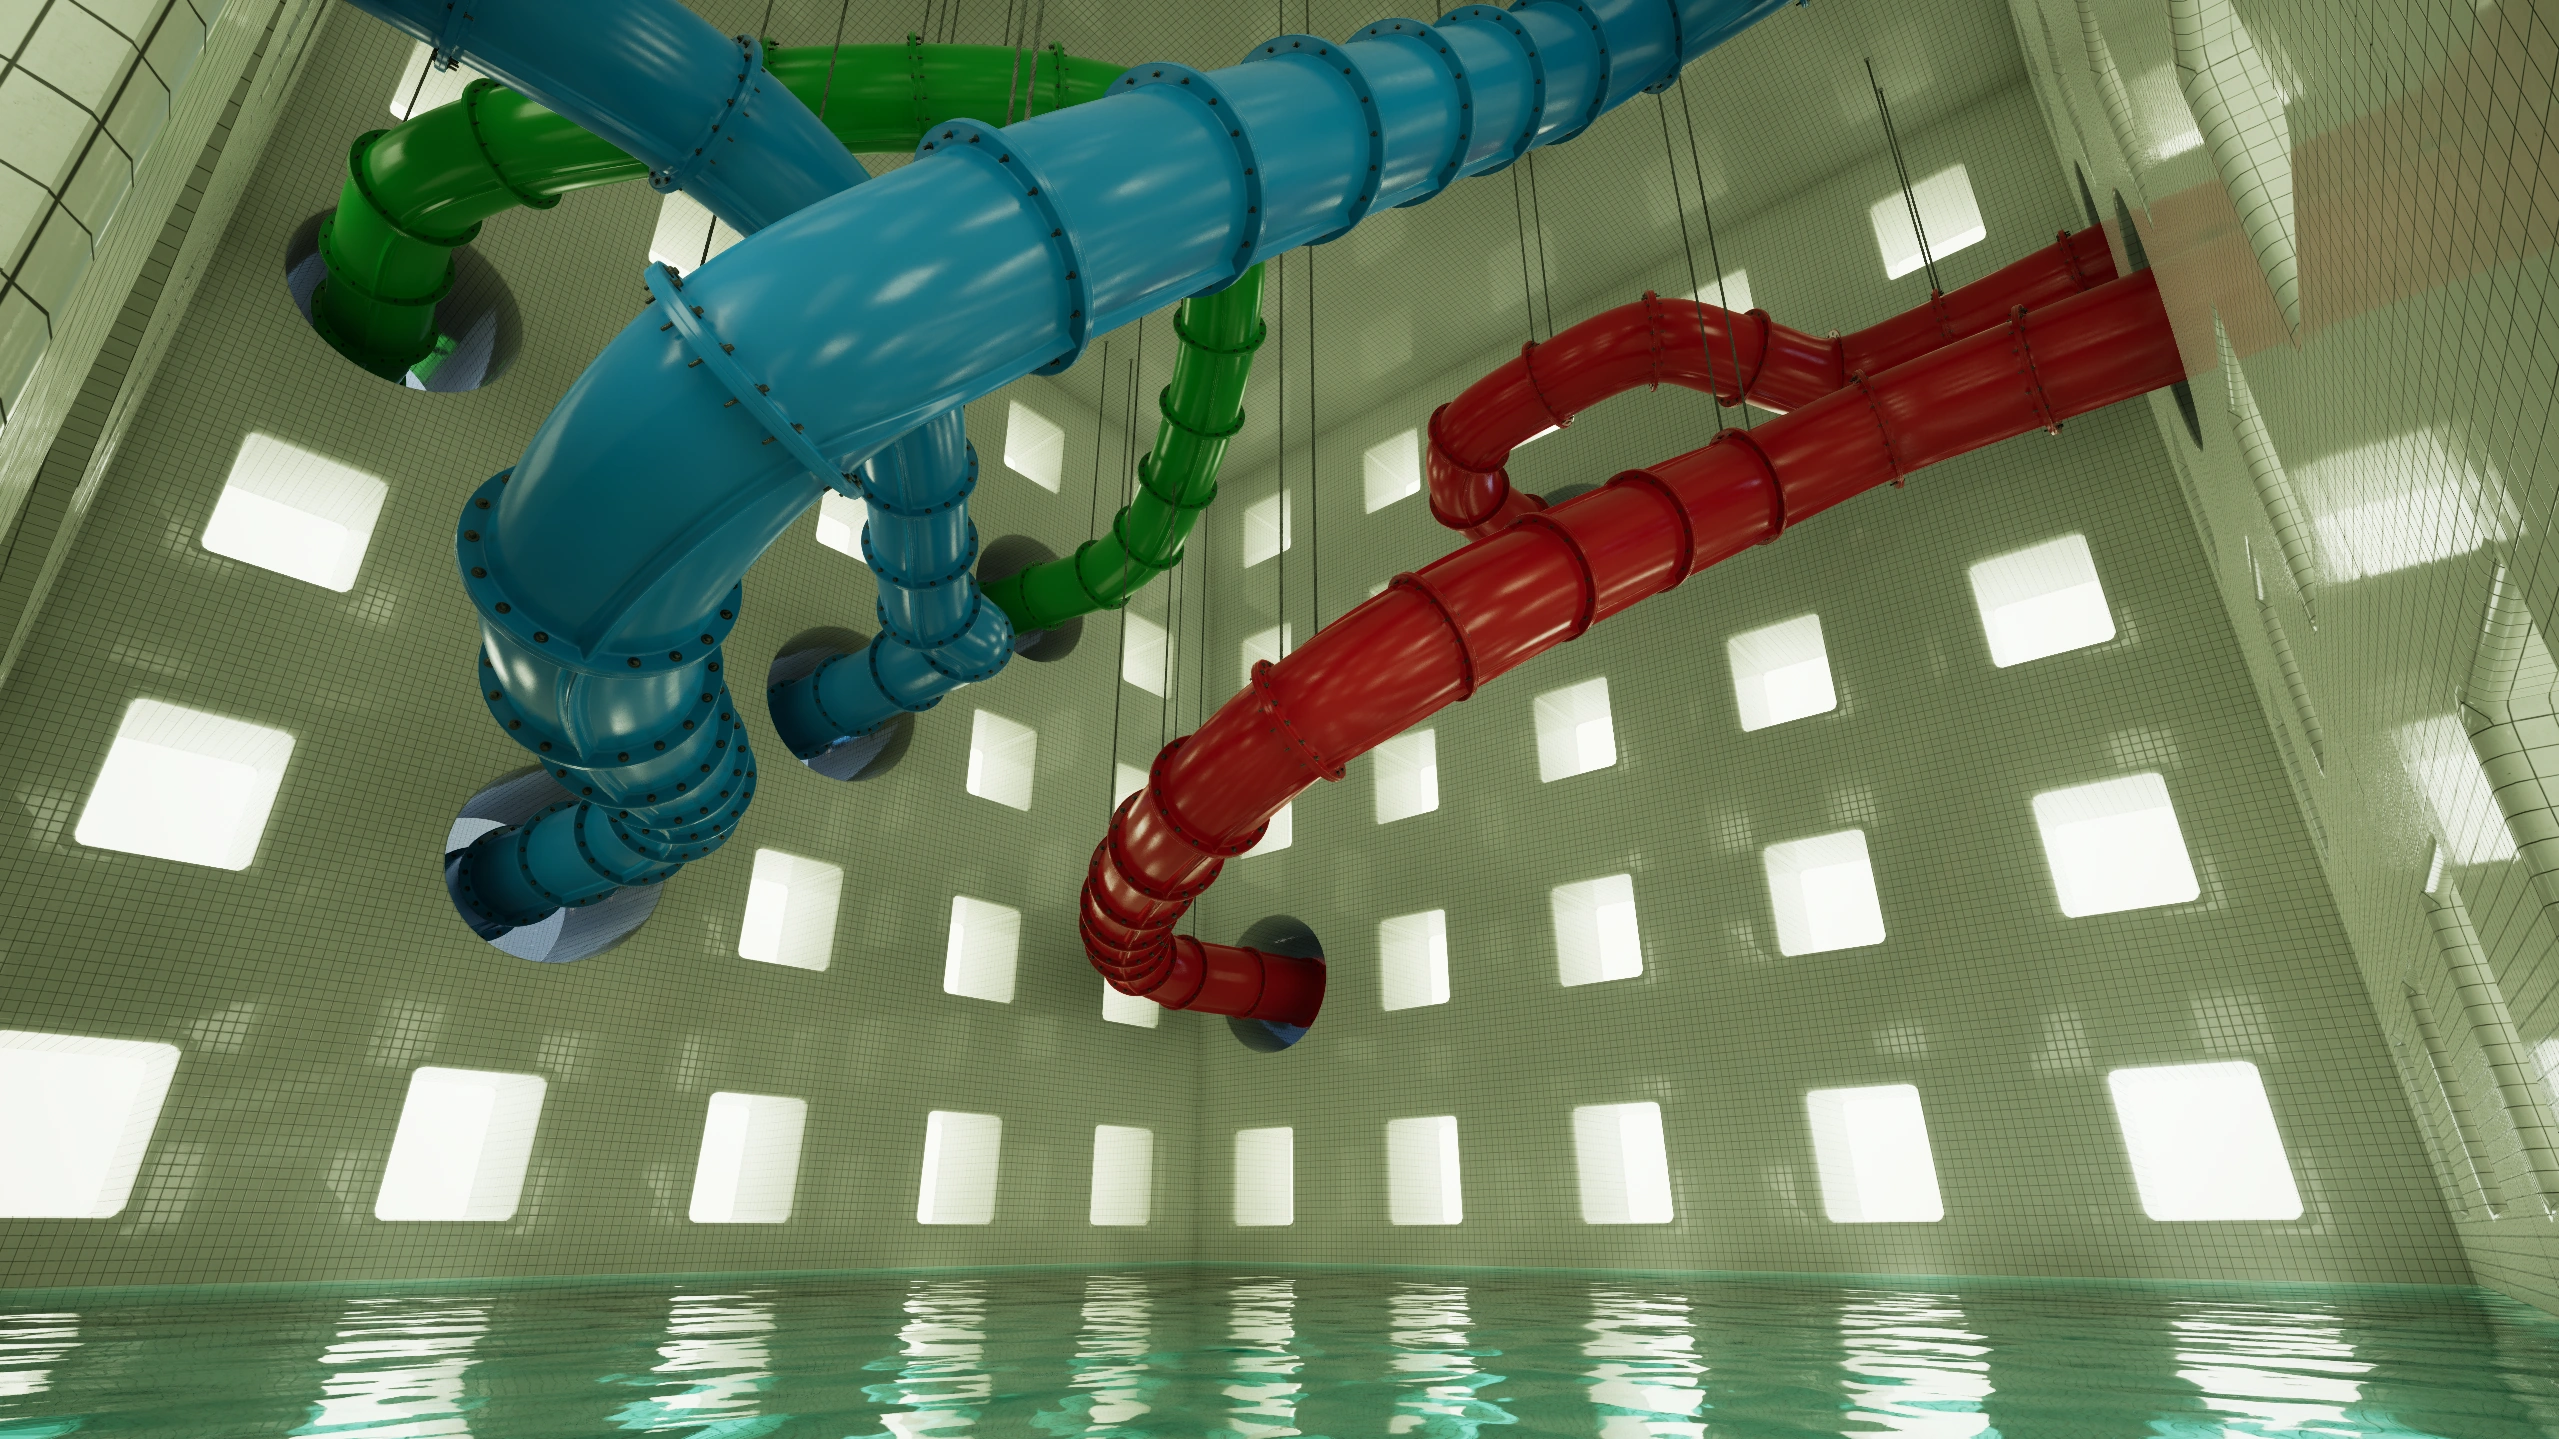
Sublimity opens into vast Poolrooms spaces that feel calm at first and disorienting soon after. The real difficulty comes from holding a stable route through the water maze, finding the Exit Tower, and clearing the final Green Valve puzzle without misreading the last handle state.
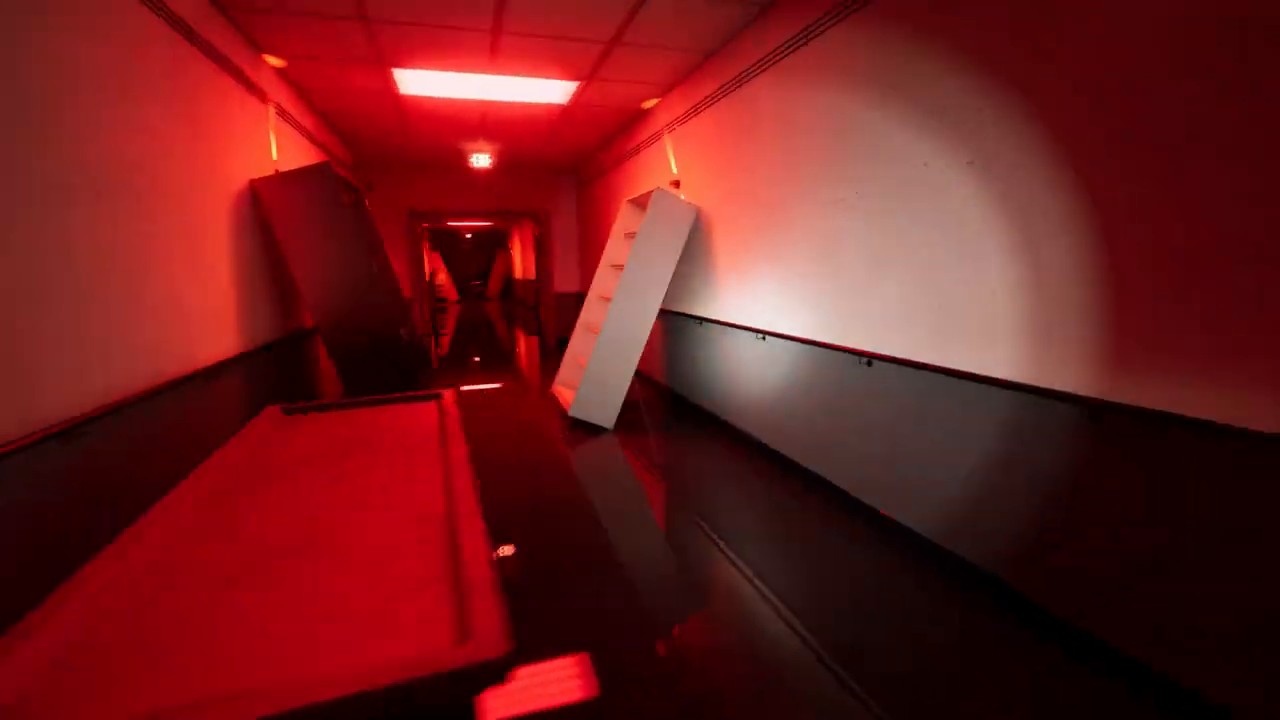
Run For Your Life turns a debris-strewn hospital corridor into a pure chase sequence. Overturned gurneys, medical clutter, and the presence of a Scratcher leave almost no room for hesitation.
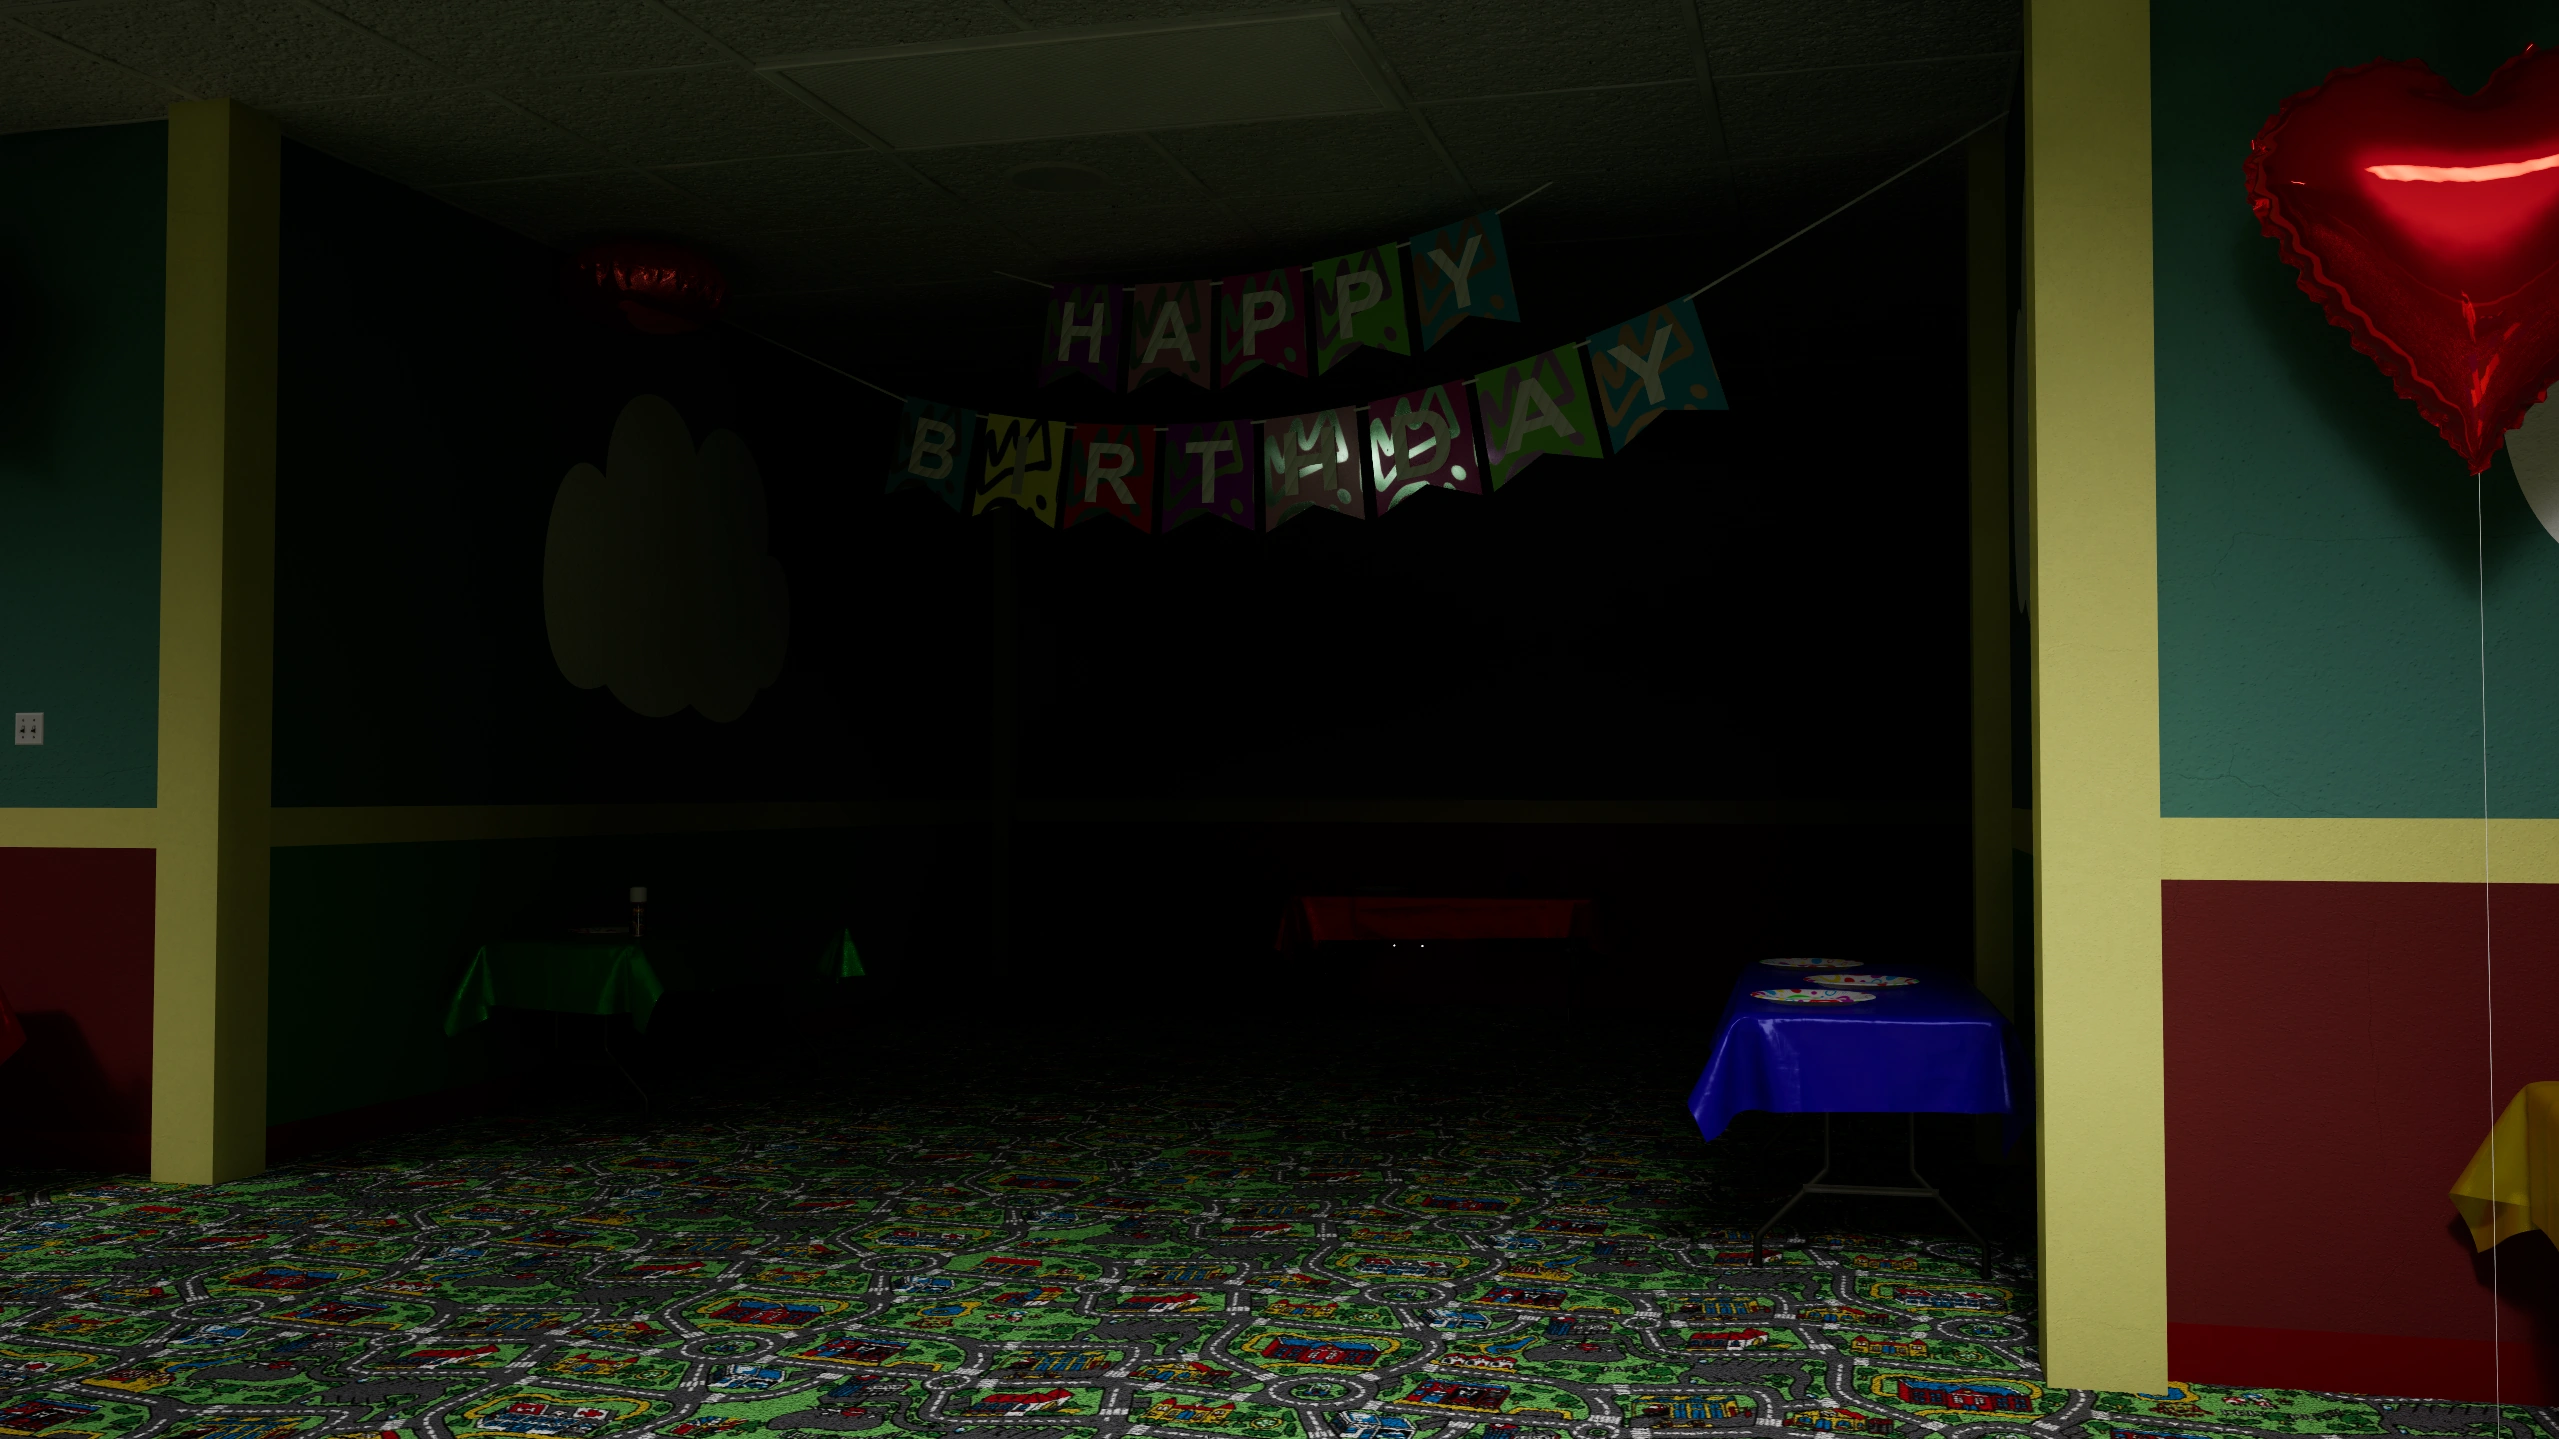
Fun =) disguises itself as a bright children's play area while hiding one of the most dangerous moods in the route. Partygoers patrol aggressively during blackouts, and coin-based minigames are tied directly to progression.
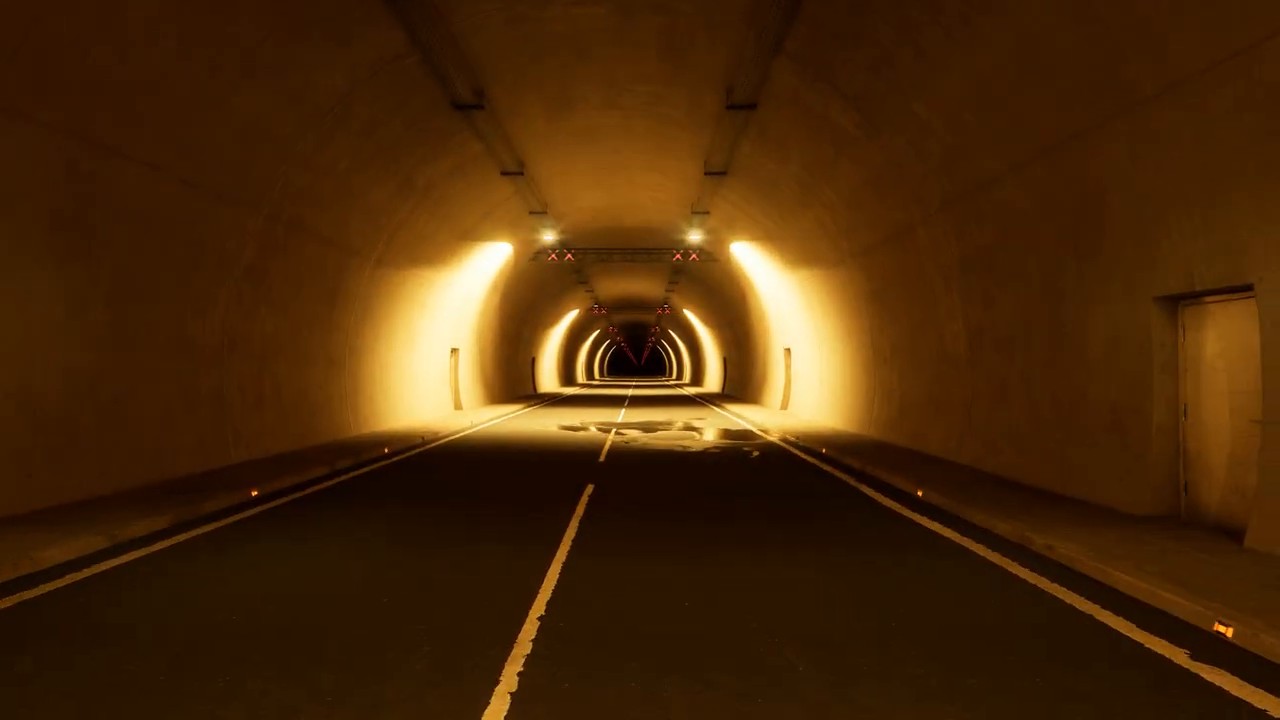
The Hub is the game's central replay nexus, Journey Summary checkpoint, and hidden-route staging ground. It links cleared destinations, later additions like Level 232, and the chained path into Level ???.
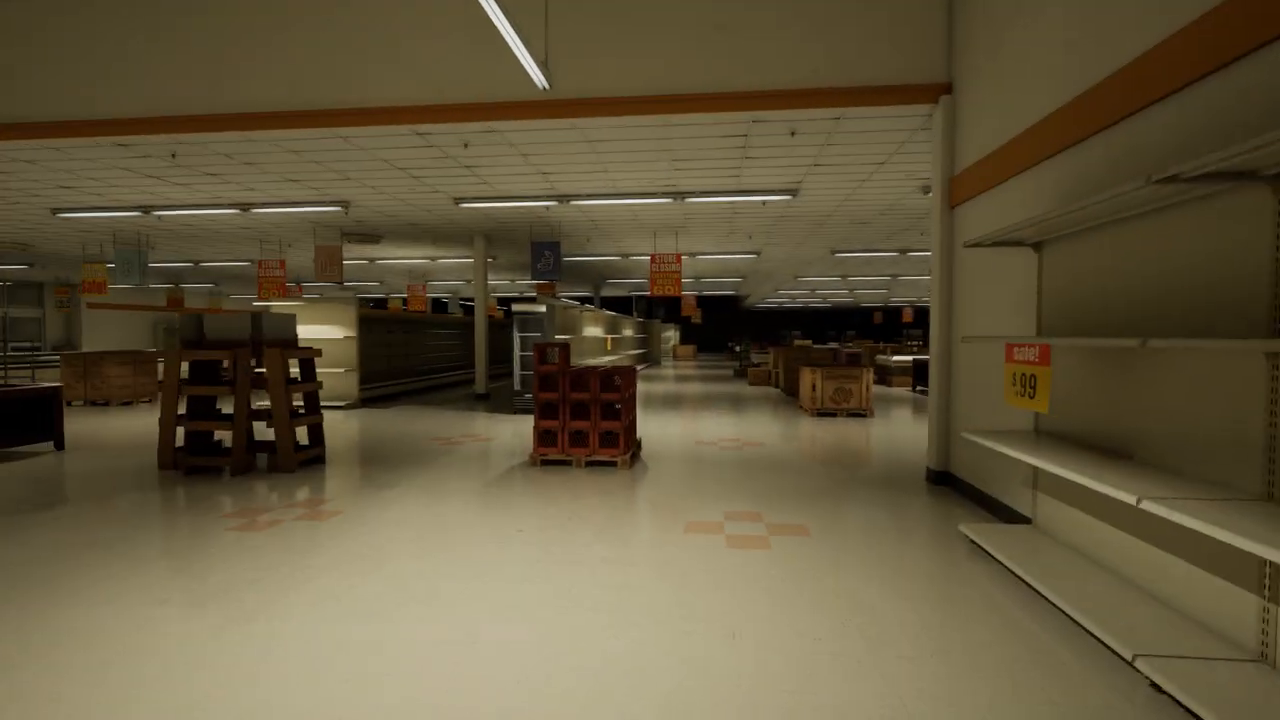
Infinite Supermarket turns the late route into a surreal retail economy run where board reading, transport, quota pacing, and warehouse timing matter more than full-map looting.
Level Table
Backrooms: Escape Together levels, difficulty, entities, and mechanics
This table gathers the currently published official stage details in one place so players can compare the route structure more quickly.
| Level | Name | Difficulty | Entities | Mechanic |
|---|---|---|---|---|
| Level 0 | The Lobby | Entry | Bacteria, Smiler | Documenting |
| Level 1 | Habitable Zone | Moderate | Skin-Stealer | Generators |
| Level -1 | Grayscale Halls | Moderate | Shadow | Ritual |
| Level 2 | Pipe Dreams | Hard | Scratcher | Valves |
| Level 3 | Electrical Station | Hard | Clump | Repair |
| Level 4 | Abandoned Office | Moderate | None | Code |
| Level 6 | Lights Out | Extreme | Collector | LIDAR |
| Level 37 | Sublimity | Moderate | None | Explore |
| Level ! | Run For Your Life | Extreme | Scratcher | Chase |
| Level Fun | Fun =) | Lethal | Partygoer | Minigames |
| The Hub | The Hub | Safe | None | Nexus |
| Level 232 | Infinite Supermarket | Hard | Facelings security pressure | Shopping economy |
How To Read The Route
What the level list tells players
Early levels
Level 0, Level -1, and Level 1 set up the opening rhythm of the game and establish the route's basic survival language.
These stages are the best starting point for players who want to understand how the game's spaces are arranged before moving deeper.
Later pressure points
Level 4, Level 6, Level 37, Level !, Level Fun, The Hub, and Level 232 suggest bigger jumps in difficulty, pace, or structure.
That makes the level hub useful even before every individual stage gets its own detail page.