Level 4 Guide
Level 4: Abandoned Office
Level 4, also called Abandoned Office, is the office puzzle stage where you search repeating cubicles for four monitors, record each color and number pair, and solve the Electrical Closet keypad before shutting off the power. The safest route is to search by zones instead of drifting, mark explored areas, and translate the final code using the color order shown at the closet door.
This page combines the supplied reference copy with the project's local walkthrough notes, so players get both the code answer and the route discipline that keeps the office from turning into a looping maze.
Quick Facts
Before you enter
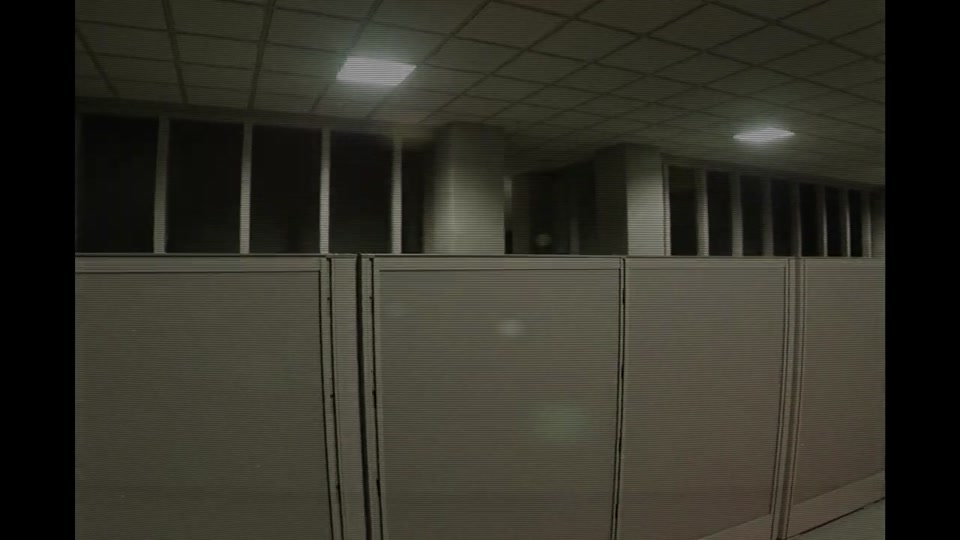
Level 4 is one of the rare moderate stages with no listed active entity pressure, but that calm is a trap. The real difficulty is route memory inside repeating cubicles, meeting rooms, and corridors that all look similar once you stop tracking where you've already searched.
- Difficulty
- Moderate / Class 1
- Main entity
- None listed
- Core mechanic
- Four-monitor color code puzzle
- Main progression gate
- Open Electrical Closet and pull the main power switch

Abandoned Office looks safe because it is bright and quiet. What actually slows runs down is losing route control in one cubicle block too many.
Quick Answer
How to clear Level 4
Search the map in sections, find all four monitors, record every color and number pair, read the color order shown at the Electrical Closet keypad, enter the matching number sequence, then pull the breaker to finish the normal route into Level 6.
Best route rule
Clear one office block at a time instead of weaving across the whole floor.
Main danger
Repeated office layouts making you forget what has already been searched.
Best puzzle rule
Always record color and number together, never the number alone.
Fast-clear result
Four monitor pairs found, closet opened, power cut, stage complete.
Overview
Why this level wastes time
Level 4 feels easier than pressure-heavy stages like Pipe Dreams or Electrical Station because there is no major monster forcing fast reactions. The trick is that the office drains time through repetition instead of panic. Once several cubicle rows, meeting rooms, and hallways start blending together, even a simple code puzzle becomes a navigation problem.
The safest way to read this level is simple: it's a search-discipline stage. If you can say which zone you just cleared, which monitor colors you already have, and where the nearest unsearched block begins, the map becomes much more manageable.
Best short description
A bright office maze where navigation discipline matters more than combat.
Biggest trap
Treating the whole floor like one loose scavenger run.
Best solo habit
Keep one outer hallway or window side as your orientation spine.
Best co-op habit
Split zones, then let one player own the color-number record.
Fact Table
Level 4 at a glance
This table keeps the core facts in one scan-friendly block.
| Field | Level 4 detail |
|---|---|
| Official name | Abandoned Office |
| Difficulty | Moderate / Class 1 |
| Listed entity | None |
| Listed mechanic | Code puzzle |
| Main progression task | Find four monitors, solve the closet code, and cut the power |
| Most important rule | Record monitor color and number as one pair |
| Normal exit | Electrical Closet to Level 6 Lights Out |
| Hidden branch | Window route to Level 37 Sublimity |
Mechanic
How the monitor puzzle works
The code puzzle is not a single static password. Every run randomizes the number sequence. What stays constant is the method: four monitors are scattered around the office, each monitor shows one color and one number, and the Electrical Closet shows the color order you use when converting those four pairs into the final keypad code.
Search the office until you have all four color-number pairs, not just a handful of loose digits.
Write each clue as color then number, such as green to 2 or red to 5, so the final closet order is easy to rebuild.
The keypad area tells you which color sequence to use. That order, not the order you discovered the monitors, creates the final code.
| Puzzle part | What it means in Abandoned Office |
|---|---|
| Monitor | One display showing a single color and a single number |
| Recorded clue | A color-number pair such as blue 8 or yellow 5 |
| Electrical Closet note | Shows the color order for the keypad sequence |
| Final code | The monitor numbers rearranged into the closet's color order |
| Most common mistake | Remembering the digits but forgetting which color each digit belonged to |
No. The code changes because the monitor results are randomized. The stable answer is the conversion rule, not one universal string.
Write the clue exactly as color then number. That's easier to use later than writing four isolated digits and trying to reconstruct the mapping from memory.
Objectives
What actually matters
If you strip away optional searching, the level becomes a clean progression loop.
Use the corridors, window side, and major rooms to set orientation before diving deep into cubicles.
Do not turn the level into one giant free-roam loop. Finish a section, then move on.
The puzzle only becomes solvable once all four color-number pairs are known and written clearly.
Use the shown color order to convert your notes into the right keypad sequence.
Pull the breaker for the normal route into Level 6 Lights Out, or use the window route if you are intentionally taking the hidden Level 37 branch via the levels hub path structure.
Walkthrough
Step-by-step route
This route follows the local walkthrough notes closely because the level is less about a strict map seed and more about keeping one stable search rhythm through repeated office geometry.
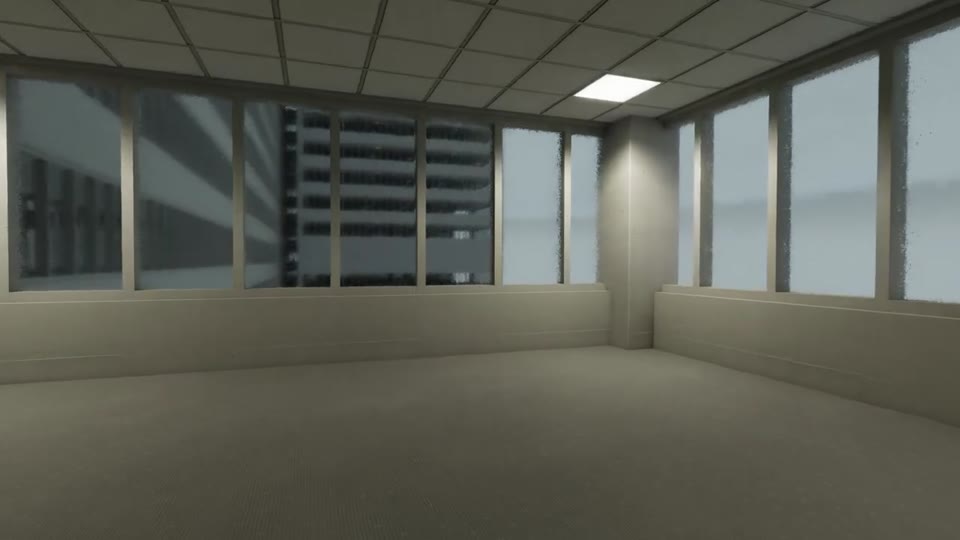
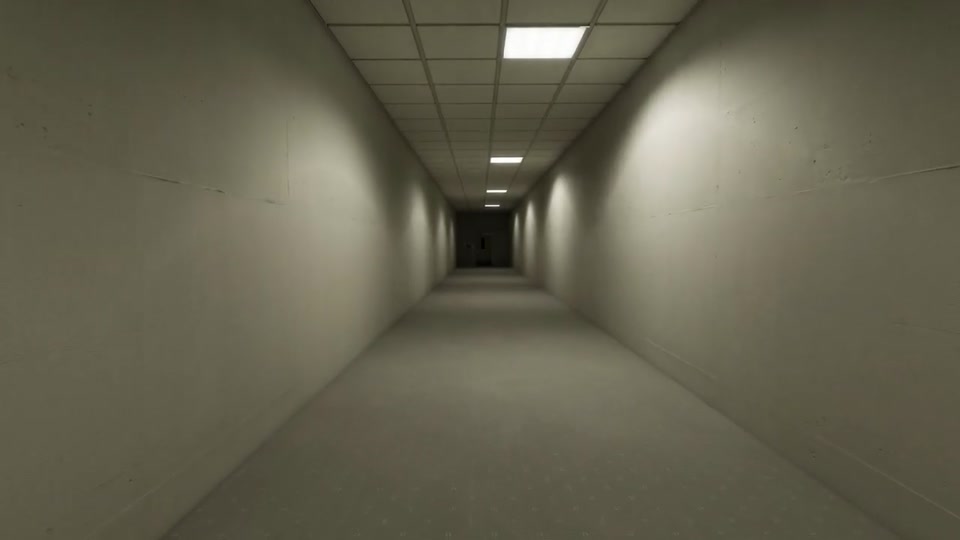
Start with the outer hallway
The first useful mental shift is understanding that the level is not one abstract maze. It is an outer office frame feeding inward cubicle blocks.
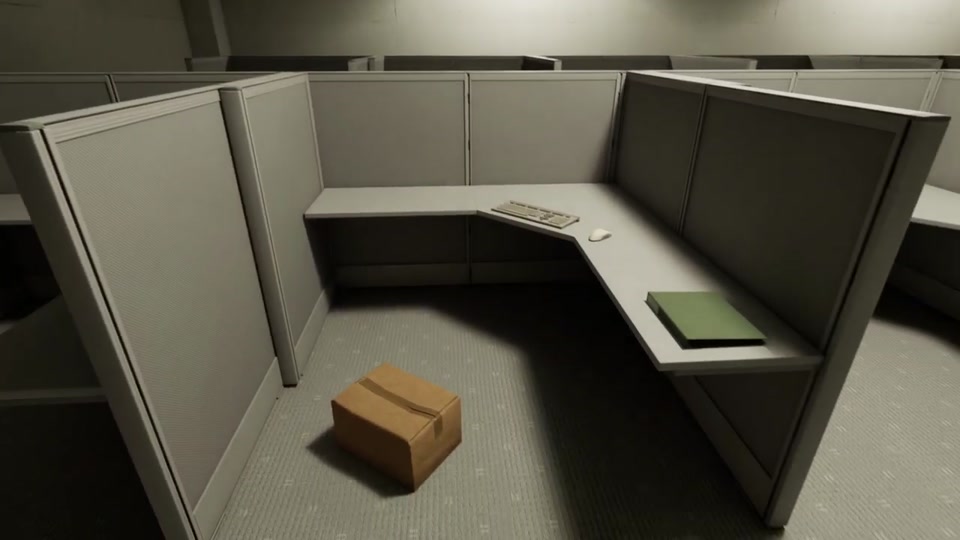
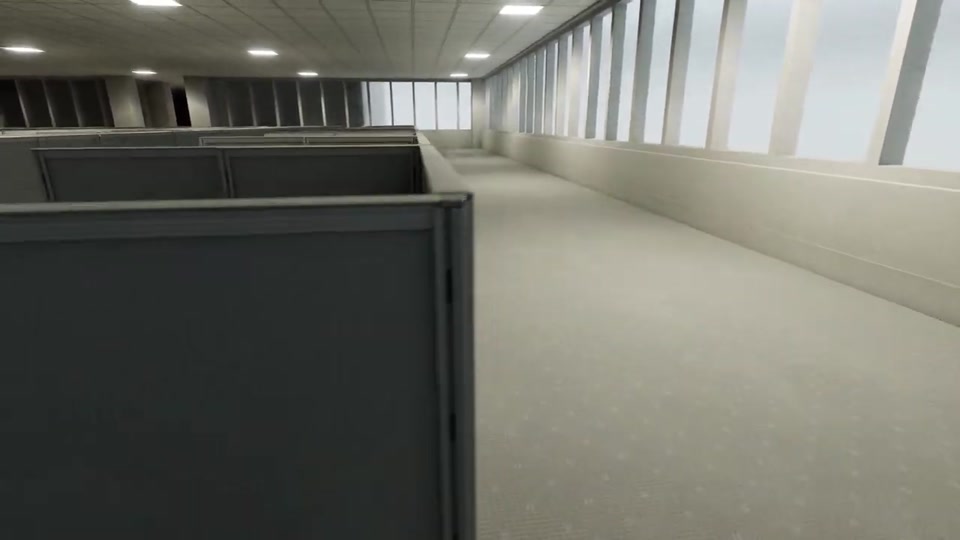
Search in blocks
Clear one full office patch before crossing into the next. That keeps your memory anchored to a finished section.
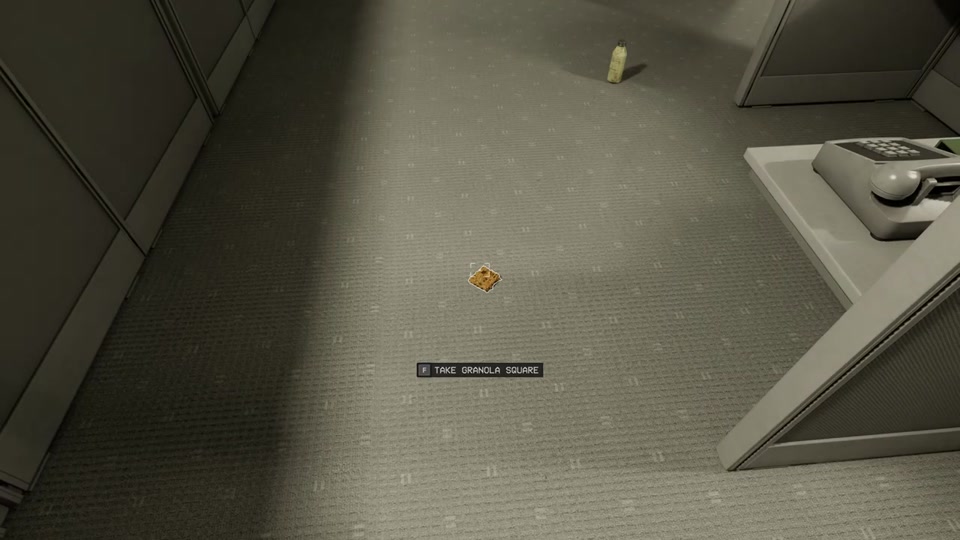
Use simple route markers
The local notes recommend leaving low-value items near key turns. In a level with no monster forcing haste, those markers save a surprising amount of backtracking.
Record each monitor immediately
Do not trust yourself to remember the pairing later. Record each clue as one direct map, such as blue to 8 or green to 2, the moment the screen is found.
Finish the missing section
Late in the run, do not keep wandering everywhere equally. Check which color is still missing, return to the office blocks without clear markers, and finish the last gap methodically.
Go straight to the closet
Once the four pairs are complete, the level is no longer about exploration. It is about converting the code and moving to the finish.
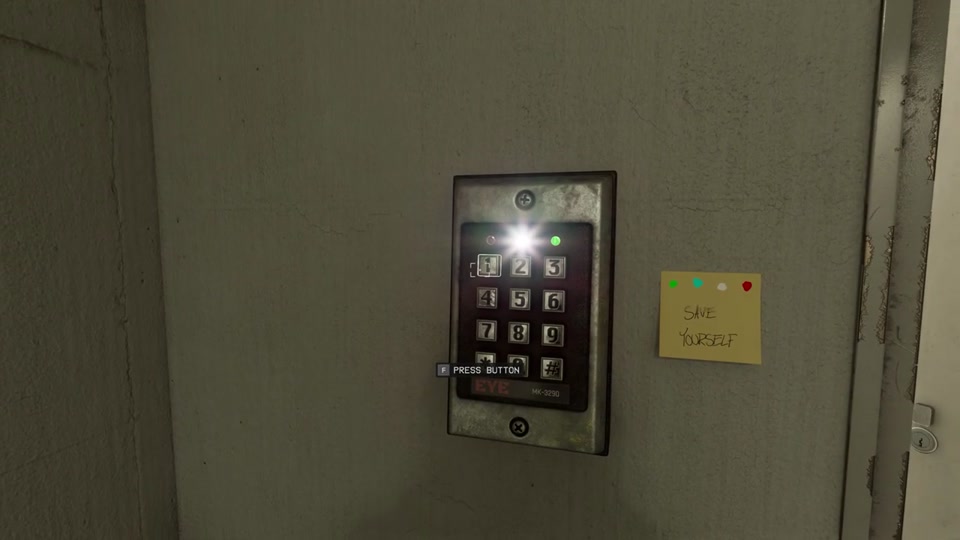
Enter the code and pull the breaker
The keypad note gives the order. Match your recorded color-number pairs to that order, enter the resulting digits, open the closet, and pull the main power switch.
Hidden Exit
The hidden window branch
The level has a normal route into Level 6, but it also contains a hidden branch toward Level 37 Sublimity. That matters because some players are trying to confirm whether the open window route is real and where it leads.
Normal route
Electrical Closet, breaker switch, then transition to Level 6 Lights Out.
Hidden route
Certain open office window areas can branch the run into Level 37 Sublimity.
Best use case
Take it only when you intentionally want the branch and understand it skips the normal office finish.
Main caution
Do not confuse window scouting with the actual code objective if your goal is the standard progression path.
Stuck Points
Where runs usually stall
If the level keeps stalling your run, it's usually one of these repeatable mistakes rather than bad luck.
The level becomes much harder once you stop knowing which office block is already finished.
Digits alone are not enough. The final keypad needs the color mapping.
Dropped item markers, light changes, and hallway anchors save time because the office layout repeats so aggressively.
At that point the run should switch from searching mode into finish mode immediately.
Window areas matter for Level 37, but they are not required for the normal clear.
This embed uses the same office cover image as the Level 4 card on the levels hub, then opens the full Abandoned Offices walkthrough video when clicked.
Video Walkthrough
Watch the full clear before the FAQ
Use the video when the written puzzle logic makes sense but your own office route keeps dissolving into repeated cubicle loops. It is most useful for seeing how clean zone searching, monitor note-taking, and the final closet finish look in one uninterrupted run.
Open the video if you understand that the code is color based, but you still keep losing track of where the remaining monitor or the closet route is.
- how the office is searched in distinct chunks
- how each monitor clue is recorded without confusion
- how the keypad note turns the pairs into the final code
FAQ
Common questions
This FAQ covers the questions people usually ask after getting lost in the office or reaching the Electrical Closet with half-remembered notes.
Search the office by sections, find the four monitors, record every color-number pair, use the Electrical Closet color order to build the keypad code, then pull the breaker to finish the stage.
There is no single permanent code. The answer is randomized each run, and the correct sequence comes from matching the monitor numbers to the color order displayed at the Electrical Closet.
No major entity is listed for Level 4. The stage is difficult because of navigation repetition and puzzle note discipline, not direct monster pressure.
Each monitor gives one color and one number. You keep those pairs together, then reorder the numbers later using the closet's color sequence.
The hidden branch route can send players to Level 37 Sublimity instead of continuing the normal breaker-route finish.
Treat the level like a search-discipline puzzle: clear one block at a time, mark explored turns, record clues instantly, and stop free-roaming once only the last missing clue remains.
Source Notes
Where this page's information comes from
This page separates searchable answer structure from project walkthrough evidence, so players can see which details come from supplied level reference material and which come from local route-tested notes.
The seven-step office route, zone-search discipline, dropped-item marking habit, and color-number recording advice all come from the local Level 4 Abandoned Offices walkthrough note and screenshot set in the active project knowledge folder.
Difficulty framing, code puzzle wording, Electrical Closet flow, the hidden Level 37 branch, and the high-level level summary were cross-checked against the supplied Level 4 v0.13.4 reference document attached in this thread.
The answer-first intro, quick table, explicit non-fixed-code explanation, FAQ coverage, and HowTo plus FAQ schema are tuned to improve both human scan speed and AI/search citation quality for terms like Backrooms Escape Together Level 4 code and Abandoned Office walkthrough.
Related Pages
Open the next page players usually need
Once the immediate blocker is solved, these are the pages players usually open next for route continuity, branch context, or broader stage navigation.
Quick Answer
The shortest Level 4 solution
Search by zones, collect all four color-number monitor pairs, reorder the numbers using the Electrical Closet color note, open the closet, and pull the main power switch.