Level 6 Guide
Level 6: Lights Out
Level 6, also called Lights Out, is the LIDAR level where almost the entire run happens in near-total darkness. The route is simple in outline: follow the red cable to three buttons, switch to the blue cable for three more activations, match the cage clue to the correct colored door, then scan the floor and follow the louder wave sound until you reach the yellow exit route into Level 37.
This page combines the supplied reference copy with the local LIDAR walkthrough note, so the guide covers both the puzzle sequence and the movement discipline that keeps a run from collapsing in the dark.
Quick Facts
Before you enter
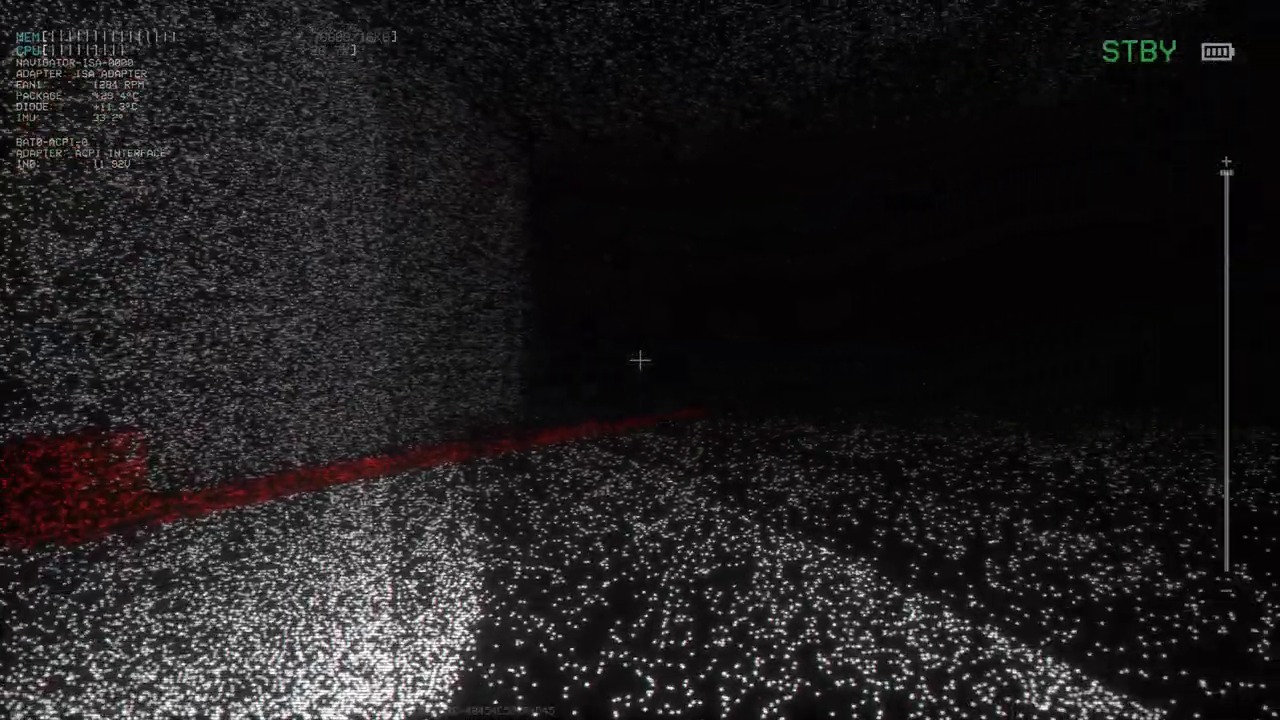
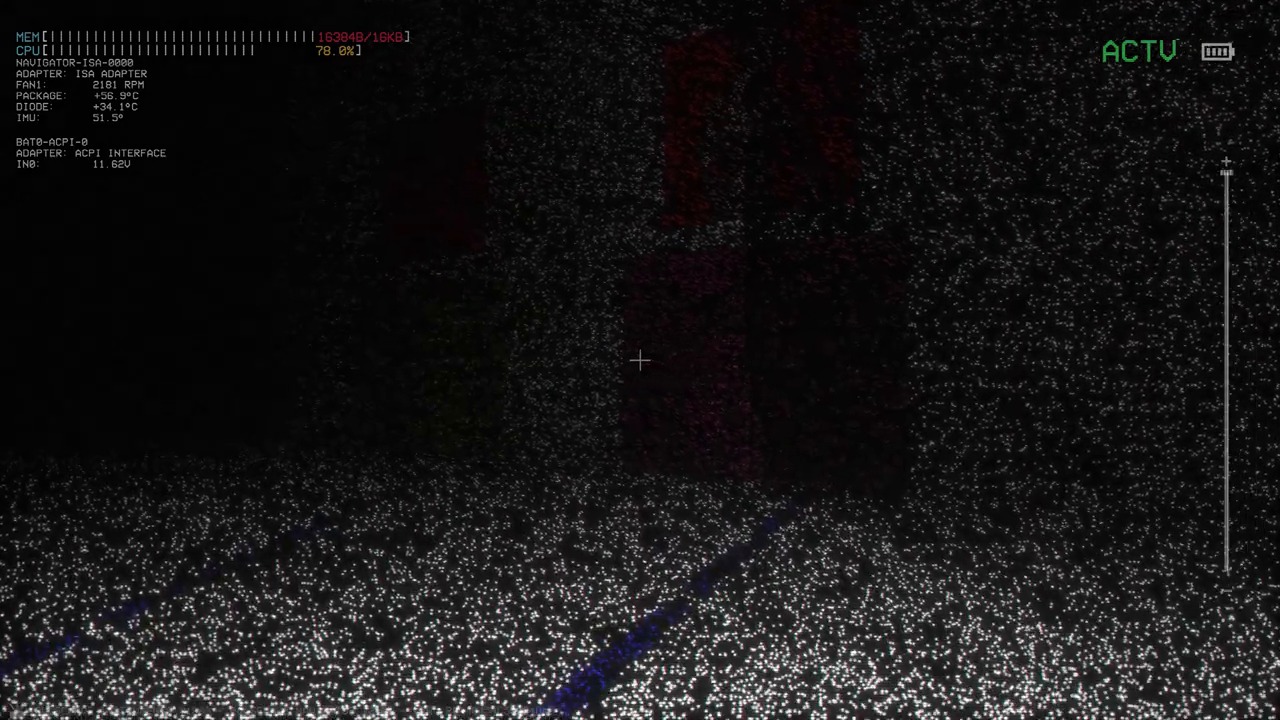
Lights Out is an extreme navigation stage built around one rule: the LIDAR scanner is both your map and your biggest risk source. It reveals walls, holes, doors, and switches, but every scan also increases exposure and pressure, so the safest clears come from scanning just enough to move instead of trying to light up the whole map.
- Difficulty
- Extreme
- Main entity
- Collector
- Core mechanic
- LIDAR navigation in near-total darkness
- Main progression gate
- Three red buttons, three blue switches, then the correct door to the Level 37 exit path
The cover image shows why Level 6 feels different from most stages: route information exists, but only for a moment, and only if you create it with LIDAR.
Quick Answer
How to clear Level 6
Beat Lights Out by following the red cable to press three buttons, opening the red door, following the blue cable to activate three hidden switches, checking the cages to match both color and entity icon to the correct door, then scanning the floor while moving toward the louder wave sound until you find the yellow exit door and final drop.
Best route rule
Use cables as your route spine instead of trying to memorize open darkness.
Main danger
Repeated over-scanning, hesitation, and falling into holes during the last maze.
Best puzzle rule
At the final door, match color and entity symbol together, never color alone.
Fast-clear result
Red sector cleared, blue sector cleared, correct door chosen, Level 37 reached.
Overview
Why this level is really a pacing test
Level 6 comes right after Abandoned Office and feels like a violent shift because the game removes almost all natural visual orientation at once. In practice, the run is less about speed and more about keeping a stable scan rhythm. Players who panic and flood the room with full scans usually lose more control than players who scan small, move a few steps, then scan again.
The cleanest way to think about Lights Out is this: it is a three-part route with one language all the way through. First you follow red, then blue, then audio. If you always know which of those three navigation modes you are in, the level becomes much easier to read.
Best short description
An extreme darkness level where LIDAR replaces normal map reading.
Biggest trap
Treating every scan like free information instead of a resource tied to risk.
Best solo habit
Scan the floor first, then the path ahead, then move only as far as that scan supports.
Best co-op habit
Let one player keep the route while the others avoid drifting off into unscanned space.
Fact Table
Level 6 difficulty, mechanic, entity, and route summary
This answer-first table is designed for quick scanning and clean extraction by search systems and AI summaries. It packs the core Lights Out facts into one stable block.
| Field | Level 6 detail |
|---|---|
| Official name | Lights Out |
| Difficulty | Extreme |
| Listed entity | Collector |
| Listed mechanic | LIDAR |
| Main progression task | Press three red buttons, activate three blue switches, then choose the correct door and find the exit |
| Most important rule | Use short LIDAR scans and do not over-commit to full-map scanning |
| Normal exit | Yellow exit route leading to Level 37 Sublimity |
| Main final cue | The wave sound gets louder as you approach the exit |
Mechanic
How the LIDAR system works
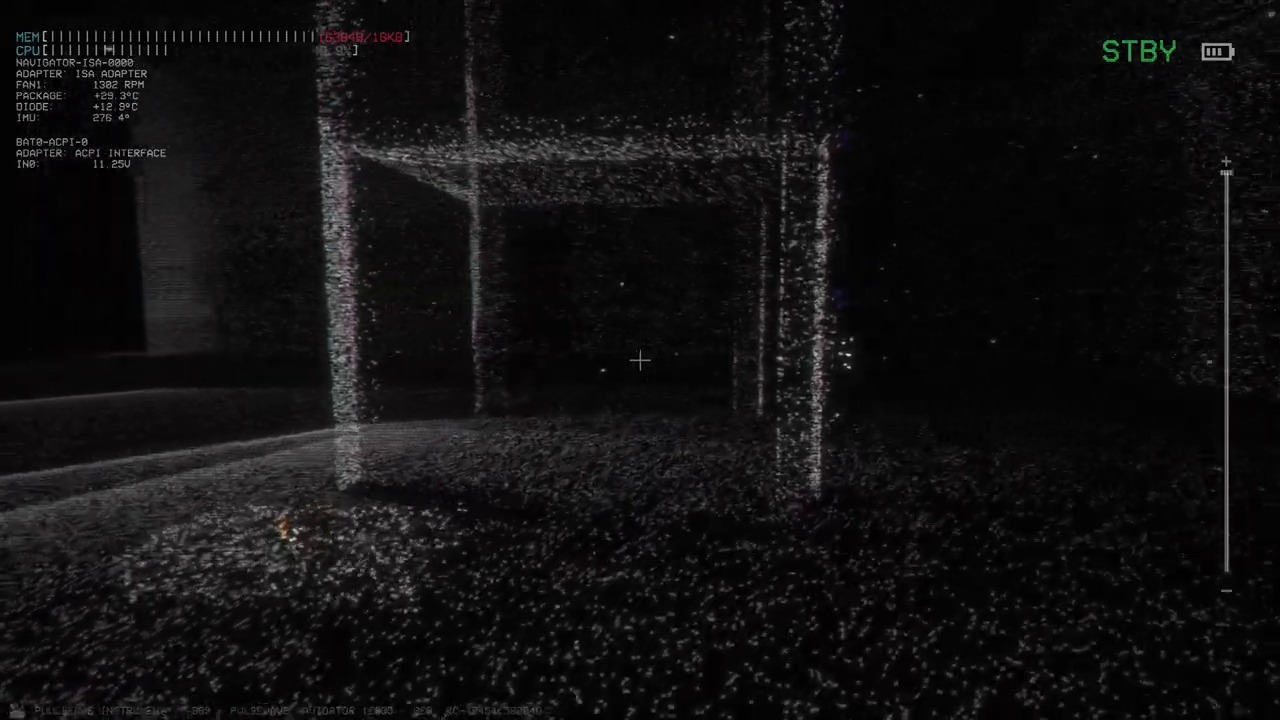
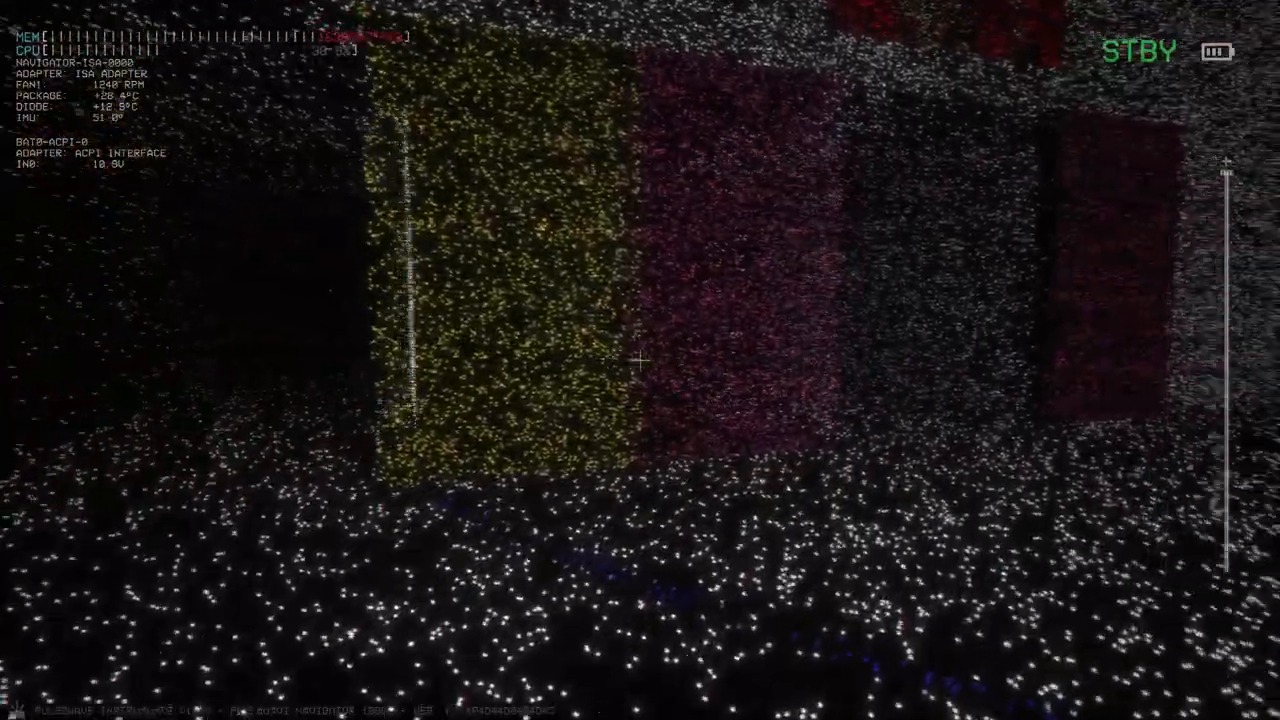
LIDAR is a scanning navigation system that briefly reveals nearby geometry in darkness. In Level 6, that means walls, floor gaps, doors, switches, and route cables only become readable when you pulse the scanner. The crucial point is that LIDAR is not just a visual aid. It is the level's core risk management tool, so players who use it with discipline clear more often than players who constantly chase perfect visibility.
Use short local scans to confirm the floor and nearby path without exposing too much of the room at once.
Use the larger scan sparingly when you need route confirmation, not as your default rhythm.
Adjust the scan radius so you only reveal what you actually need for the next few steps.
| LIDAR element | What it tells you in Lights Out |
|---|---|
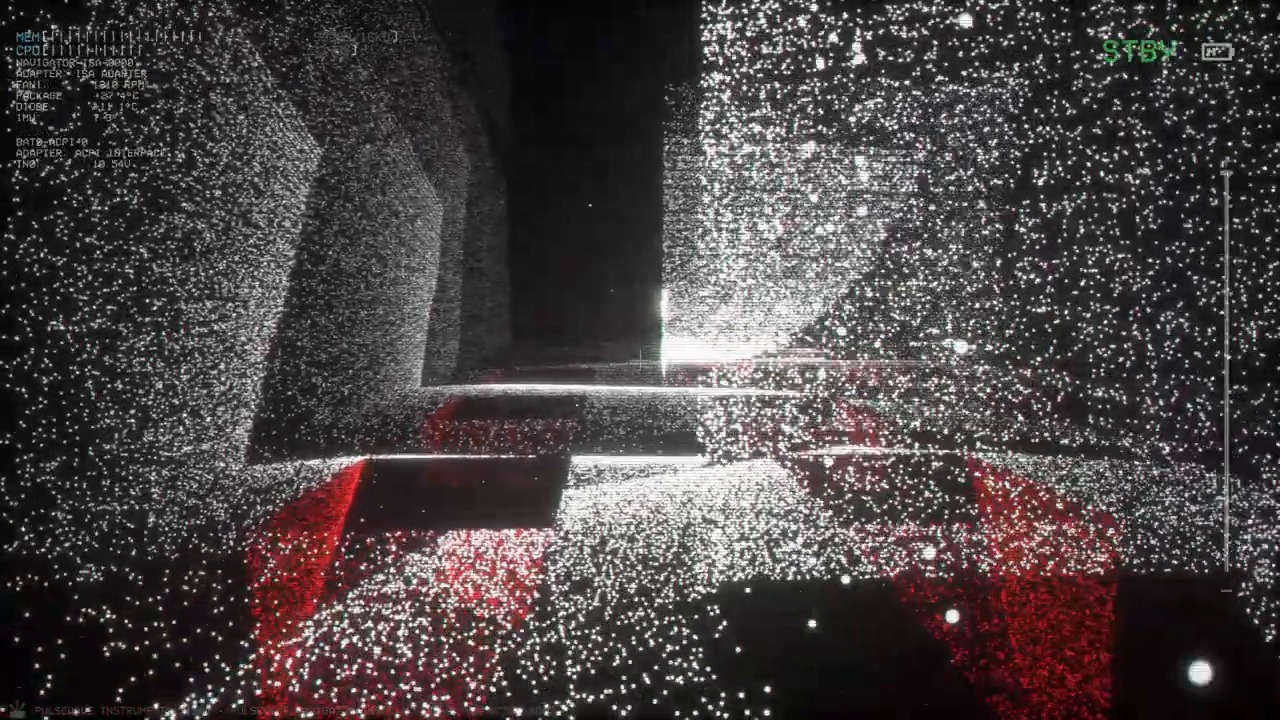
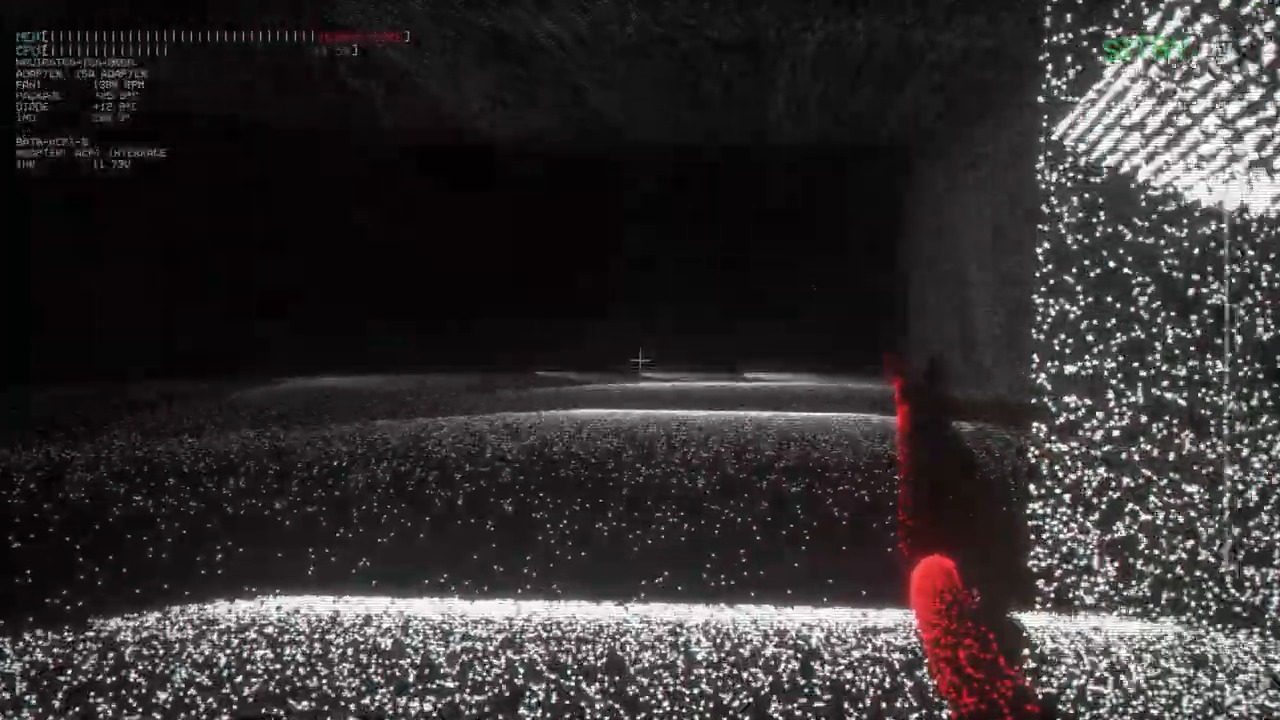
| Cable lines | The safest route spine through Sector 1 and Sector 2 |
| Floor holes | Where a rushed step can instantly end the run |
| Buttons and switches | The exact interaction points that gate progression |
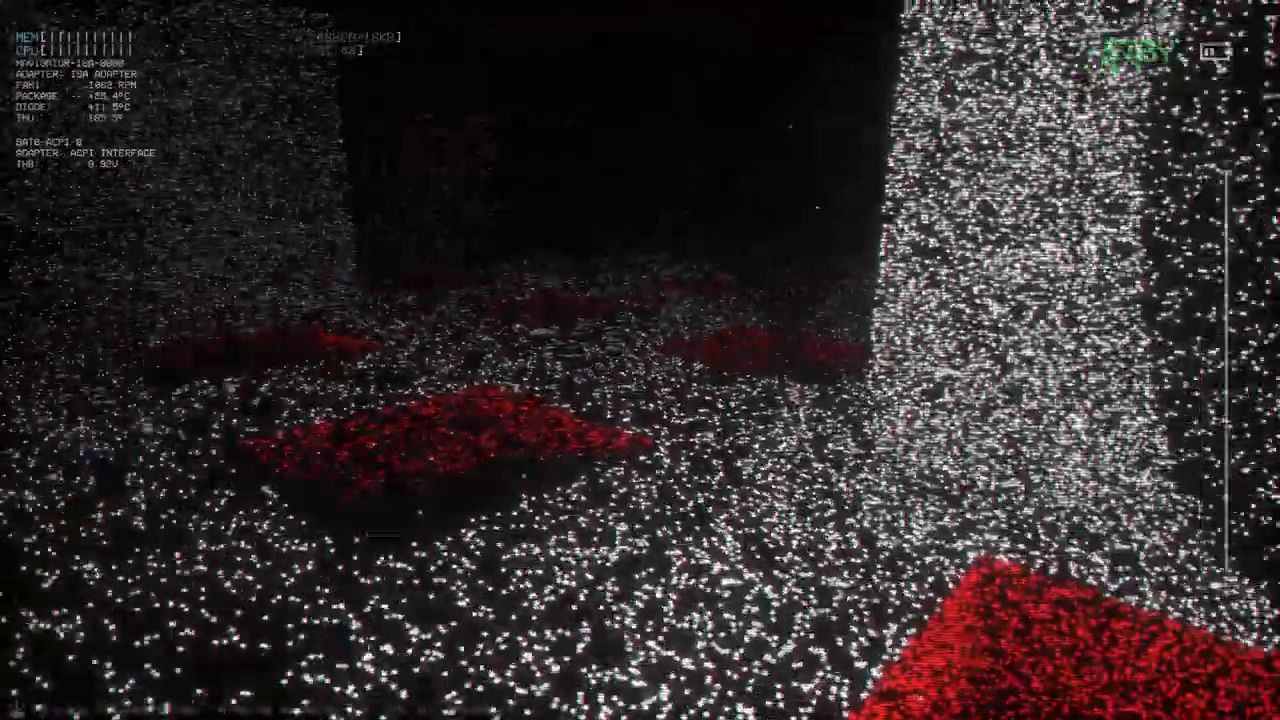
| Doors and cages | The clue area used to choose the correct final door |
| Scan rhythm | The real survival skill, because information vanishes quickly after each pulse |
The safest method is a repeating three-part rhythm: scan the ground, move a few steps, then scan again. That keeps your route readable without turning every section into a long exposed pause.
No. Large scans are useful for confirmation, but Lights Out becomes more stable when most of your movement comes from smaller, local checks.
Objectives
Main tasks required to clear Level 6
If you reduce the stress and darkness down to the actual objective chain, Lights Out is a clear five-stage progression route.
Before you try to move fast, get comfortable reading the floor and the nearest route line with short LIDAR pulses.
The first sector is solved by sticking to the red cable and pressing all three buttons in sequence.
The second sector shifts from red to blue and adds more hidden holes plus more navigation pressure.
After the blue sector, use the cage clue to identify the door that matches both the correct color and the correct entity symbol.
The final route is solved by scanning the floor and moving toward the louder wave sound until you reach the yellow exit and drop to Level 37.
Entities
Threat that matters in this level
Lights Out does not overwhelm you with a big enemy roster. It is much nastier than that. One hostile presence and one bad scanning habit are enough to break most runs.
Collector
Collector is the listed Level 6 entity and the main reason players cannot treat LIDAR as consequence-free vision. It thrives on hesitation and repeated exposure in darkness, and the dedicated Collector page explains the broader behavior profile outside this single stage.
- Encounter pressure rises when players linger and repeatedly reveal themselves
- The level feels harder when scans become panic reactions instead of planned route checks
- Best survival habit is to keep moving with short controlled scans instead of standing still in open darkness
Floor holes
The most common cause of failure in Lights Out is still the map itself. Unscanned holes kill faster than any long explanation about fear management.
- Most dangerous in the last maze where the exit sound tempts rushed movement
- Easy to miss if you focus on distant shapes instead of the ground directly ahead
- Best avoidance method is to scan the floor before every short push, especially near the yellow exit route
Walkthrough
Step-by-step route
This route follows the local Level 6 LIDAR walkthrough note closely because the level is less about a fixed visible map and more about preserving a working navigation rhythm from sector to sector.

Use the entry room to learn the LIDAR rhythm instead of rushing forward
The opening seconds teach the whole level. Scan locally, confirm the ground under your feet, and notice that the red cable is your first route spine. This is the moment to settle into short pulses rather than trying to expose the entire room at once.
Follow the red cable and press the three Sector 1 buttons
Sector 1 is cleaner than it feels. Treat the red cable as the only trustworthy guide, press the three required buttons, and avoid wandering away from the cable just because one scan showed empty space somewhere else.
After the red door opens, switch your route logic from red cable to blue cable
Sector 2 replaces the first route spine with a blue one. Stay near it, listen for the switch prompt sound, and use local scans around suspicious floor breaks before every push toward a hidden switch.
Once all three switches are active, return to the cage clue area and read it carefully
This is the main judgment point in Lights Out. Do not guess based on color only. The right door is identified by combining the shown color with the matching entity icon from the cage display.
Commit to the correct door and take the drop beyond it
After the match is confirmed, move through the correct door and follow the route to the final drop hole. If the clue reading was right, the drop is progression, not a mistake.
In the last maze, scan the floor constantly and walk toward the louder wave sound
The final sector is solved by audio as much as LIDAR. The exit is ahead, the wave sound gets louder as you approach it, and the ground is full of holes that punish any attempt to sprint blind toward the finish.
Reach the yellow exit door, clear the last safe floor, and take the final drop
The last few meters are where rushed players still throw the run. Keep the same short-scan rhythm you used earlier, verify the floor one more time, and then drop to finish Level 6 and enter Level 37.
In co-op, regroup by voice and route lines instead of searching for each other in the dark
The multiplayer note is useful because it shows how easily players lose each other in Sector 2. If the team splits, use voice callouts and return to the route line rather than cutting across unscanned space to force a fast regroup.
Door Match
How the Level 6 cage and door puzzle works
The final choice in Sector 2 is the part most players second-guess. The page needs one direct explanation here because 'pick the colored door' is incomplete advice.
| Puzzle part | What to read |
|---|---|
| Door color | Use it as the first filter, not the whole answer |
| Cage icon or entity symbol | Use it as the second confirmation when colors are ambiguous |
| Common mistake | Choosing a door by color alone and ignoring the symbol check |
| Best habit | Pause once, verify color plus icon together, then commit without re-scanning the whole room repeatedly |
The local walkthrough note highlights the same pattern players usually report here: you are comparing the door choice against the symbol shown with the cage clue, not making a blind color guess. In practice, that is what separates a clean clear from an unnecessary reset.
Because the pressure of darkness makes color feel like enough information. It is not. Lights Out asks for a two-part match, and the symbol confirmation is what makes the answer stable.
This embed uses the same Level 6 cover image as the levels hub card, then opens the multiplayer Lights Out walkthrough video when clicked.
Video Walkthrough
Watch the full Lights Out clear before the FAQ
Use the video when the written order makes sense but your own run still falls apart in motion. It is especially useful for seeing how controlled scans, cable tracking, and final-sector pacing actually look in a full successful clear.
Open the video if you understand the red cable, blue cable, and final door logic in theory, but you still lose the route when darkness and pressure stack together.
- how little scanning is actually needed when the route line is respected
- how the cage clue is checked before the final door commitment
- how the last maze is solved by floor scans plus the louder wave sound
Co-op Tips
Best Level 6 strategy for multiplayer teams
Lights Out in co-op is not really faster because more people can search. It is better because more people can preserve route control if they do not panic and scatter.
Let one player own the main scan rhythm so the path stays coherent instead of turning into overlapping noise.
A second player can focus on cable tracking, button progress, and regroup directions while the lead keeps the floor safe.
If the team splits, return to the nearest red or blue cable rather than trying to cross the black floor diagonally.
Voice callouts are safer than blind rescue movement in a level where one missed hole can wipe the advantage of co-op instantly.
Pause at the clue, verify color and symbol together, and then move. Long repeated re-checking usually makes the situation worse, not safer.
Stuck Points
Where most Level 6 runs actually fail
If Lights Out keeps ending badly, it is almost always one of these repeatable mistakes rather than a mysterious map problem.
Players often treat the big scan like free safety, but Level 6 gets less stable when scanning becomes constant and uncontrolled.
Most early confusion starts when players stop using the red or blue line as their reliable path spine.
The final puzzle is a color plus symbol match. Ignore either half and the door choice becomes guesswork.
The exit sound encourages speed, but the floor holes punish any push that is not backed by fresh scans.
Teammates usually get lost or fall when they leave the known route just to meet faster in darkness.
FAQ
Common questions
This FAQ covers the questions people usually ask after getting stuck in the dark, second-guessing the final door, or failing the last maze.
Use short LIDAR scans to follow the red cable to three buttons, then the blue cable to three switches, match the final door using both color and entity icon, and finish the last maze by scanning the floor and following the louder wave sound to the exit.
The LIDAR puzzle is the navigation system itself. You must generate your own temporary map in darkness, using just enough scan information to move safely without falling apart under pressure.
Collector is the main hostile pressure in Level 6. It is most dangerous when players stall, overexpose themselves, or lose route discipline in darkness.
After activating the three switches in Sector 2, you must choose the correct door by matching both the shown color and the matching entity symbol from the cage clue area.
In the last sector, scan the floor repeatedly to avoid holes and move toward the louder wave sound. The yellow exit route is ahead, not hidden behind random side detours, and it feeds directly into Level 37 Sublimity once the final drop is taken.
Keep one player on route scanning, one on navigation calls, and regroup through cables plus voice instead of trying to cut straight through darkness to find each other.
Source Notes
Where this page's information comes from
This page is structured so the direct answer is visible fast, but the route advice is still tied back to actual project notes and the supplied Level 6 reference content.
The eight-step route, red and blue cable navigation model, final audio-maze guidance, multiplayer regroup advice, and the emphasis on short scan rhythm all come from the local Level 6 LIDAR walkthrough note and image set in the active project knowledge folder.
Difficulty framing, core LIDAR mechanic wording, Collector context, the three-part stage breakdown, item and sanity notes, and the high-level objective chain were cross-checked against the supplied Level 6 v0.13.4 reference document attached in this thread.
The answer-first intro, explicit LIDAR definition, quick fact table, FAQ coverage, HowTo plus FAQ schema, and video section with a real level-matched cover image are tuned for both search intent and AI-citation readability.
Related Pages
Open the next page players usually need
Once the immediate Level 6 blocker is solved, these are the pages players usually open next for continuity, setup, or what comes after the drop.
Quick Answer
The shortest Level 6 solution
Follow red to three buttons, follow blue to three switches, match the right door by color plus symbol, then scan the ground and move toward the louder wave sound until you reach the final drop to Level 37.