Level 3 Guide
Level 3: Electrical Station
Backrooms: Escape Together Level 3, also called Electrical Station, is the repair-heavy industrial stage where you restore power sector by sector while Clump pressure keeps rising. The shortest reliable clear in v0.13.4 is to collect tape, wire bundles, and fuses early, repair each sector in order, use jail doors to cut pursuit, and save enough resources to restore the final catwalk instead of burning everything on side boxes.
This page combines official level facts, community level context, and the project's local v0.13.4 walkthrough notes so players get both the searchable answer and the practical route discipline that actually survives the stage.
Quick Facts
What to know before you enter Electrical Station
According to the official level listing and current community references, Level 3 is a hard repair stage built around Clump pressure and sequential power restoration. In practice, the real difficulty is not one puzzle interaction but the way the level stacks route memory, material management, and chase control on top of each other across three sectors and one final catwalk push.
- Difficulty
- Hard
- Main entity
- Clump
- Core mechanic
- Repairing sectors and restoring the catwalk
- Main progression gate
- Repair Sector 1, Sector 2, Sector 3, then finish the catwalk
Electrical Station rewards steady route control. The level gets easier once you stop treating it like a scavenger hunt and start reading it as a sector-by-sector repair climb.
Quick Answer
How to beat Backrooms: Escape Together Level 3
If you only want the direct answer, clear Level 3 by grabbing tape, wire bundles, and fuses as early as possible, repairing each sector in order from the generator hub outward, closing jail doors behind you whenever Clump begins a chase, preserving spare fuses for the most valuable locks and deposit boxes, then finishing the final catwalk repair and crossing it to exit.
Best route rule
Push one powered sector at a time instead of full-clearing every floor.
Main danger
Multiple Clumps building chase pressure in long corridors.
Best resource rule
Do not spend every fuse the moment you find one.
Fast-clear result
All three sectors repaired, catwalk restored, stage complete.
Overview
Why Electrical Station feels harsher than earlier levels
Electrical Station is where Backrooms: Escape Together starts asking for genuine route discipline. Earlier levels like Habitable Zone can still be stabilized with clue reading or one clean navigation habit, but Level 3 keeps moving the goalposts: each powered sector unlocks the next problem while also increasing pressure from Clump and reducing the value of wandering.
The safest interpretation of Level 3 is simple: it is a repair-and-retreat stage. If you can name the next repair target, the nearest useful door, and the spare materials you still need for catwalk completion, the map becomes much more manageable.
Best short description
An industrial repair maze where route control beats brute-force searching.
Biggest trap
Over-searching one floor until Clump pressure snowballs.
Best solo habit
Always know your nearest jail door before you push deeper.
Best co-op habit
Split roles into scouting, carrying, repair, and chase control.
Fact Table
Level 3 difficulty, entity, mechanic, and route summary
This guide is built as a searchable answer hub first, so the key Level 3 details are grouped below in a compact comparison-ready table.
| Field | Level 3 detail |
|---|---|
| Official name | Electrical Station |
| Difficulty | Hard |
| Listed entity | Clump |
| Listed mechanic | Repair |
| Main progression task | Repair three sectors and restore the catwalk |
| Most important tool | Jail doors for breaking Clump pathing |
| Most important materials | Tape, wire bundles, and fuses |
| Common failure point | Spending too long looting one floor and getting trapped in a long pursuit |
Entity
Threat that matters in Level 3
The official level list and entity references associate Electrical Station with Clump . That matters because Clump is not just a chase monster here. It is a pressure multiplier that punishes bad route memory, open retreat lines, and every extra second spent hesitating at a repair target.

Clump
Clump is the main reason Electrical Station feels oppressive. In v0.13.4, the level can pressure you with more than one Clump at once, so a route that looks safe on paper can collapse quickly if you keep feeding long corridor sightlines.
- Most relevant after Sector 1, when pressure begins to ramp
- Punishes players who run straight without using doors or detours
- Best response is door control, short retreats, and known fallback routes
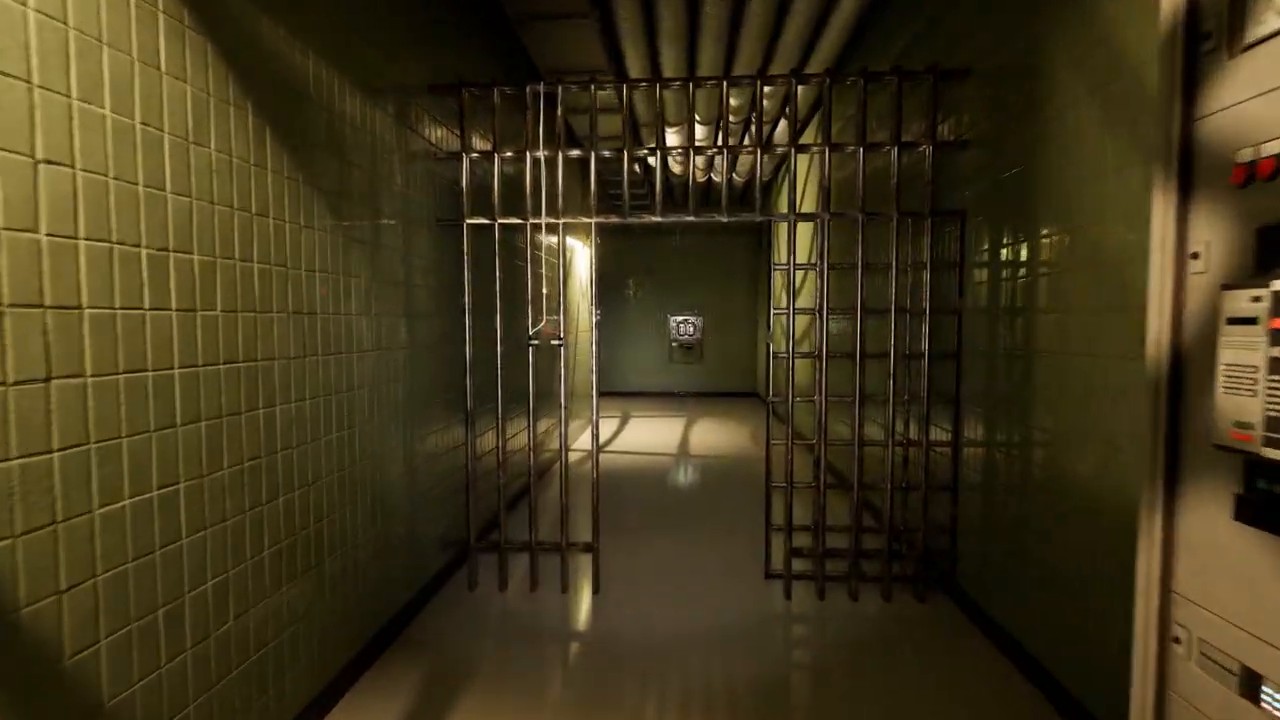
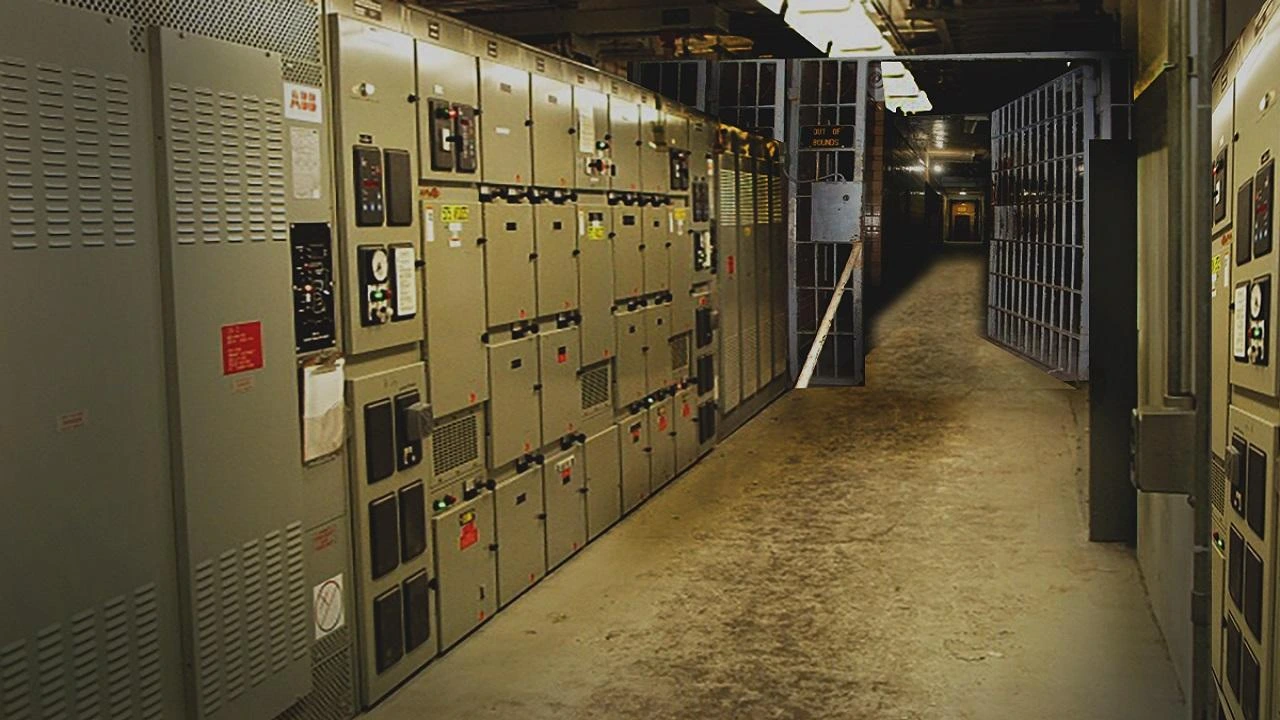
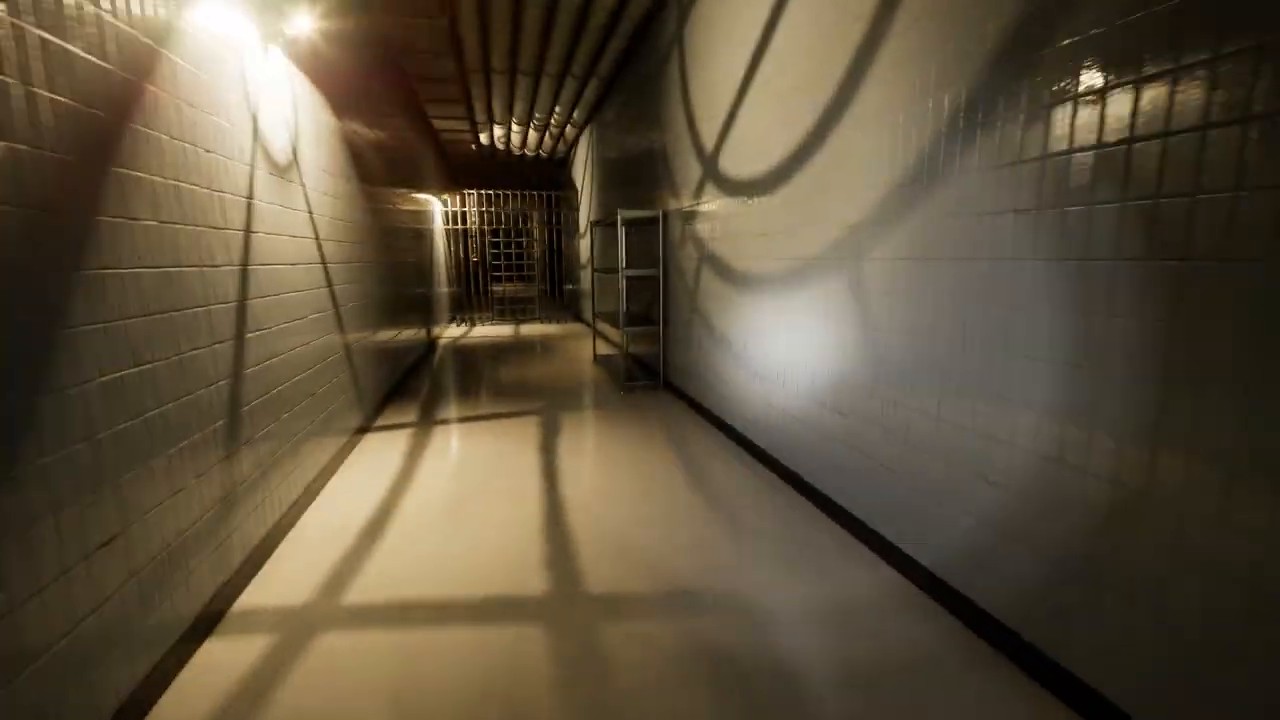
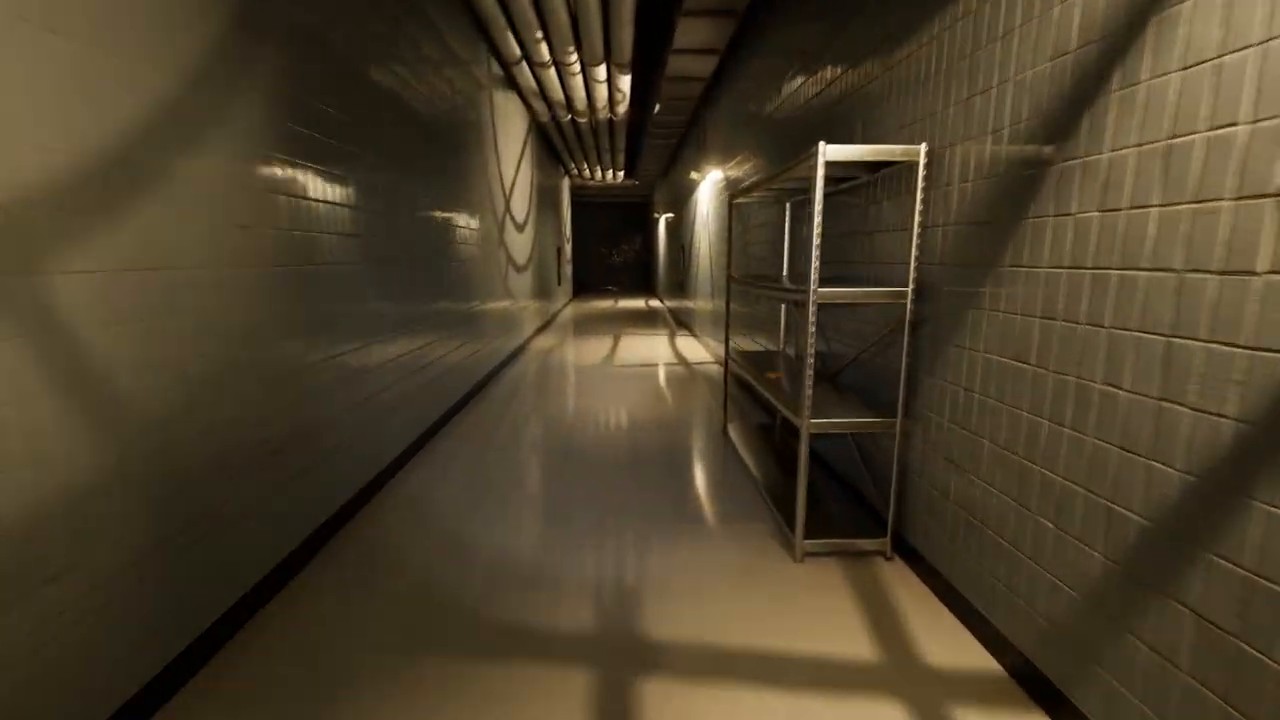
Jail door path control
The most reliable survival rule in Electrical Station is to treat jail doors as tactical tools, not background scenery. Every time you open one, ask whether you can close it again behind you if a chase starts.
- Creates time and distance without needing a perfect sprint line
- Works best when you already know the next safe turn
- Becomes more important than raw speed in upper sectors
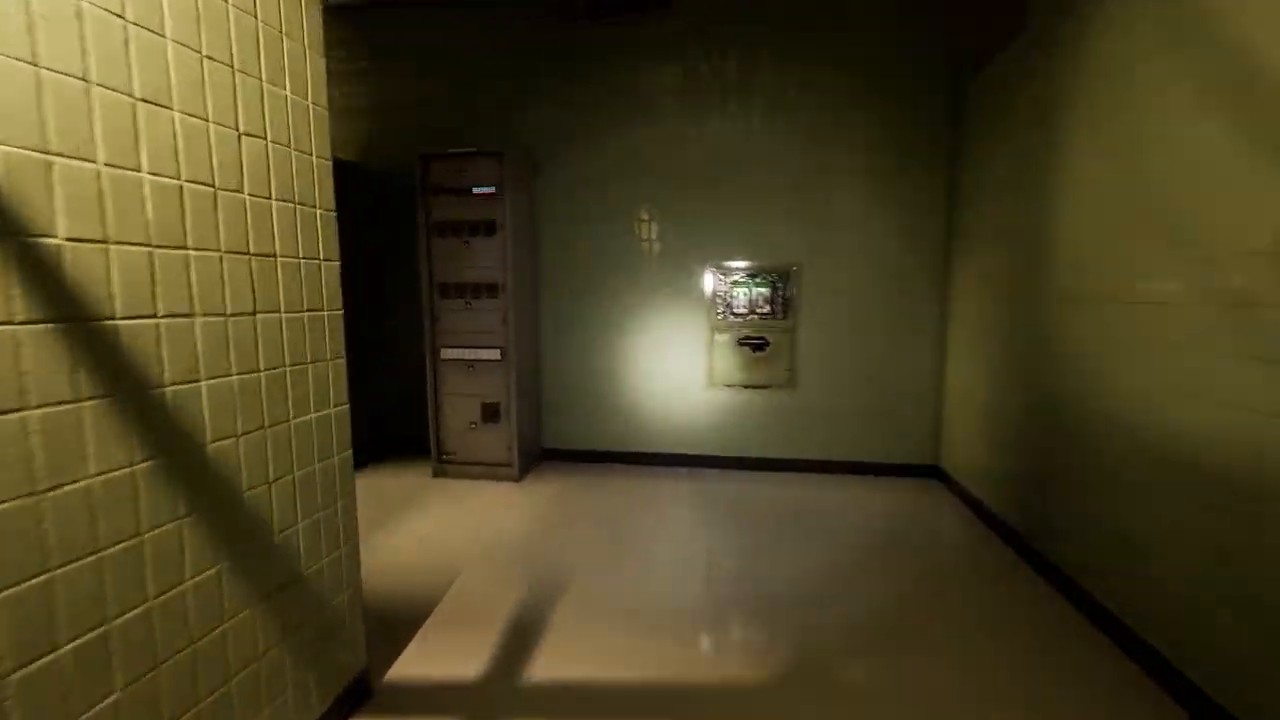
Mechanics
How Level 3 actually works
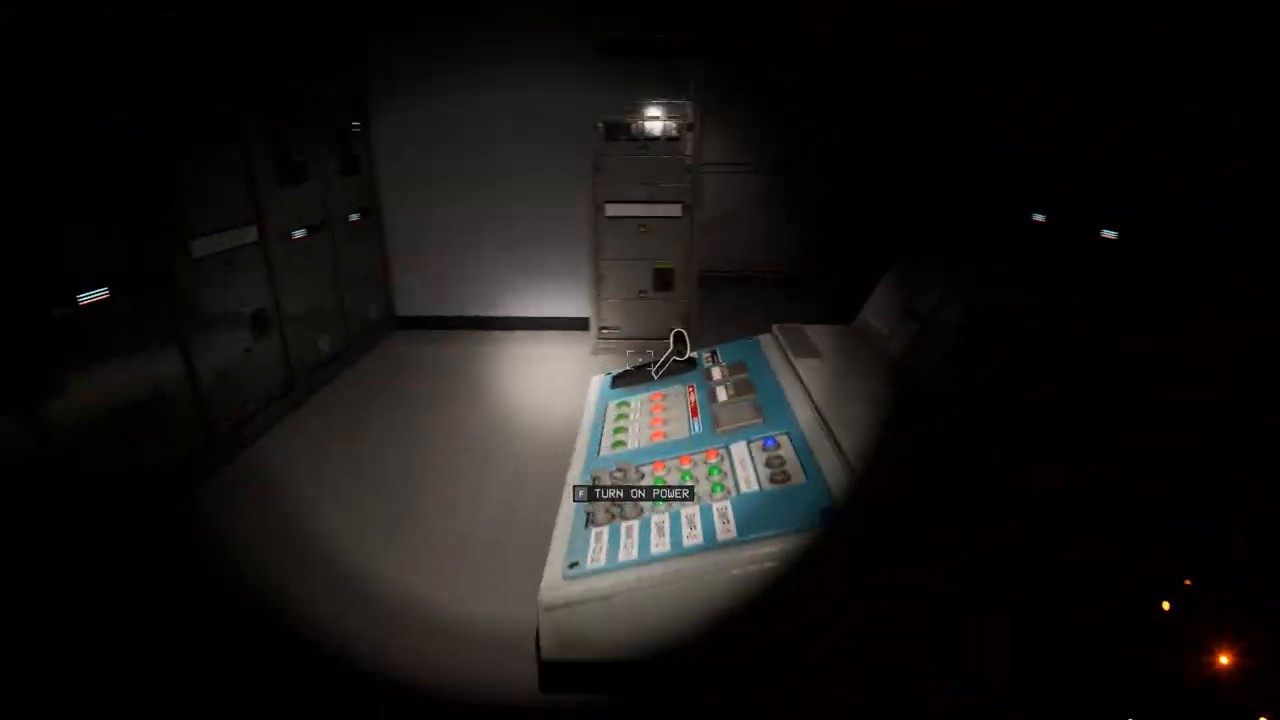
Officially, Level 3 is a repair stage. In real play, that means balancing four systems at once: material gathering, sector sequencing, fuse spending, and chase interruption. Electrical Station gets much easier once you stop asking where everything is and start asking what the next repair gate actually requires. If you want the threat-specific layer in more detail, the Clump guide pairs naturally with this page.
You do not free-route the whole map. Sector 1 powers Sector 2, Sector 2 powers Sector 3, and Sector 3 leads into the catwalk finish.
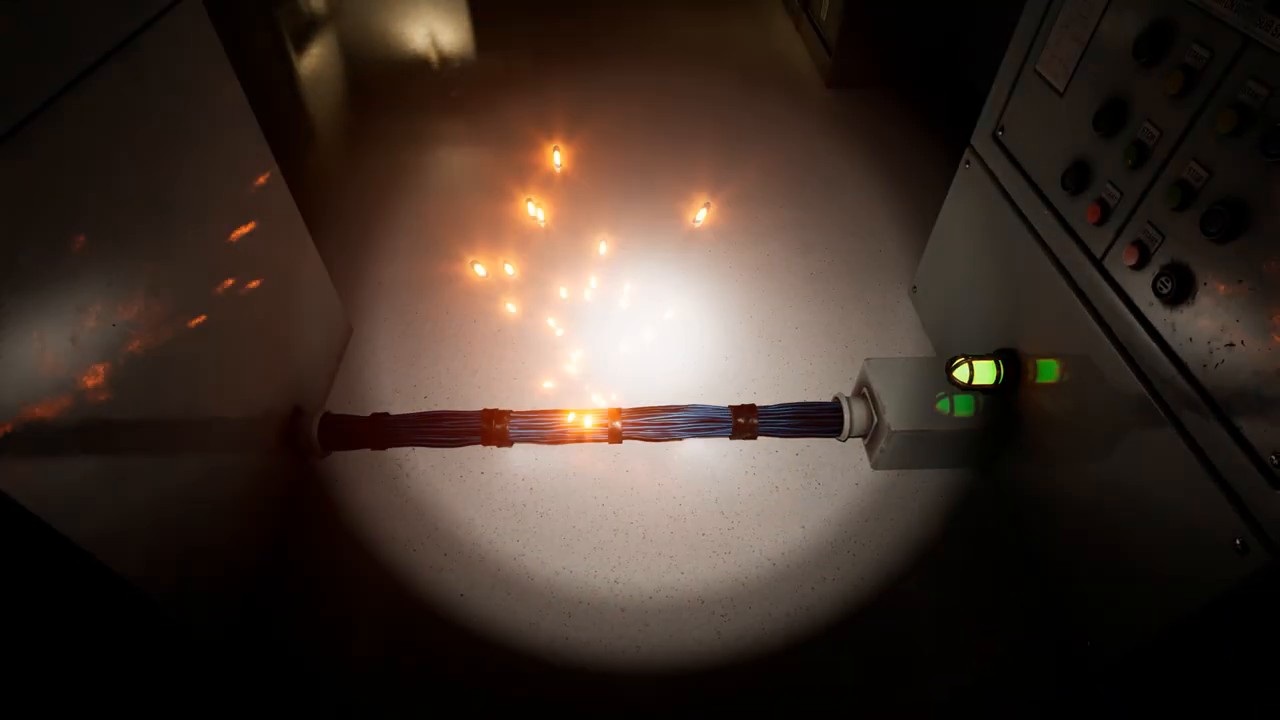
Tape and wire bundles are the practical backbone of the level, while fuses gate high-value boxes, doors, and the final catwalk sequence.
Jail doors and other chokepoints are part of the mechanic layer because they decide whether you can reset after a bad Clump encounter.
| Item or system | What it does in Level 3 |
|---|---|
| Electrical tape | Used in console and wiring repairs across the level |
| Wire bundle | Pairs with tape for broken wall wiring and machine fixes |
| Fuse | Opens key doors or boxes and is still needed for catwalk completion |
| Fuse deposit box | Consumes spare fuses for reward caches, so timing matters |
| Jail door | Cuts Clump pathing and buys time during pursuit |
| Blackout event | Shifts power state after sector progression and changes route safety |
Community notes and the local project walkthrough both point to bigger pressure in v0.13.4: updated lighting and art, fuse deposit boxes replacing older lockers, more Clump pressure, added wire hazards, and stronger randomness in the level layout.
No. Deposit boxes can be valuable, but Level 3 is much safer when you preserve a few spare fuses first and only cash them in when the box value outweighs the risk of starving the catwalk finish.
Objectives
Main tasks required to clear Level 3
If you strip away optional searching, Electrical Station becomes a clean four-stage progression loop.
Grab tape, wire bundles, and at least a small fuse reserve before the map starts asking for repeated repairs.
Treat each sector as one defined problem set instead of blending them together into one long scavenger loop.
Retreating correctly is part of progression, not a failure state.
The stage only ends after the final catwalk repair sequence is complete and the crossing is actually made.
Walkthrough
Step-by-step route through Level 3
Use this route when you want the stable v0.13.4 clear instead of a messy exploratory run. It follows the same rhythm as the project's local walkthrough notes: early materials, sector gating, door control, and a clean catwalk finish.
Read the level as an upward industrial route
The opening stairs and walkways already tell you what kind of map this is. Electrical Station usually becomes easier when you keep climbing toward the current sector objective instead of orbiting one floor for too long.
In the first sector, prioritize tape and wire before greed looting
The most stable early-game rule is to pick up the key repair materials first. Level 3 becomes much cleaner once your inventory can actually solve the next console or broken wall without another full floor loop.
Start treating every jail door as part of your route plan
Do not think of jail doors as optional scenery. Open them with intent, and whenever possible close them again behind you. That single habit turns many bad Clump encounters into recoverable retreats instead of run-ending chases.
Do not dump all fuses into side boxes too early
v0.13.4 replaced older fuse lockers with fuse deposit boxes. They can pay off, but the stable rule is still to hold spare fuses until you are confident the next repair gate and the catwalk finish remain covered.
Repair the wall wiring and console in each sector before drifting deeper
Electrical Station is full of false motion. You can feel busy without actually progressing. The route stays stable when each push ends with a real repair milestone instead of one more speculative search loop.
At the final hallway, stop improvising and confirm the catwalk materials
Many failed runs come from reaching the end too early in mindset, then realizing a fuse or repair piece is still missing. Before committing, confirm the last requirements and keep enough breathing room to back out if Clump pressure spikes again.
Stuck Points
Where most Level 3 runs actually fail
If Electrical Station keeps breaking your run, it is usually one of these repeatable mistakes rather than bad luck alone.
The longer you stall early, the more likely Clump pressure compounds before your materials are even organized.
Fuse deposit boxes and doors are tempting, but starving the later route can turn one bad choice into a full backtrack.
Long industrial corridors strongly favor Clump if you never cut line of pursuit.
Level 3 gets easier when you filter rooms by the next repair need, not by completionist instinct.
The endgame is safer when you arrive ready to finish, not ready to discover one more missing item.
Watch the complete Electrical Station clear if you want to see sector pacing, jail door resets, and the catwalk finish in motion before using the step list.
Video Walkthrough
See the full Electrical Station route before the FAQ
Some players understand Level 3 much faster after seeing one complete run. This video is most useful for reading the sector-by-sector rhythm, seeing how jail doors actually break Clump pursuit, and understanding when to stop looting and commit to the catwalk finish.
Open the video if the written route makes sense, but your own run keeps collapsing once Clump starts stacking pressure between sectors.
- how the early repair route stays focused
- where jail door control saves the run
- when the final catwalk push becomes safe
FAQ
Common Level 3 questions
This FAQ targets the search intent most players have right after a failed Electrical Station run: what is actually required, what changed in v0.13.4, and why Clump feels so much worse here.
Collect tape, wire bundles, and fuses early, repair each sector in order, use jail doors to break Clump pathing, save enough materials for the final catwalk, and cross it once the last repair is complete.
The main mechanic is repair-based sector progression. You fix consoles and broken wiring to advance power from one sector to the next until the catwalk becomes the last objective.
Level 3 is associated with Clump, a fast high-pressure threat that becomes much more dangerous when you feed it long corridor routes with no door control.
Fuse deposit boxes are the v0.13.4 replacement for older fuse lockers. They reward spare fuse investment, but they are not worth emptying your route-critical stockpile for too early.
Treat the map as a repair-and-retreat route, not a full-clear loot map. Push one sector at a time, preserve fuses, and use jail doors as your main survival tool.
Make sure the last repair materials are ready, complete the catwalk sequence, activate the mechanism, and cross the restored walkway instead of turning back into another random search loop.
Source Notes
Where this page's information comes from
This page is built as a cleaner answer-first wiki layer, so it separates official facts, community cross-checking, and project walkthrough evidence instead of flattening them together.
Difficulty, listed entity, and repair classification are aligned with the official levels overview at backroomsescapetogether.com/levels.
Additional phrasing around Electrical Station identity, v0.13.4 changes, and route expectations is cross-checked against the community wiki page for Level 3 | Electrical Station and the current Steam community strategic guide for the game.
The sector-by-sector pacing, jail door emphasis, fuse reserve advice, and final catwalk discipline come from this project's local v0.13.4 walkthrough notes and extracted screenshot set. That gives this page a direct answer-first structure, concrete numbers like three sectors and one catwalk finish, and the kind of step framing AI search engines tend to quote cleanly.
Related Pages
Open the next page players usually need
Level pages on this site are meant to hand users into the next live intent bucket once the immediate blocker is solved.
Quick Answer
The shortest Level 3 solution
Grab repair materials early, progress one sector at a time, close doors behind you during Clump chases, save enough fuses for the finish, and restore the catwalk to leave the stage.