Level 1 Guide
Level 1: Habitable Zone
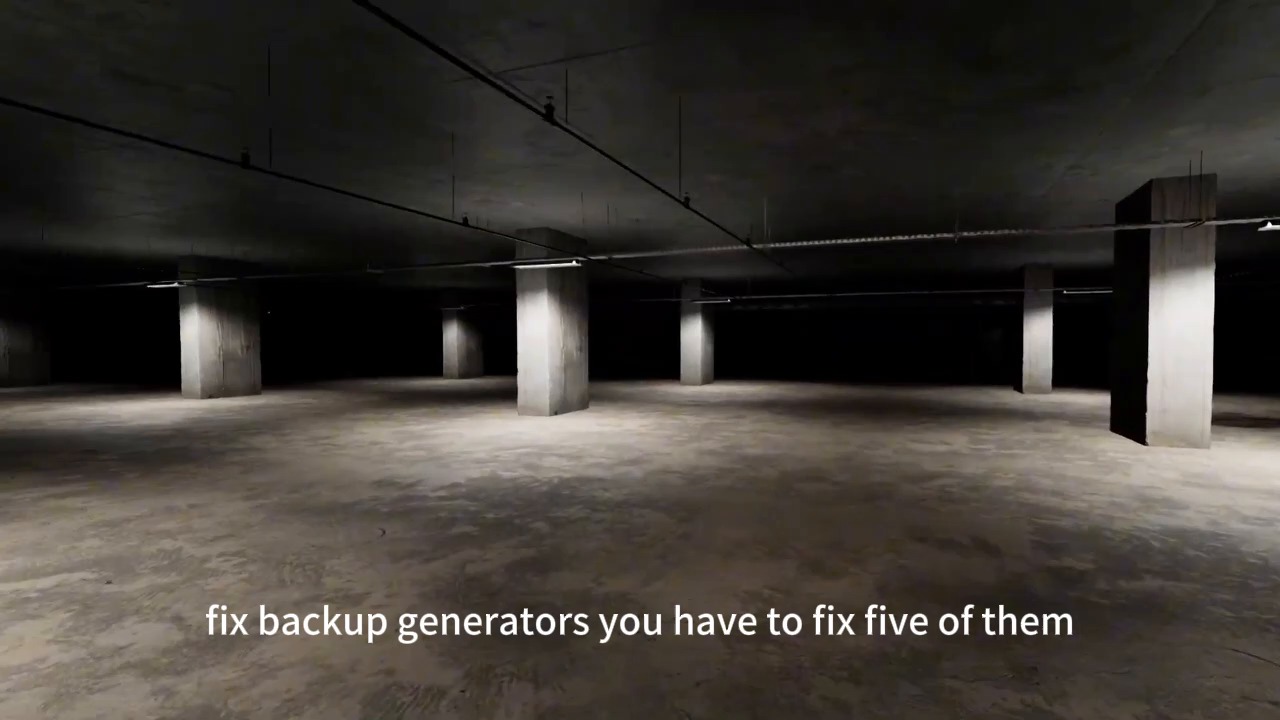
Backrooms: Escape Together Level 1, also called Habitable Zone, is the garage stage where you restore 5 generators while surviving repeated light and blackout cycles. The shortest reliable route is to pick one wall, keep following that same side around the map, repair one generator per bright phase, and dive into nearby rooms whenever the lights go out.
This page combines the official Level 1 facts with the project's local walkthrough notes from the garage run, so players get both the searchable answer and the practical rhythm that actually clears the stage.
Quick Facts
What to know before you enter the garage
According to the official level listing, Level 1 is a moderate-difficulty stage with Skin-Stealer as its listed entity and generators as its core mechanic. In practice, the real challenge is not maze complexity but pacing: the level punishes players who wander the center of the garage, greed a second generator during one light cycle, or enter blackouts with no shelter plan.
- Difficulty
- Moderate
- Main entity
- Skin-Stealer
- Core mechanic
- Repairing 5 generators across repeated light cycles
- Main progression gate
- Restore all 5 generators and return to the exit route
Habitable Zone looks calmer than Level 0, but the garage only becomes safe after generator five. Until then, routing discipline matters more than speed.
Quick Answer
How to beat Backrooms: Escape Together Level 1
If you only want the direct answer, clear Level 1 by hugging one wall through the garage, using rooms as supply and shelter points, repairing 5 generators one at a time during bright phases, surviving blackouts by hiding or backing into a wall while watching for the Skin-Stealer, then returning to the starting route after the lights stay on.
Best route rule
Pick one wall early and do not switch sides mid-run.
Main danger
Getting caught in open space when the lights cut out.
Best pacing rule
Treat one bright cycle as one generator unless a room is right beside the machine.
Fast-clear result
Five generators restored, full lights on, route back to the stairs.
Overview
Why Level 1 feels stable at first and dangerous later
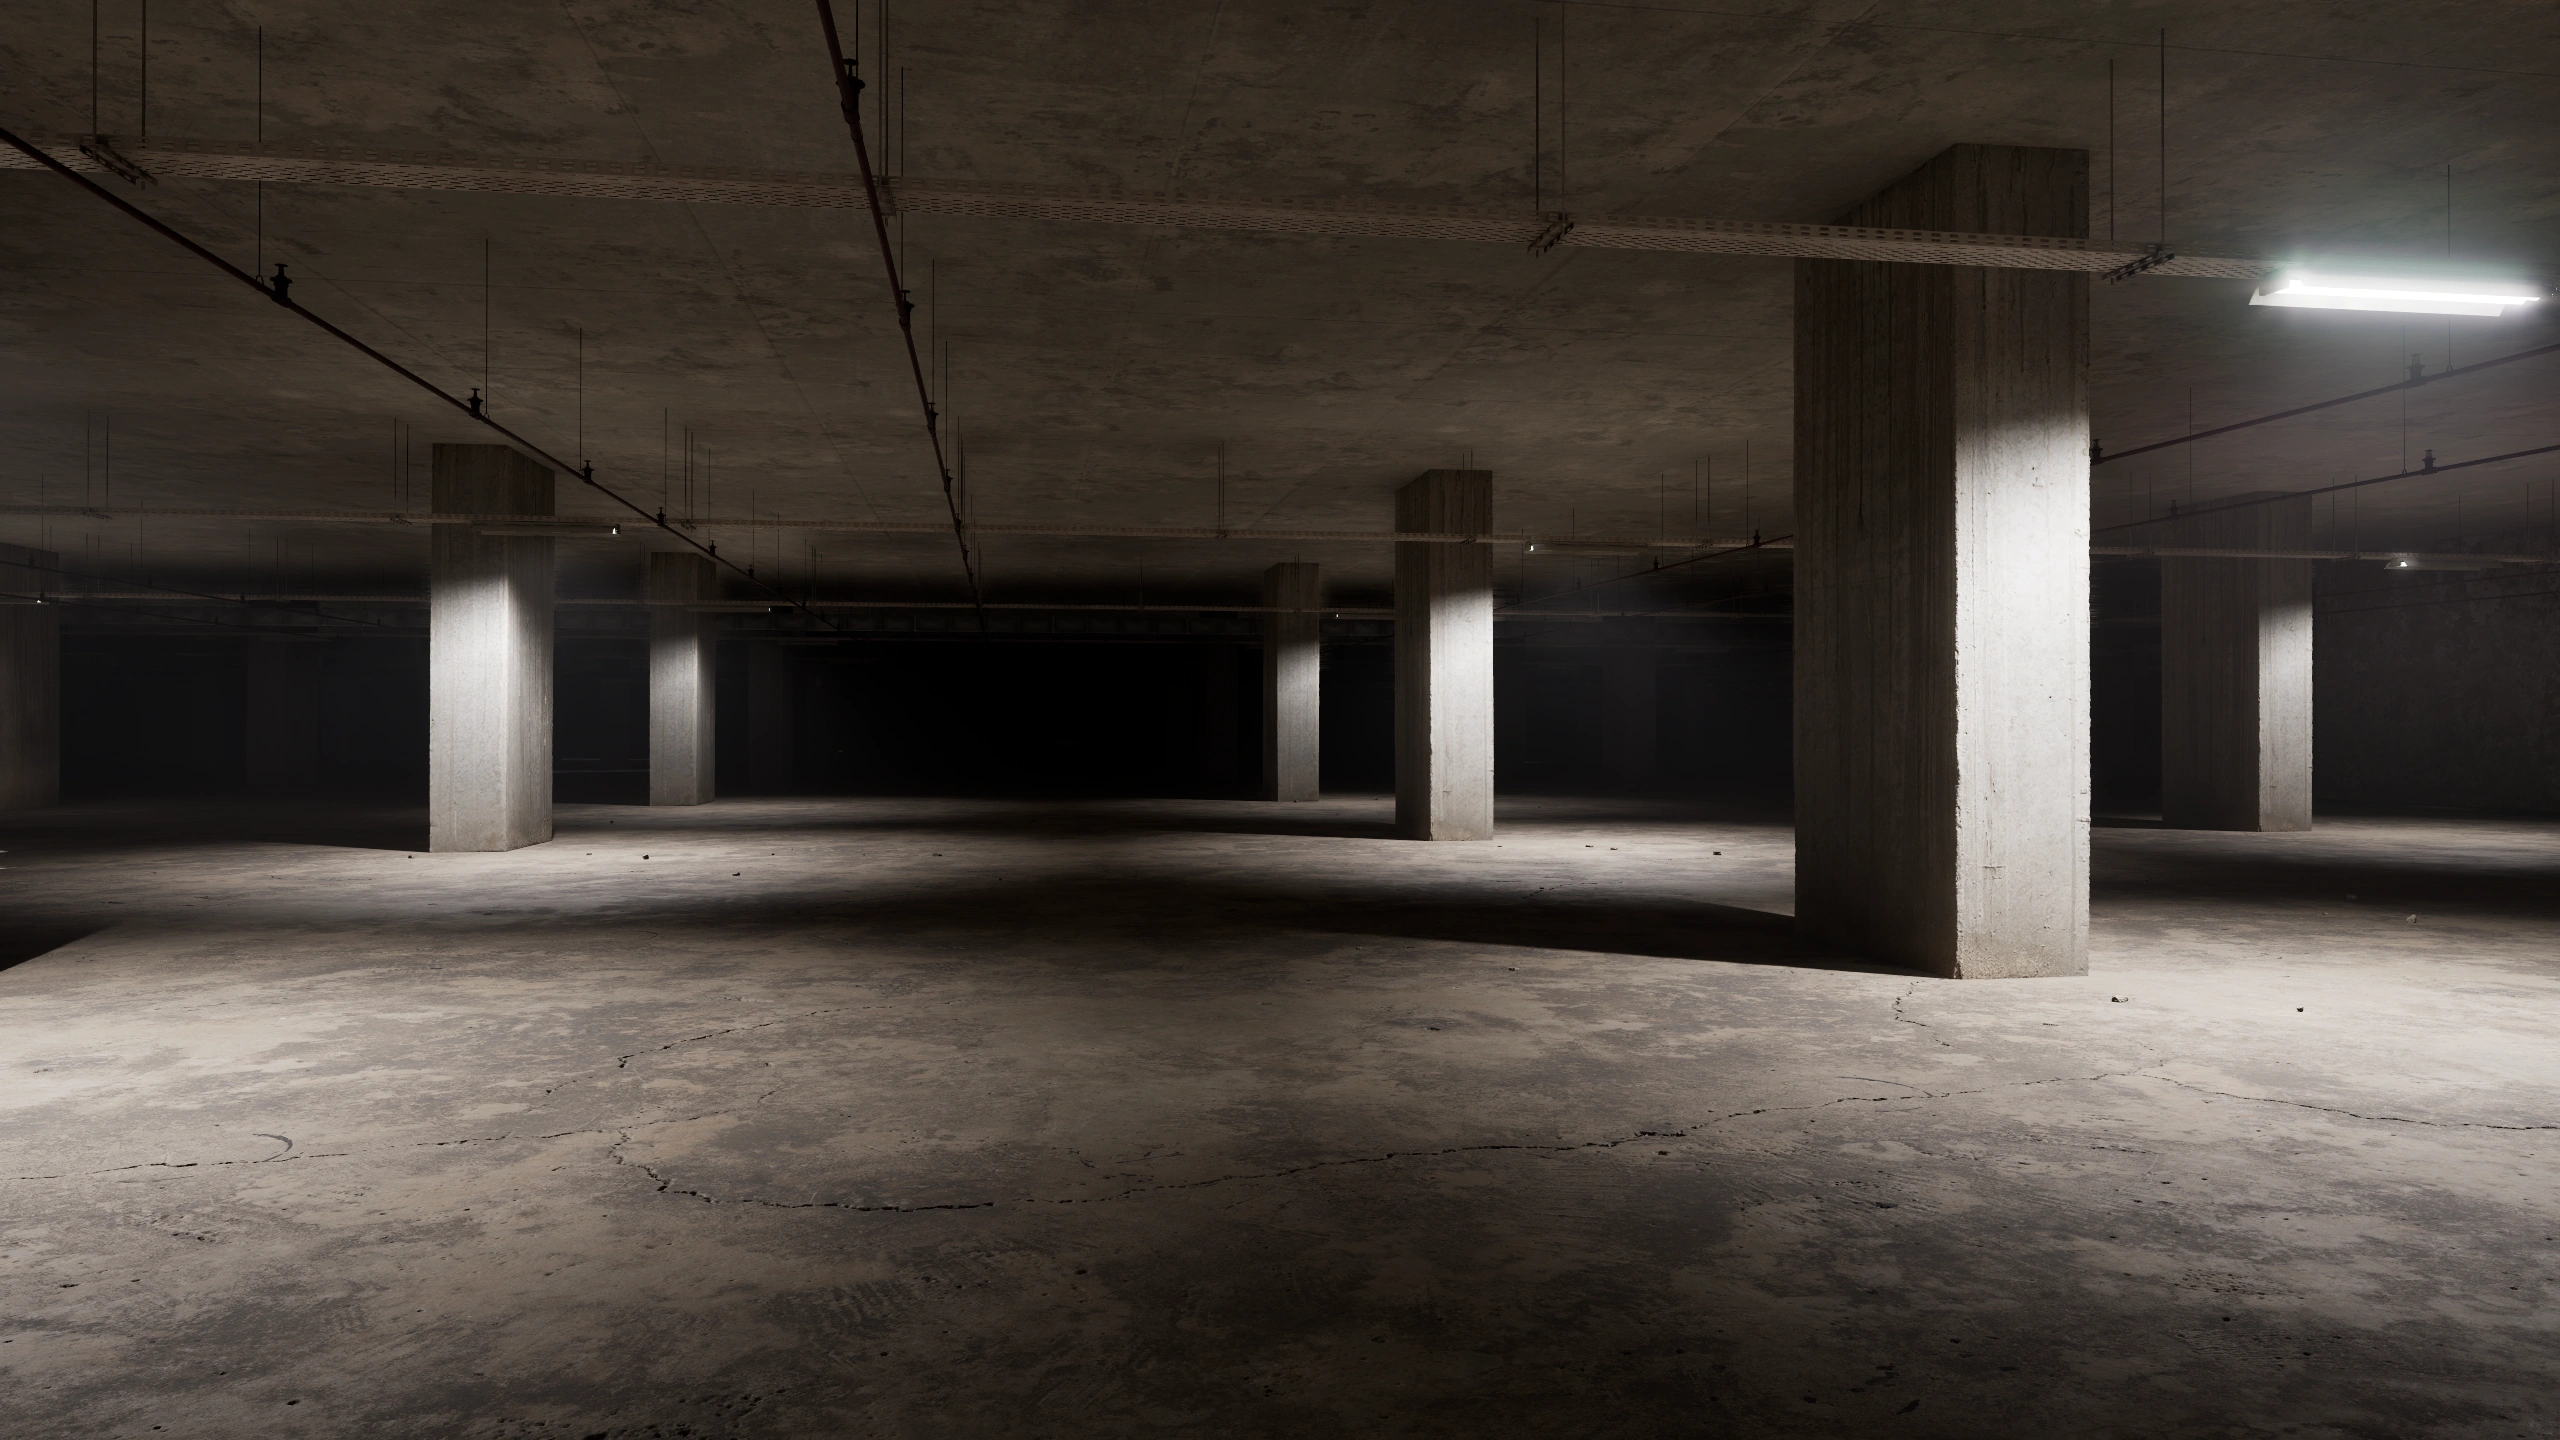
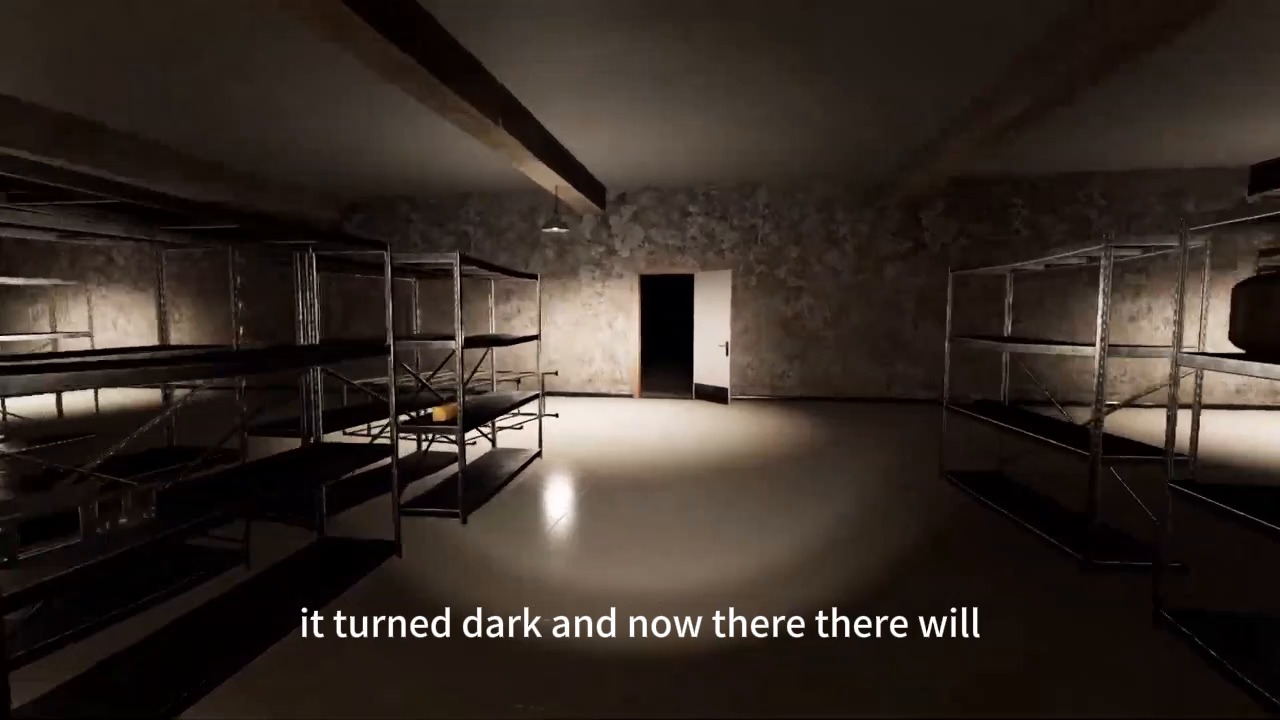
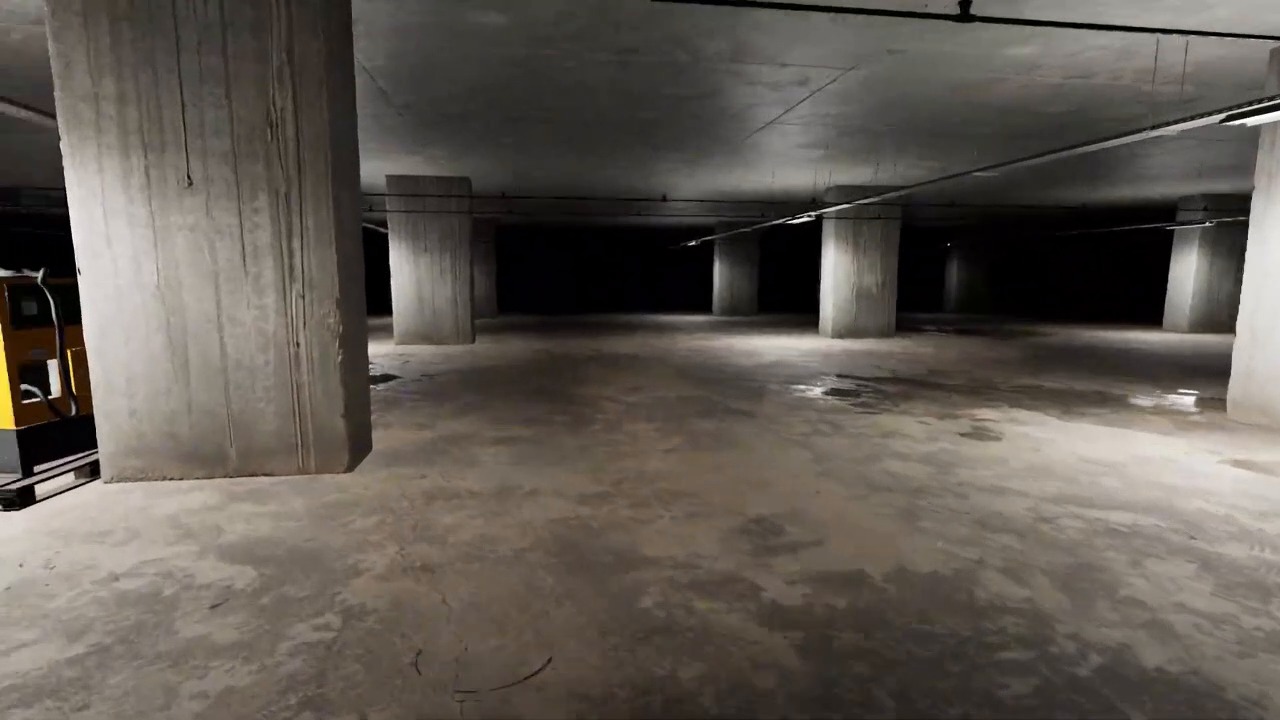
Habitable Zone is a concrete parking structure rather than the surreal yellow maze of The Lobby, so many players read it as a breather level. That is only partly true. The shape is easier to read, but the generator objective creates long exposure windows, and every blackout turns the garage from manageable to dangerous almost instantly.
The safest interpretation of Level 1 is simple: it is a route-management stage. Once you stop trying to freestyle the map and start thinking in loops, supply rooms, and blackout timing, the whole level becomes much more predictable.
Best short description
A generator-repair garage where stable routing beats fast improvisation.
Biggest trap
Crossing open central space with no room, wall, or fallback plan.
Best solo habit
Keep a mental line from your current generator to the nearest shelter room.
Best co-op habit
Move as a unit, call room locations, and let one player manage supplies.
Fact Table
Level 1 difficulty, entity, mechanic, and route summary
This page is designed as an answer hub first, so the key facts players search for are grouped below in a compact comparison-ready table.
| Field | Level 1 detail |
|---|---|
| Official name | Habitable Zone |
| Difficulty | Moderate |
| Listed entity | Skin-Stealer |
| Listed mechanic | Generators |
| Main progression task | Repair 5 generators and return to the exit route |
| Most important rule | Follow one wall for the whole loop |
| Best healing item | Orange juice for full sanity recovery |
| Common failure point | Trying to finish a second machine when blackout timing is already closing |
Entity
Threat that matters in Level 1
The official level list associates Level 1 with Skin-Stealer. The danger spikes during blackouts, especially when players are stranded in open ground instead of tucked into a room, corner, or wall-backed position.

Skin-Stealer
Skin-Stealer is the main pressure source in Habitable Zone. It turns every blackout into a positioning test, because the threat is most dangerous when you panic in open space or lose track of your nearest room.
- Most relevant when the lights go out mid-route
- Punishes players who overcommit to generators with no escape line
- Best response is shelter first, or wall-back visual control if no room is reachable
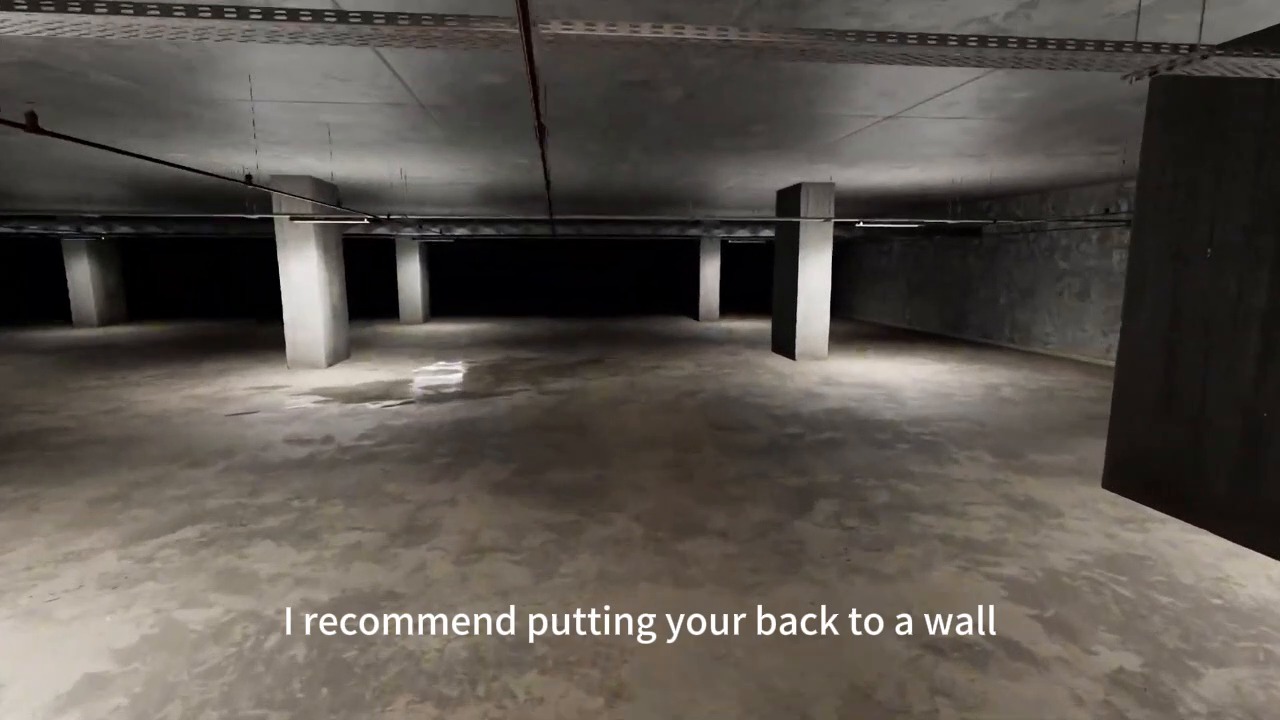
Back-to-wall scanning
If a blackout catches you away from a room, the project walkthrough notes recommend backing against a wall or corner and sweeping your view across the approach lane. That reduces how much space you need to monitor and gives you a steadier chance to react.
- Shrinks your exposed angles during a blackout
- Works best when you stop moving and control the visible approach
- Should be a fallback, not your first-choice plan
Mechanics
How Level 1 actually works
Officially, Level 1 is about generators. In real play, that means balancing three systems at once: map routing, exposure timing, and sanity recovery. The level becomes much easier once you understand that generators are only half the puzzle and the other half is how you survive between them.
Pick one side of the garage early and keep tracing that wall. This makes later backtracking and final extraction much easier.
Use bright phases for repair progress and dark phases for shelter, inventory management, and sanity recovery.
Rooms are not only loot spots. They are also your safest reset points between generator attempts.
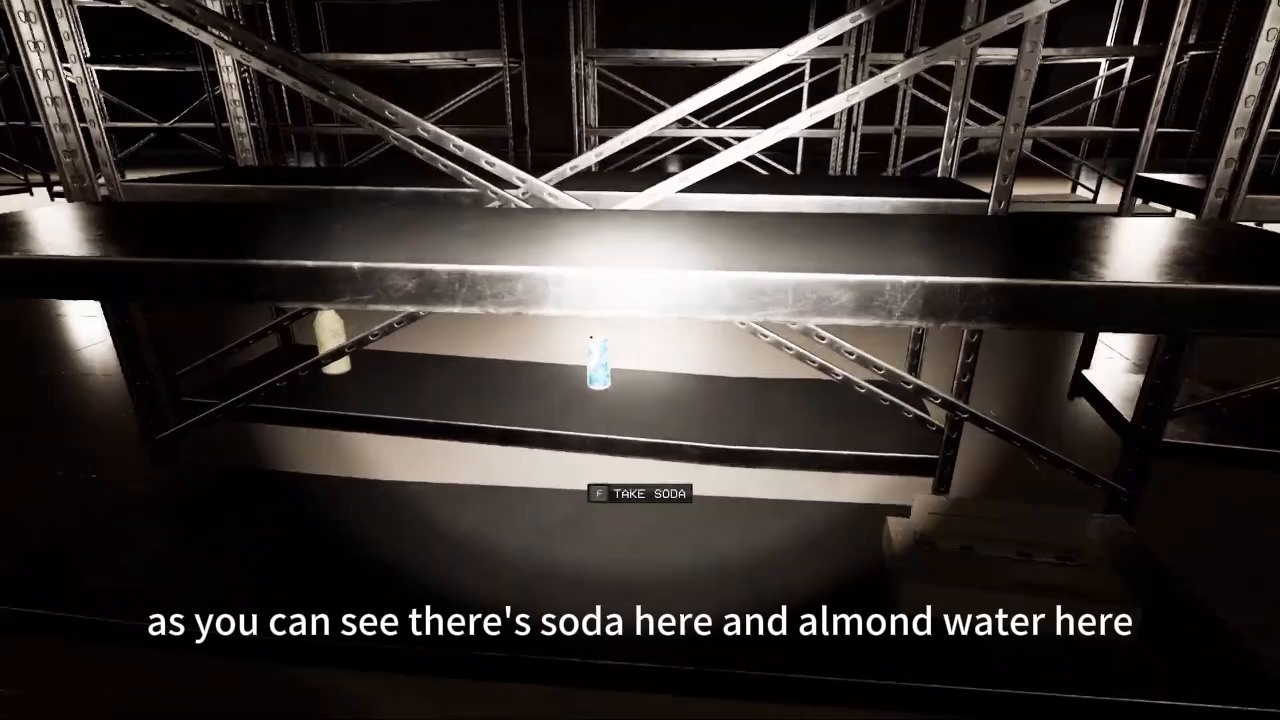
The local walkthrough notes emphasize soda, almond water, and especially orange juice. Orange juice gets the highest priority because it restores sanity from a dangerous state back to full, which makes it the best panic stabilizer for long blackouts.
One is the safe default. Sometimes a generator right beside a room lets you push a little harder, but the stable route is still one machine per bright cycle.
Objectives
Main tasks required to clear Level 1
If you strip away optional searching, Habitable Zone becomes a clean four-part loop.
Choose a wall and use it as your navigation spine for the rest of the level.
Do not empty every room. Take what keeps the next blackout survivable and move on.
Use the bright windows to complete each repair, then reset safely before the next cycle.
Once generator five is done and the garage stays lit, retrace your route to the starting stairwell and exit.
Walkthrough
Step-by-step route through Level 1
This walkthrough follows the project garage notes closely, because the level is more about rhythm and route discipline than one exact fixed map.
Accept the real objective immediately
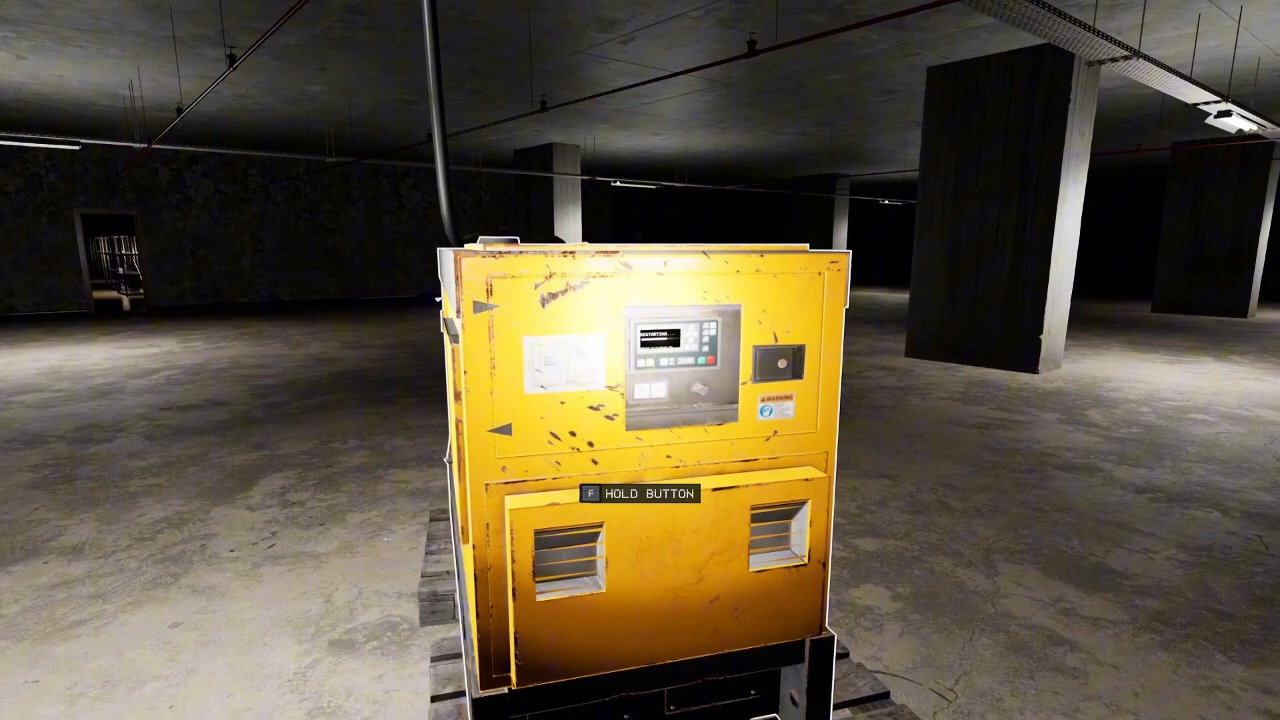
Level 1 is the garage map where your job is to repair 5 backup generators. The level is safer once you stop treating it like a broad scavenger zone and start reading it as a slow loop with fixed objectives.
Pick one wall and check rooms on that route
Choose a single wall, such as the right side, and keep following it. Rooms along that line help twice: they give you supplies and they become future blackout shelters.
Enter blackouts with recovery items already in hand
The guide notes highlight soda, almond water, and especially orange juice as the best pickups. The point is not full-clearing every room. The point is making sure your next dark phase is survivable before you leave shelter again.
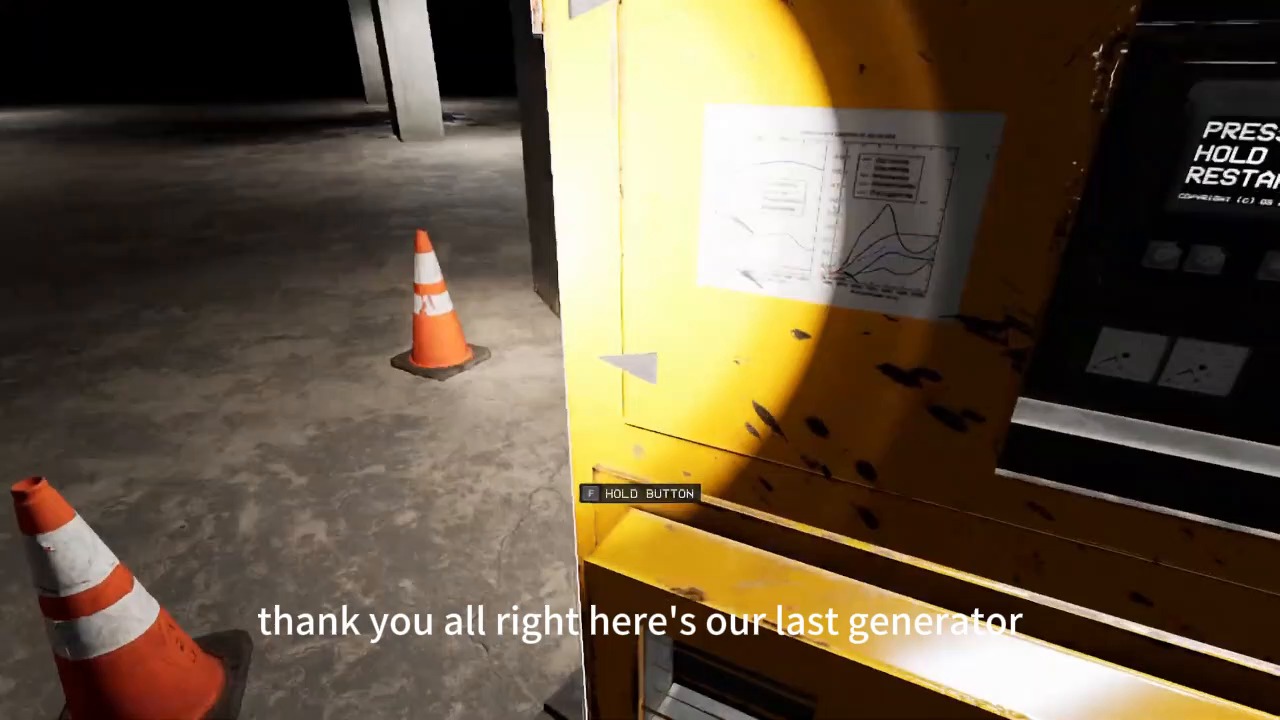
Use each bright cycle for one safe machine
A generator repair takes enough time that greed usually gets punished. The stable rule is one generator per bright window, then reset instead of gambling on a second machine that may strand you outside.
Push harder only when a room is next to the generator
The one exception is a machine with shelter immediately beside it. In that case, you can repair, duck into the room, recover, and wait for the next bright phase with much less risk.
Expand inward only after the wall route is mostly cleared
If the last generator is not sitting cleanly on your wall loop, do not assume the route failed. Confirm the edge is covered first, then make a limited search into the center until you find the final machine and its nearest fallback path.
If trapped outside, back into a wall and control vision
When a blackout catches you in the open, get your back to a wall or corner and scan the approach. This is the key emergency habit for surviving Skin-Stealer pressure when you cannot reach a room in time.
Leave once the garage stays lit
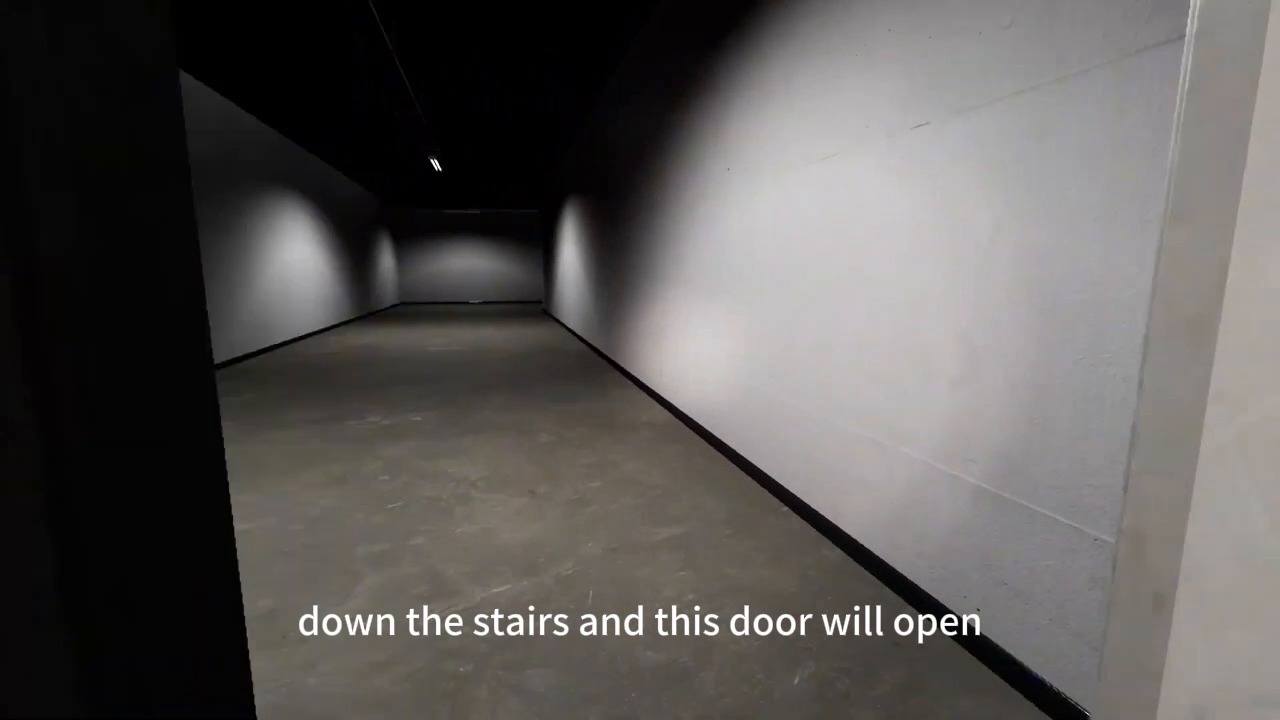
After generator five, the level's most dangerous phase ends because the lights remain on. At that point, retrace your route back to the starting area, go downstairs, and finish the stage.
Key Info
Other details worth knowing before a run
These Level 1 details do not belong to only one walkthrough step, but they still decide whether a run feels controlled or chaotic.
Why rooms matter
Rooms are route anchors, shelter points, and supply nodes. They matter more than random open-map shortcuts.
Best inventory habit
Do not fill every slot with low-value recovery. Save room for orange juice whenever possible.
Most common mistake
Players often drift into the center too early and then lose the clean return route to the start.
Best fast-clear rule
Wall route first, generator pacing second, center search only when necessary.
FAQ
Common Level 1 questions
This FAQ targets the questions players usually search right after a failed garage run or a difficult blackout.
Follow one wall around the garage, use rooms as shelter and supply stops, repair 5 generators over multiple bright cycles, survive blackouts safely, and return to the starting stairwell after the power remains on.
The safest strategy is to commit to one wall route, avoid open-space wandering, repair one generator per bright cycle, and treat orange juice as the highest-priority sanity item.
The official level listing associates Habitable Zone with Skin-Stealer, which becomes the main threat during blackouts.
You need to repair 5 generators to restore permanent light and unlock the safe return phase of the level.
Get into a nearby room if possible. If not, back against a wall or corner, control the visible approach lane, and avoid panicked movement across open floor.
The garage stays lit, blackout pressure stops, and you can follow your known route back to the start and leave the stage.
Source Notes
Where this page's information comes from
This site is built as a cleaner wiki-style answer layer, so the page separates official facts from route interpretation and local walkthrough evidence.
Difficulty, listed entity, and core mechanic are aligned with the official levels overview at backroomsescapetogether.com/levels.
Additional wording around Habitable Zone identity and player expectations is cross-checked against the community wiki at Level 1 | Habitable Zone.
The wall-route strategy, room usage, orange juice priority, blackout survival rule, and 8-step garage flow come from this project's local Level 1 walkthrough notes and extracted screenshots.
Related Pages
Open the next page players usually need
Level pages on this site are meant to pass users into the next live intent bucket once the immediate blocker is solved.
Quick Answer
The shortest Level 1 solution
Follow one wall, repair 5 generators across safe bright cycles, hide during blackouts, then retrace your route back to the stairs once the lights stay on.