
Level -1 Guide
Level -1: Grayscale Halls
Backrooms: Escape Together Level -1, also called Grayscale Halls, is the desaturated hotel stage where progression depends on a room-by-room light ritual rather than a single obvious exit route. The shortest reliable solution is to use eye markers and room memory as navigation anchors, validate each ritual room before touching the switch, push ritual progress to 100 percent, then survive the final alarm phase without losing orientation.
This guide focuses on the practical question that makes most players search for this level in the first place: how do you stop Grayscale Halls from breaking your map confidence and turning every room check into a mistake?
Quick Facts
What to know before you enter Grayscale Halls
According to the official level listing, Level -1 is a moderate-difficulty stage associated with Shadow and built around a ritual mechanic. In practice, the real difficulty is not one complicated puzzle piece but the way the grayscale hotel erodes confidence: repeated corridors, decayed rooms, and switch-checking all become more dangerous once you stop trusting your last confirmed route.
- Difficulty
- Moderate
- Main entity
- Shadow
- Core mechanic
- Room-based light ritual validation
- Main progression gate
- Reach full ritual completion and survive the final exit phase
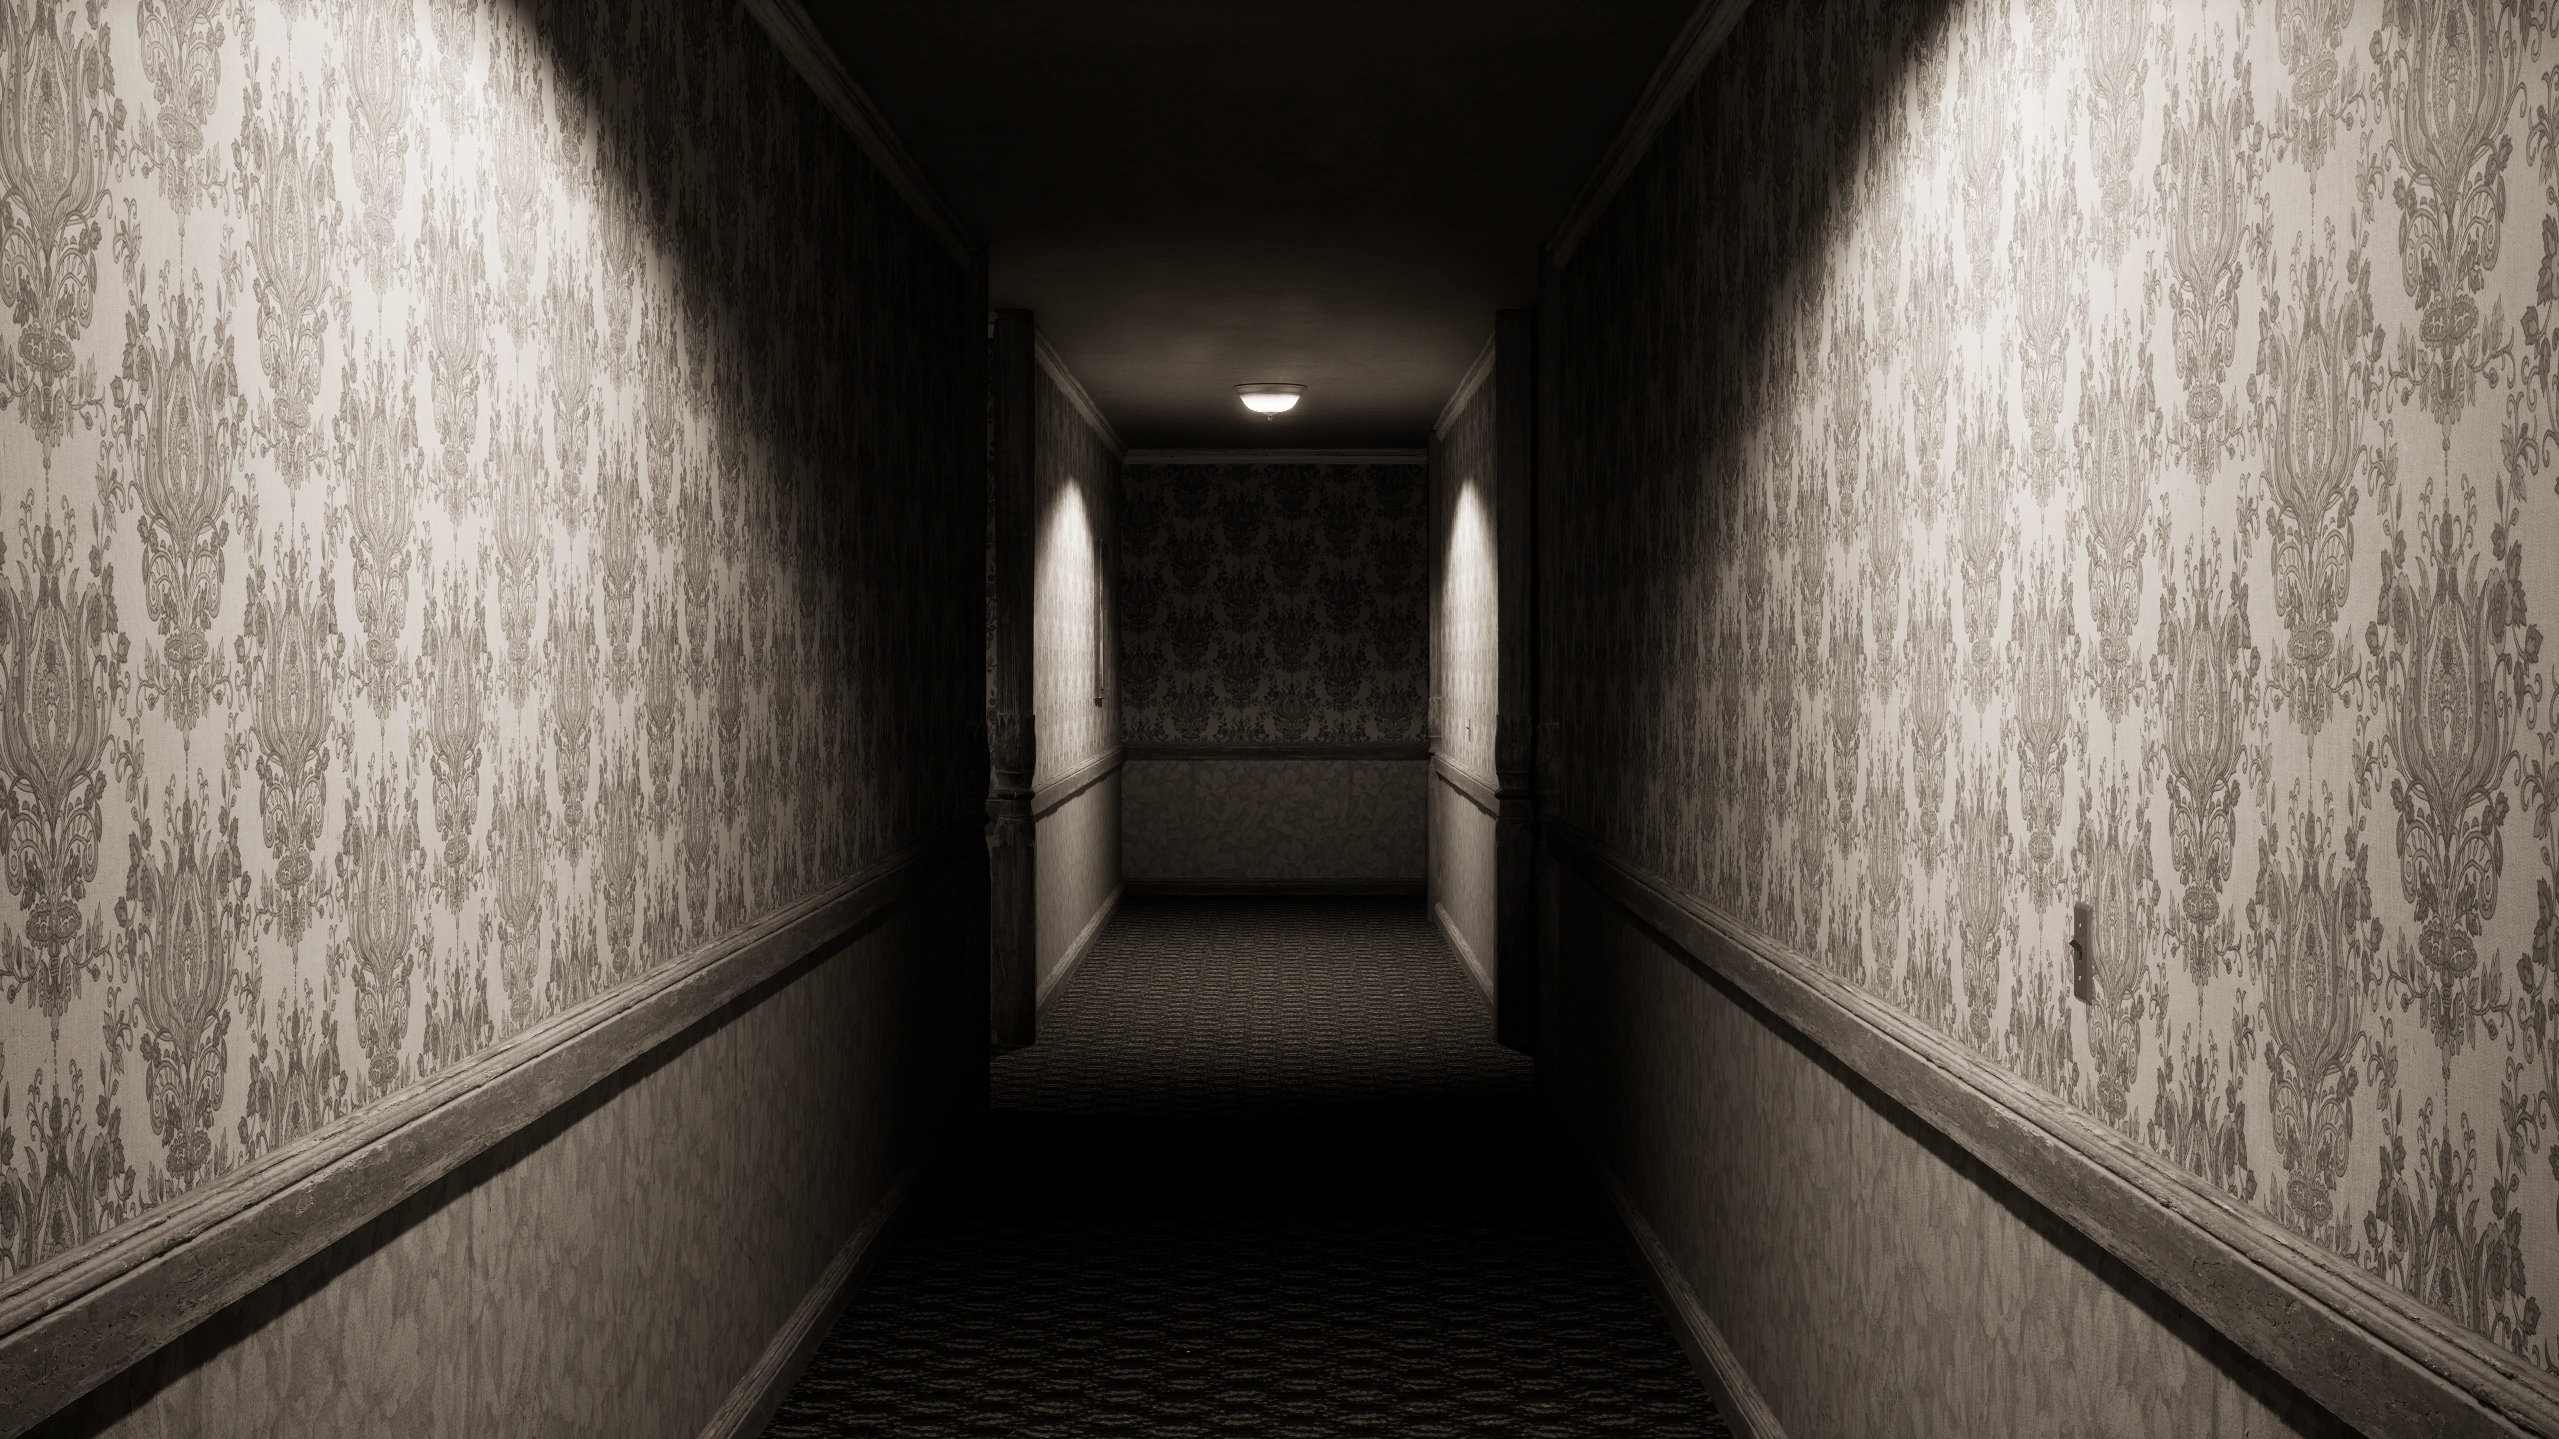
Grayscale Halls looks like a dead hotel, but it plays more like a perception test. Careful validation beats fast movement here.
Key Takeaways
The shortest Grayscale Halls explanation
Level -1 Grayscale Halls is a ritual-based hotel maze where the correct play loop is definition first, validation second, movement third. If you remember that the bulb symbol defines the room, the switch confirms it, and eye markers preserve orientation, the whole stage becomes much easier to read.
Core definition
Grayscale Halls is the ritual level in Backrooms: Escape Together.
Core rule
Read the room before you touch the switch.
Core failure pattern
Confusion compounds faster than raw damage in Level -1.
Core survival habit
Preserve one clean retreat line at all times.
Quick Answer
How to beat Backrooms: Escape Together Level -1
If you only want the direct answer, enter Level -1 from the lower route in Level 0, identify only the rooms marked with white bulb symbols, match each room light to the symbol state, remember the nearest working switch every time you pass it, restore power in dark zones through the utility closet, take the small key when you find it, interact with the red-screen TV to enter the second section, and then finish the Locate Exit phase once ritual completion is full.
Best route rule
Treat eye symbols and recent room states as your navigation spine.
Main danger
Losing orientation while Shadow pressure rises around ritual checks.
Best pacing rule
Validate the room first, then touch the switch once with intent and leave it confirmed.
Fast-clear result
Ritual rooms cleared, red TV triggered, Locate Exit phase finished, level complete.
Overview
Why Grayscale Halls feels harder than its difficulty label
Grayscale Halls is officially a moderate level, but it feels harsher than that label suggests because it degrades certainty. The space is a faded hotel full of repetitive hallways, decaying wallpaper, rotting doors, and rooms that look close enough to each other to blur together under pressure.
The safest interpretation of Level -1 is simple: it is a perception-management stage. Once you stop trying to rush the ritual and start preserving anchors, checking symbols, and protecting your retreat line, the level becomes much more readable.
Best short description
A ritual-driven hotel maze where certainty matters more than pace.
Biggest trap
Re-entering uncertain hall branches just to confirm a switch you never validated properly.
Best solo habit
Name your last safe anchor before every deeper room check.
Best co-op habit
Let one player call symbols, one handle the switch, and one watch corridor pressure.
Fact Table
Level -1 difficulty, entity, mechanic, and route summary
The key facts players look for most often are grouped below in a compact table for quick reference.
| Field | Level -1 detail |
|---|---|
| Official name | Grayscale Halls |
| Difficulty | Moderate |
| Listed entity | Shadow |
| Listed mechanic | Ritual |
| Main progression task | Validate ritual rooms until completion, then escape the final phase |
| Most important clue | Wall bulb symbols tell you whether room lights should be on or off |
| Best route anchor | Eye symbols and memorable previously validated rooms |
| Common failure point | Touching switches before reading the room, then spiraling into rechecks |
Entity
Threat that matters in Level -1
The official level list associates Level -1 with Shadow. That matters because Shadow is not only a chase problem. It is an ambush threat that becomes much stronger when ritual checking already has you hesitating in doorways, re-entering uncertain rooms, or second-guessing your last clean route.
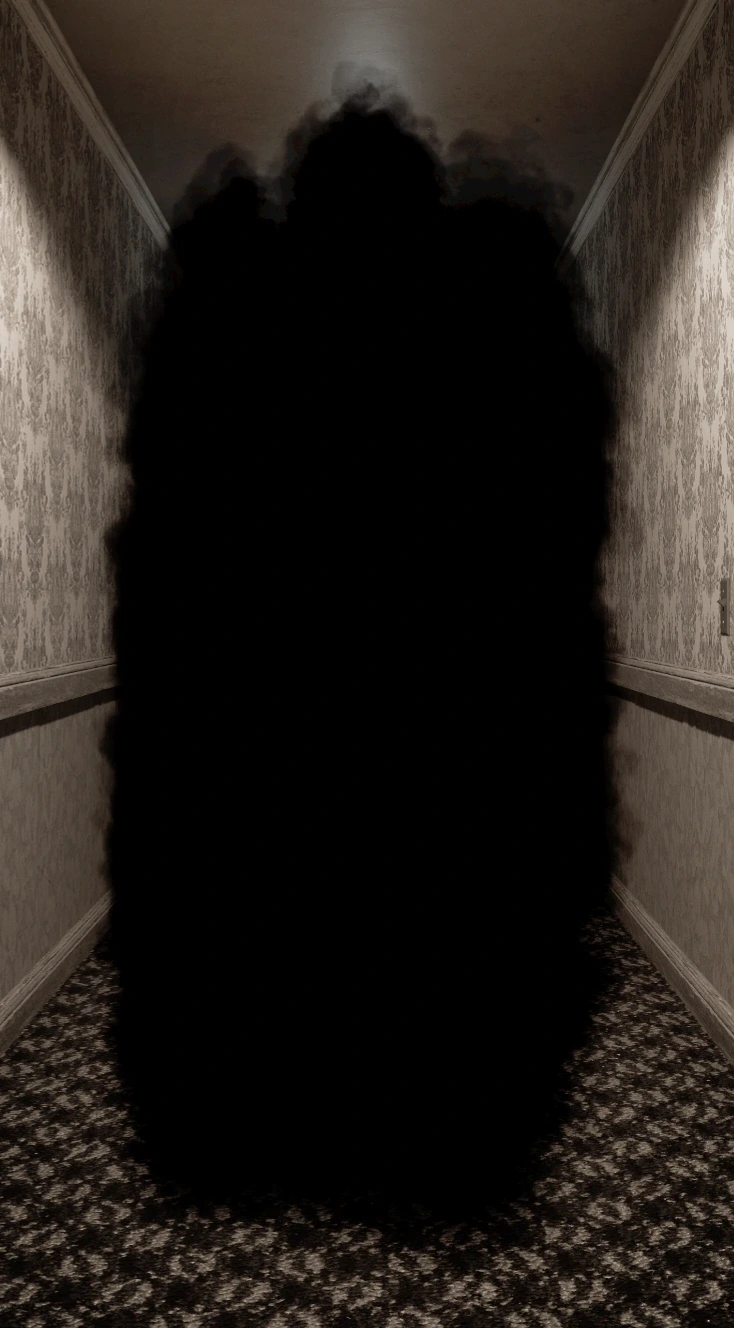
Shadow
Shadow is the level's main pressure source. It can appear in hallways, rooms, and closets without much warning, so every unnecessary recheck and every reckless doorway peek increases the odds of a bad encounter.
- Most relevant when ritual progress pulls you deeper into uncertain branches
- Punishes players who lose a stable retreat line
- Best response is slow certainty, fast correction, and clean route anchors
Anchor-based navigation
The level itself is part of the threat profile. The safest habit is to preserve route memory by using eye symbols, opened or checked rooms, and your last known safe turn as anchors before you commit to a new interaction.
- Reduces panic wandering after a bad room read
- Makes the final alarm phase much easier to recover from
- Pairs directly with the Shadow survival habits from the entity page
Mechanics
How Level -1 actually works
Officially, Level -1 is about ritual progress. In real play, that means balancing three systems at once: room validation, route memory, and threat control. Grayscale Halls becomes much easier once you stop treating every room as random. If you want the monster-specific layer as well, the Shadow guide explains why route discipline matters so much once ambush pressure starts.
Valid rooms contain a bulb-style wall symbol that indicates the correct light state. If the symbol shows the room should be lit, turn the switch on. If it shows the room should be dark, switch it off.
Eye symbols and remembered room states keep the hotel from collapsing into one undifferentiated maze. Do not push deeper without naming your last confirmed anchor.
Every wasted room check increases exposure time. The level gets easier when you make one clean read, one deliberate switch action, and one controlled retreat or advance. Most failed runs happen because the player remembers doors but not nearby switches.
| Symbol or state | What it means in Level -1 |
|---|---|
| Bulb symbol with lit state | The ritual room should end with the light on |
| Bulb symbol with dark state | The ritual room should end with the light off |
| Eye symbol | Use it as a directional anchor when the corridor pattern starts to blur |
| Unclear room with no clean read | Back out, keep your anchor, and avoid guess-flipping the switch |
The key ritual symbol is the wall bulb marker. It tells you the correct light state for that room. Eye symbols are best read as route guidance anchors, especially when the hallway layout starts to feel unreliable.
Even when the punishment is not a single dramatic mechanic failure, the practical result is still dangerous: you lose time, re-enter uncertain corridors, and give Shadow more chances to catch you while you are mentally off-balance.
Find the utility closet first, restore the breaker so nearby lights work again, and check the key rack for the small key before you continue deeper. That sequence makes later ritual rooms much safer.
Objectives
Main tasks required to clear Level -1
If you strip away the atmosphere and ambiguity, Grayscale Halls becomes a clean progression loop with four real jobs.
In the current route flow, Grayscale Halls is accessed from the lower section of Level 0 rather than from a simple hub shortcut. Many first failed runs happen before the ritual even starts because players do not know where the entrance is.
The opening rooms teach the light ritual logic. Use them to understand the bulb symbol before the level expands.
Move through valid rooms methodically and increase completion without burning your route memory.
The monster is easiest to handle when you already know where your fallback corridor or room is.
Once ritual progress is full, follow the revealed escape route or TV-linked endpoint without letting the final pressure erase your last confirmed bearings.
Walkthrough
Step-by-step route through Level -1
Use the route below when you want a clean clear instead of trial-and-error exploration. It follows the same progression points most successful runs hit: entrance, ritual-room recognition, dark-zone prep, phase transition, Shadow control, and final exit.
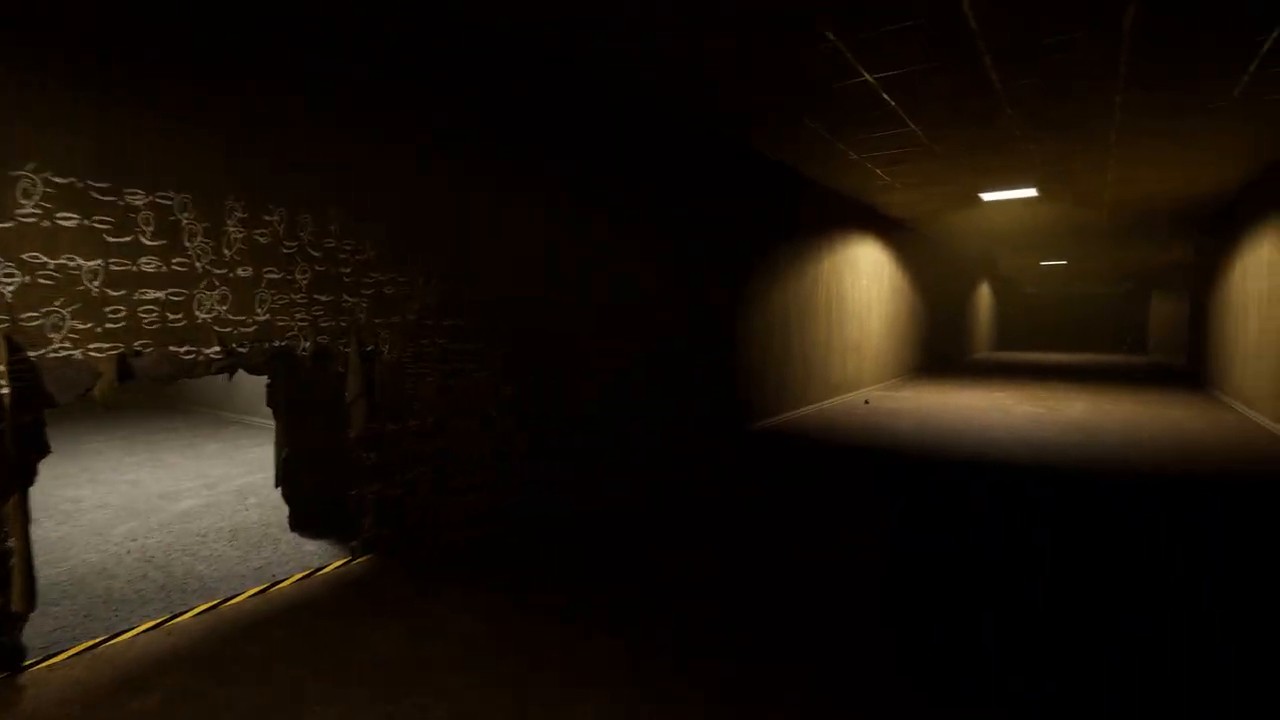
Enter Level -1 from the lower Level 0 route
After update 0.13.0, Level -1 Grayscale Halls is reached through the lower path in Level 0 rather than directly from a central hub. Move through the gray corridor and wooden door sequence first, because a surprising number of players get stuck simply trying to find the stage entrance.
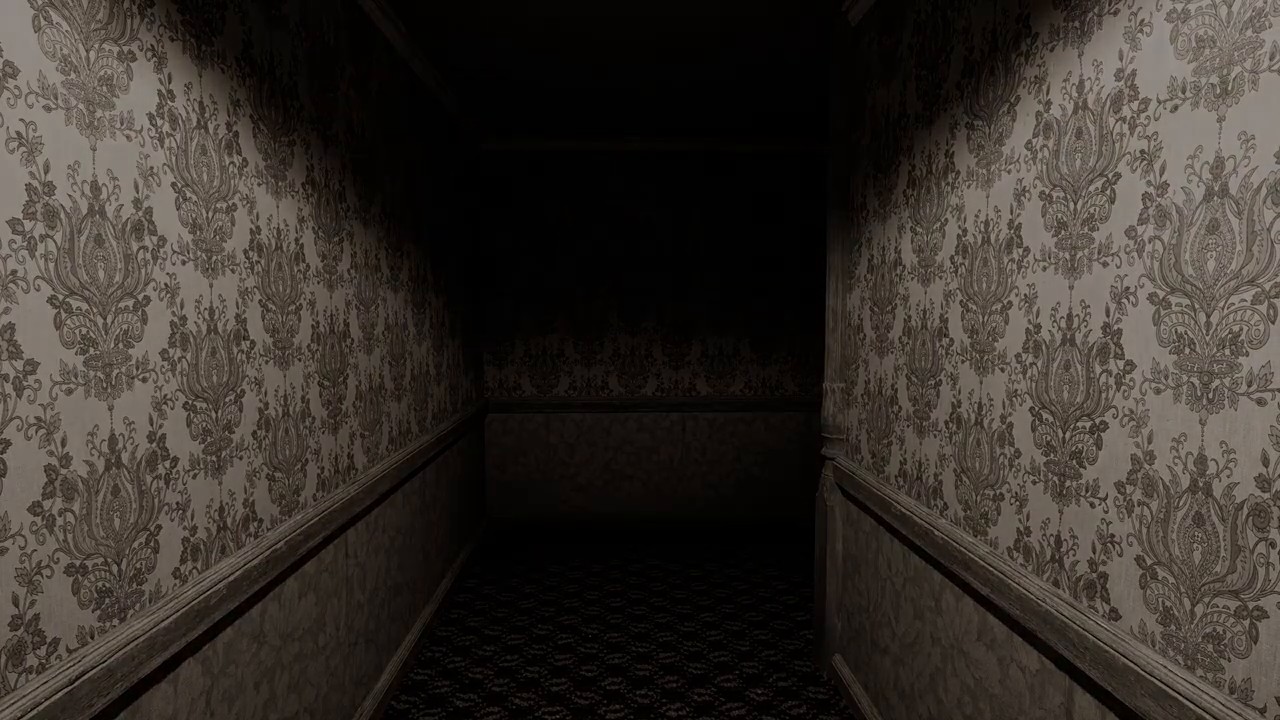
Only marked hotel rooms count toward ritual progress
Once inside, do not start flipping lights in every room. Only rooms marked with the white bulb symbol are ritual targets. Rooms with the plain bulb should stay lit, while rooms with the crossed bulb should stay dark. That distinction is the core progression filter for the whole level.
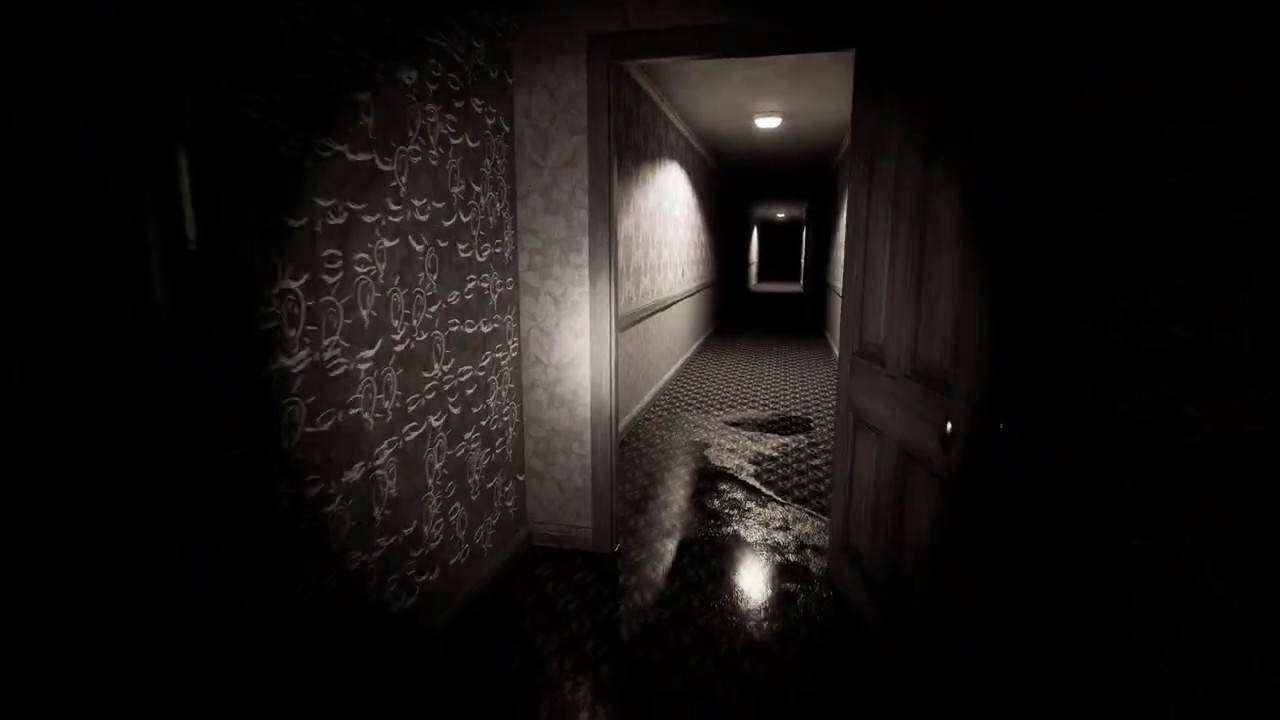
Read the wall symbol before you decide on the switch
The stable sequence is symbol first, room state second, switch action third. Glance at the wall mark, confirm whether the room is already correct, then change the light only if needed. Before leaving, look back once so you know the room really stayed in the target state.
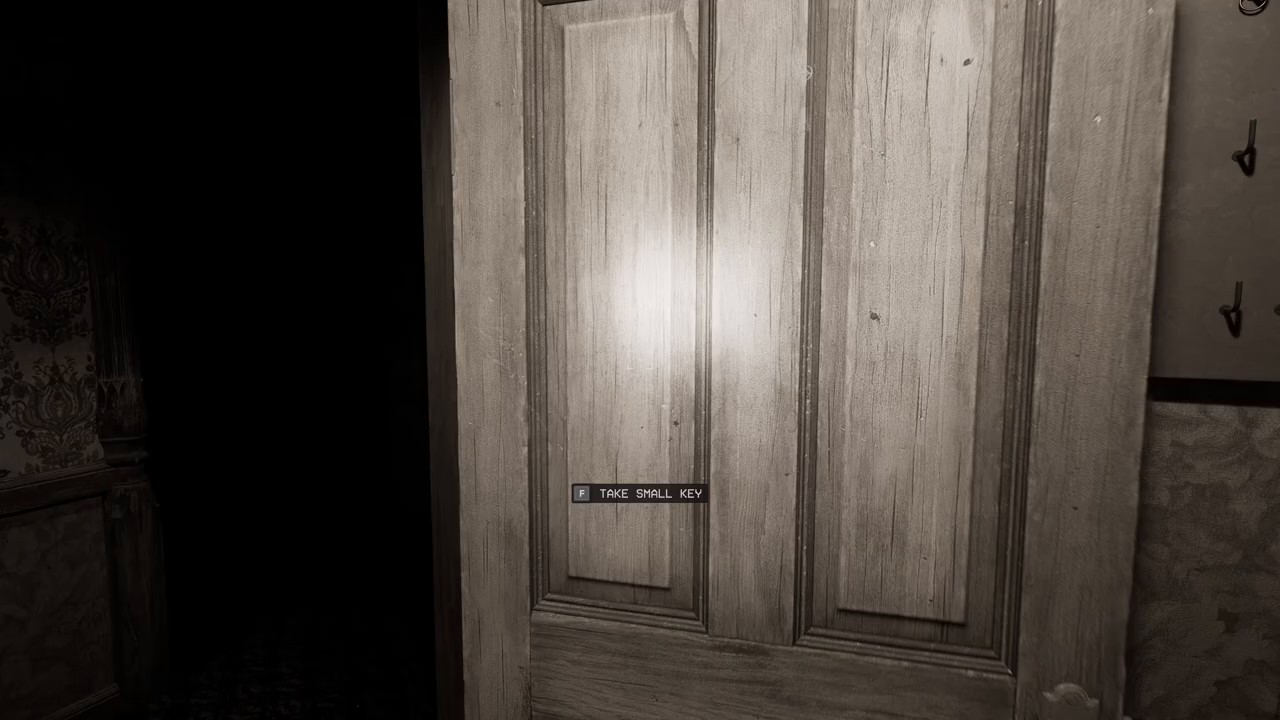
In dark zones, find the utility closet and take the small key
When the route opens into darker sections, do not push blind. Find the utility closet first, turn the breaker back on so the nearby area becomes usable, and check the key rack for the small key. That key is needed for later locked access, and the powered lights make Shadow encounters far more manageable.
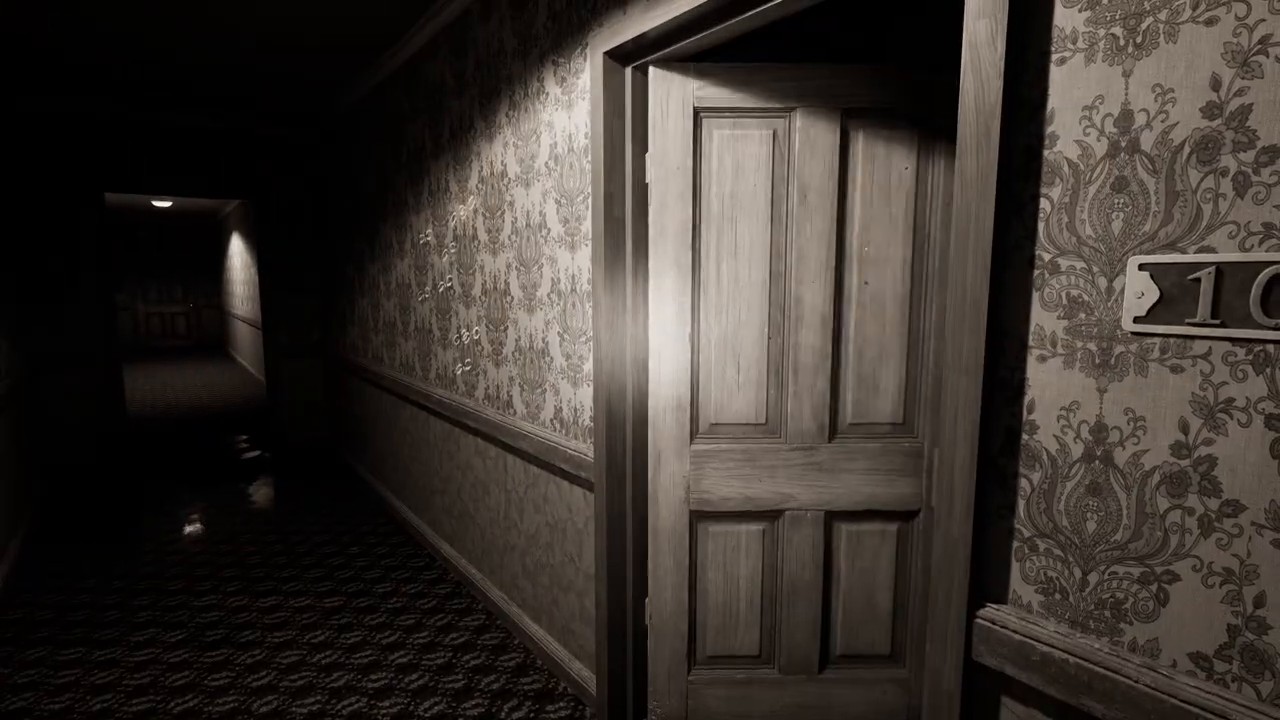
Clear the first ritual section until the corridor-end door opens
The first half of the map is compact enough that you can hug the corridor and process marked rooms in order. As you pass each light switch, remember where it is. If ritual states are wrong, the far door stays locked, so use the objective percentage as a quick check that your room handling is actually counting.
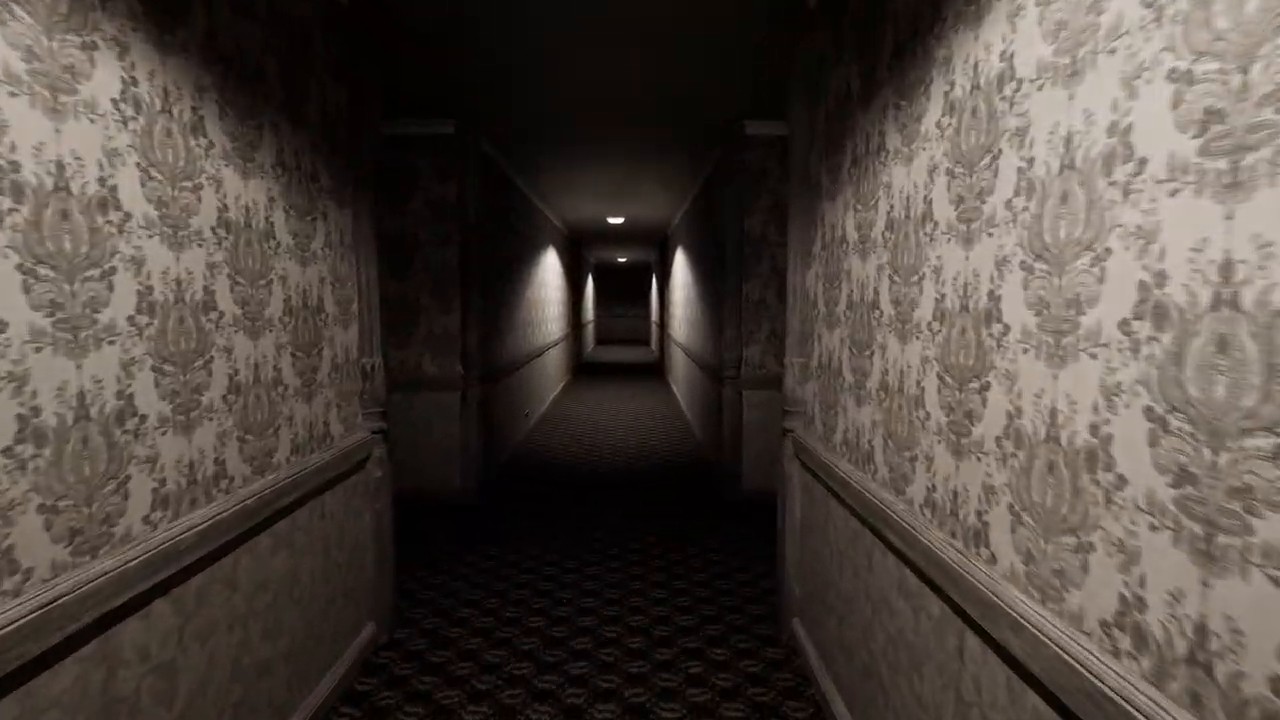
Use the red-screen TV to enter the larger second section
After the first ritual batch is complete, the end door opens and a red-screen TV appears ahead. Interact with that TV to move into the second phase. The mechanic stays the same, but the hotel becomes larger, darker, and more dependent on your combined understanding of ritual symbols, switches, breakers, and keys.
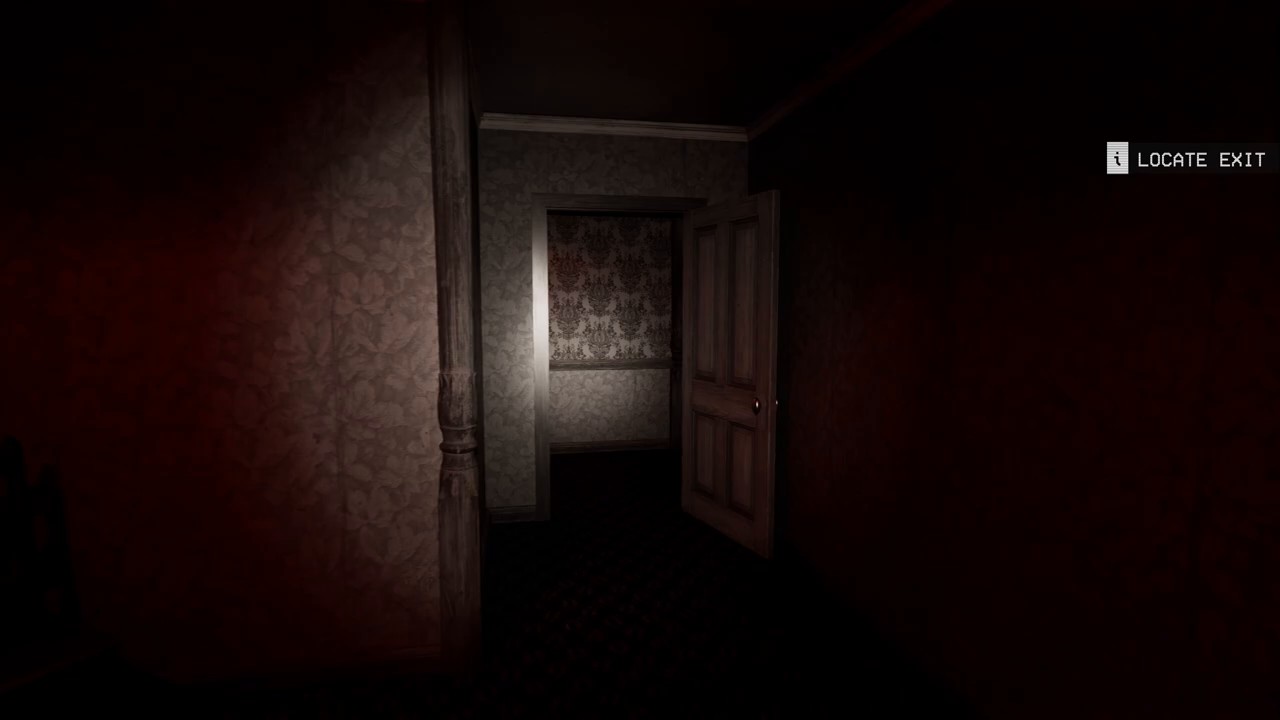
When Shadow appears, run to the nearest switch and keep toggling it
This is the single most useful survival rule in the entire level. Do not try to outrun Shadow through the hotel. Instead, sprint to the nearest remembered light switch and keep toggling it so the light flashes. The real skill check in Level -1 is not memorizing every corridor. It is always knowing where the nearest usable switch is.
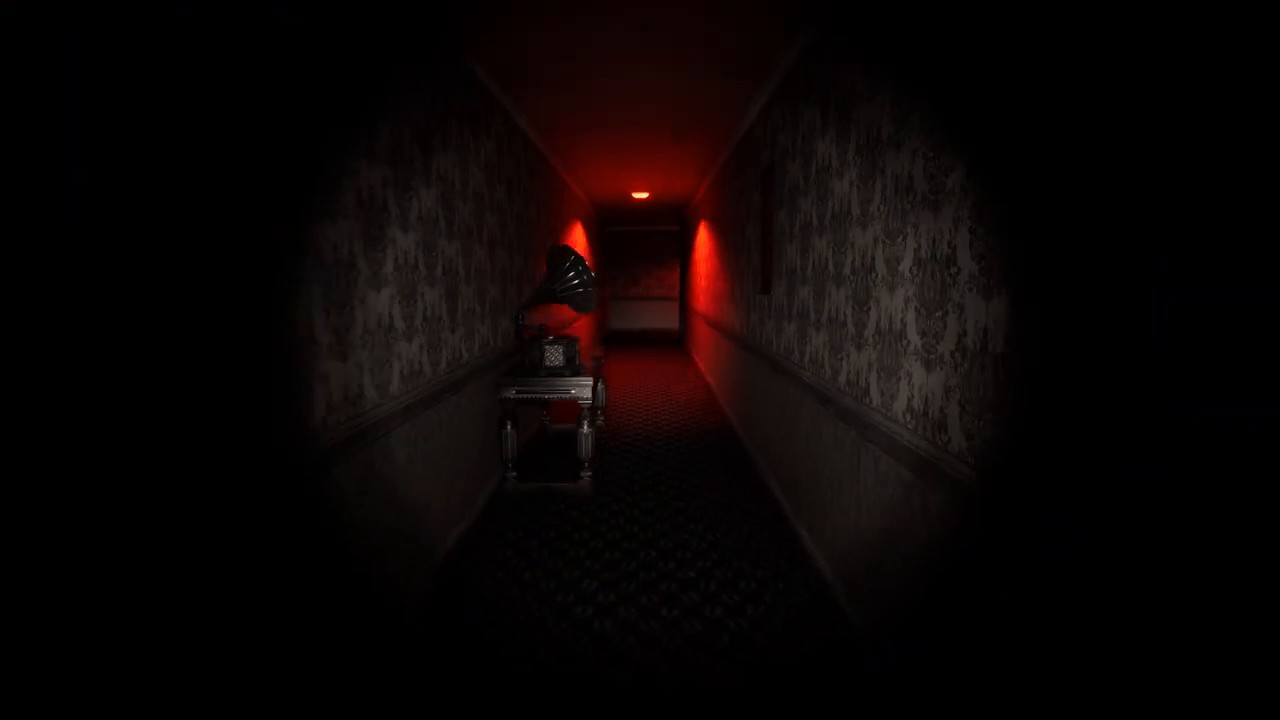
Once ritual completion is full, switch to Locate Exit and leave
After the ritual reaches 100 percent, the level turns red and the objective changes to Locate Exit. This is not a new puzzle. It is a pressure finish. Keep using remembered corridors, switches, and retreat lines exactly as before, and follow the already explored path until you find the exit instead of reopening solved room logic.
Key Info
Other details worth knowing before a run
These Grayscale Halls details do not belong to only one walkthrough step, but they still decide whether the run feels controlled or chaotic.
Best room habit
Read the symbol at the doorway or wall first so the switch is never a guess and never a panic correction.
Best switch habit
Every time you pass a switch, note it mentally because it may become your Shadow answer five seconds later.
Most common mistake
Players often treat every hotel room as a ritual room and waste time solving spaces that never count.
Best fast-clear rule
Bulb mark first, utility closet in dark zones, red TV for phase two, nearest switch for Shadow.
Stuck Points
Where most Level -1 runs actually fail
Most failed runs come from the same repeated mistakes. If the level keeps collapsing on you, check these first before assuming the route itself is impossible.
Only rooms with the white bulb marking matter for ritual completion. Everything else is noise unless it helps route control.
A good Level -1 route is built around switch memory, not only corridor memory, because switches are what save you from Shadow.
If you do not restore local power first, later room checks become harder and much less safe than they need to be.
Players sometimes interact with the breaker but forget the key rack in the same closet, then only realize the mistake at the next locked path.
Once the first section is done, the TV is the progression trigger. Missing it makes players loop the old area for no reason.
The final red-light sequence looks dramatic, but the rule set does not fundamentally change. Keep using known corridors and known switches.
Watch the full clear once if you want to understand the rhythm of Grayscale Halls before following the step-by-step route below.
Video Walkthrough
See the full Grayscale Halls route before the step list
Some players understand this level much faster after seeing one complete run. The video is most useful for reading corridor flow, switch handling, Shadow reactions, and how the red Locate Exit phase actually looks in motion.
Open the video if the ritual rules make sense on paper but the hotel layout still feels slippery once you start moving.
- which rooms are real ritual targets
- where switch memory matters most
- when the run shifts into Locate Exit
FAQ
Common Level -1 questions
This FAQ is written for players who already understand the atmosphere of Grayscale Halls but still need the ritual logic and the safest survival rule in plain language.
Use eye symbols and room memory to maintain orientation, validate each ritual room before touching the switch, build progress steadily, and survive the final alarm phase without panicking into unknown corridors.
The main mechanic is a light ritual. Valid rooms use a wall bulb symbol to tell you whether the room light should be on or off, and correct confirmations move the level forward.
The official level listing and entity pages associate Grayscale Halls with Shadow, an aggressive ambush threat that gets more dangerous when players lose route confidence.
The safest strategy is to move slowly, preserve anchors, read every ritual room before interacting, and treat every deeper push as something that must still leave you a clean retreat line.
The practical punishment is spiraling pressure. You waste time, break confidence, and give Shadow more chances to catch you while you are rechecking rooms you should have handled cleanly the first time.
Once ritual completion is full, follow the alarm-phase progression path and trust your last confirmed anchors instead of reopening solved room logic.
Source Notes
Where this page's information comes from
The information below combines official level facts, player-facing route logic, and linked entity context. Use it together with the broader <a href="/levels">levels hub</a>, the neighboring <a href="/levels/level-0">Level 0 guide</a>, and the follow-on <a href="/levels/level-1">Level 1 guide</a> if you want the surrounding route context as well.
Difficulty, listed entity, and ritual classification are aligned with the official levels overview at backroomsescapetogether.com/levels.
Additional phrasing around Grayscale Halls identity, room logic, and player expectations is cross-checked against the community wiki page for Level -1 | Grayscale Halls.
The ritual-room explanation, eye-symbol navigation framing, TV and exit-phase interpretation, and route-discipline advice come from a full recorded clear and its extracted frame sequence.
Related Pages
Open the next page players usually need
After the immediate blocker is solved, these are the pages players usually open next for route context, related entities, or broader game navigation.
Quick Answer
The shortest Level -1 solution
Use anchors, validate ritual rooms carefully, build completion without panic wandering, and trust the final exit path once the alarm phase begins.